주요 콘텐츠로 건너뛰기

AvertX HD810 IR LED Lightboard Replacement

필요한 것

  1. AvertX HD810 IR LED Lightboard Replacement, Clear Dome Cover: 1 단계, 이미지 1/3 AvertX HD810 IR LED Lightboard Replacement, Clear Dome Cover: 1 단계, 이미지 2/3 AvertX HD810 IR LED Lightboard Replacement, Clear Dome Cover: 1 단계, 이미지 3/3
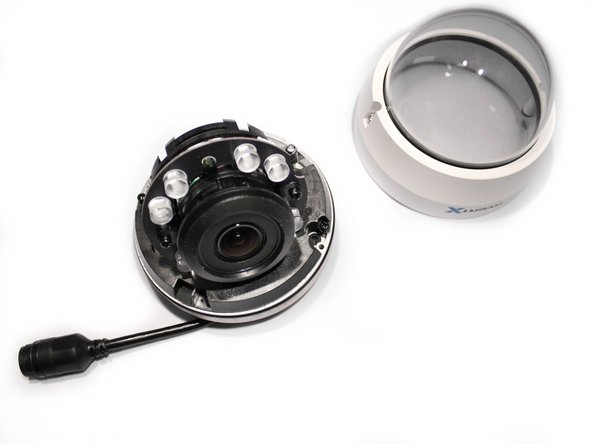
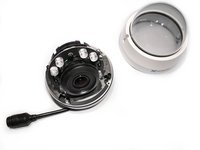
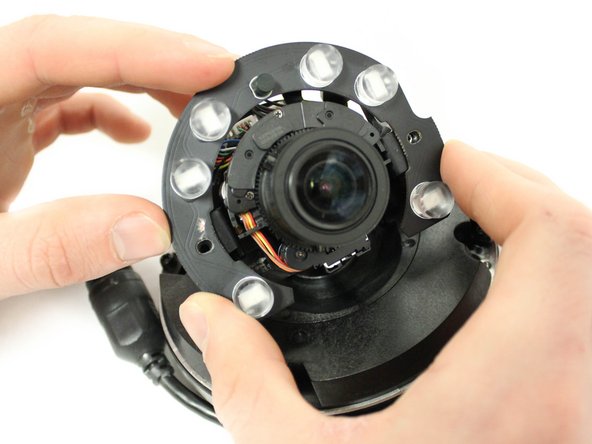
    • Lift off the paintable snap-on cover from the AvertX HD810 dome security camera.

    • Optimally, the device should be turned off and the PoE (Power over Ethernet) unplugged.

  2. AvertX HD810 IR LED Lightboard Replacement: 2 단계, 이미지 1/2 AvertX HD810 IR LED Lightboard Replacement: 2 단계, 이미지 2/2
    • Loosen both 10mm screws on either side of the clear dome cover housing using a T10 Torx security screwdriver.

    • It is not recommended to remove the screws from the clear dome cover housing. The screws are apart of the cover and not intended to come out.

  3. AvertX HD810 IR LED Lightboard Replacement: 3 단계, 이미지 1/3 AvertX HD810 IR LED Lightboard Replacement: 3 단계, 이미지 2/3 AvertX HD810 IR LED Lightboard Replacement: 3 단계, 이미지 3/3
    • Gently pull off the clear dome cover from the camera base.

  4. AvertX HD810 IR LED Lightboard Replacement, IR LED Lightboard: 4 단계, 이미지 1/3 AvertX HD810 IR LED Lightboard Replacement, IR LED Lightboard: 4 단계, 이미지 2/3 AvertX HD810 IR LED Lightboard Replacement, IR LED Lightboard: 4 단계, 이미지 3/3
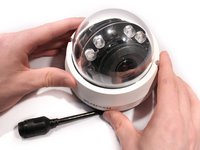
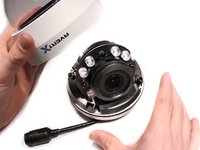
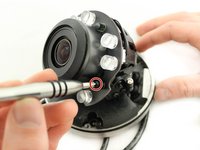
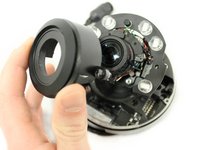
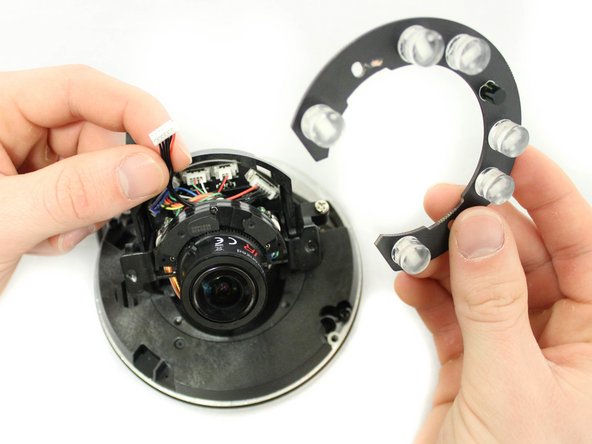
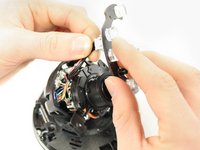
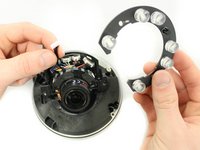
    • Use the PH1 screwdriver to remove or loosen both 10mm screws on either side of the inner protective lens cover. This will loosen both the cover and the IR LED lightboard.

    • The cover and the lightboard are two separate pieces held in place by these two screws. The cover should be set aside first before continuing with the lightboard.

  5. AvertX HD810 IR LED Lightboard Replacement: 5 단계, 이미지 1/3 AvertX HD810 IR LED Lightboard Replacement: 5 단계, 이미지 2/3 AvertX HD810 IR LED Lightboard Replacement: 5 단계, 이미지 3/3
    • Pull the IR LED light board gently away from the camera to expose the connecting cable.

    • Firmly but gently detach the IR lED light board from its cable connector by pulling directly away from the connection port.

    • A spudger may be used to loosen a stubborn cable connection. Wedge the flat end of the spudger between the connector and the port to ease it off of the port's prongs.

결론

To reassemble your device, follow these instructions in reverse order.

다른 한 분이 해당 안내서를 완성하였습니다.

Luke Browning

회원 가입일: 01/18/17

316 평판

안내서 3개 작성하였습니다

댓글 한 개

Hi Luke, do you know of a source for parts (IR LED Board, Motherboard etc…) for this AvertX HD810 camera ? Thanks for the great writeup, Toy

Toy Camry - 답글

댓글 쓰기

조회 통계:

24 시간 전: 0

7일 전: 3

30일 전: 4

전체 시간: 321