소개
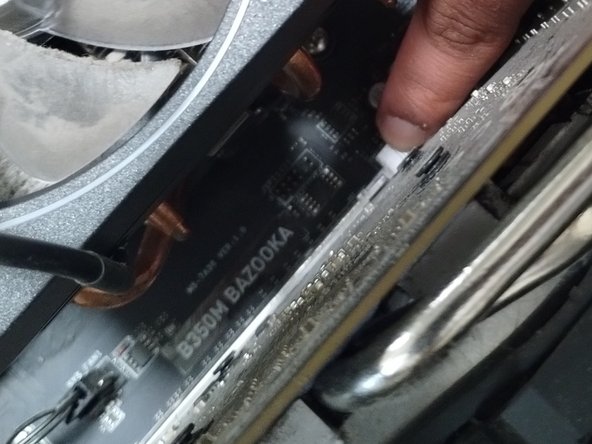
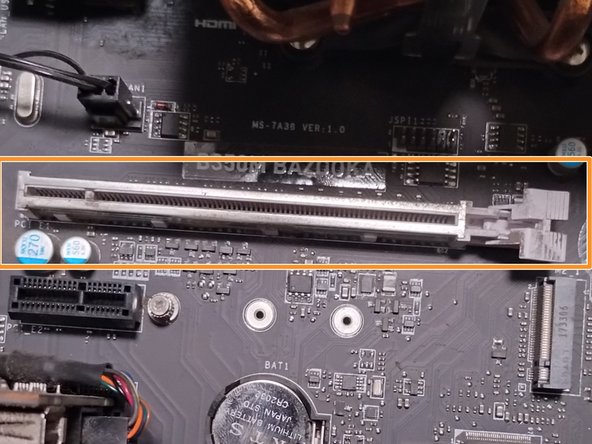
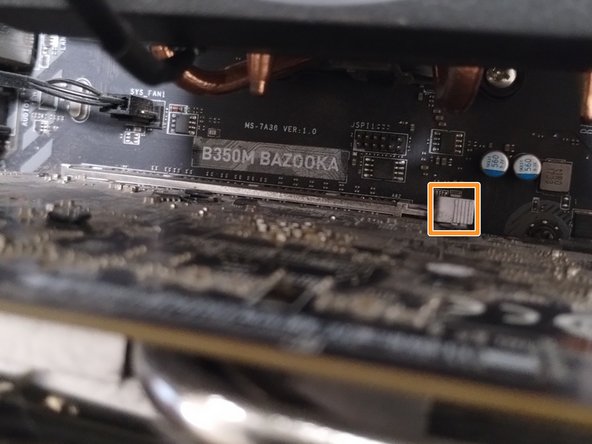
This guide details the replacement of a graphics processing unit using the B350M BAZOOKA Motherboard. This guide requires no prior knowledge or special skills to complete. However, there are a few things to be cautious of:
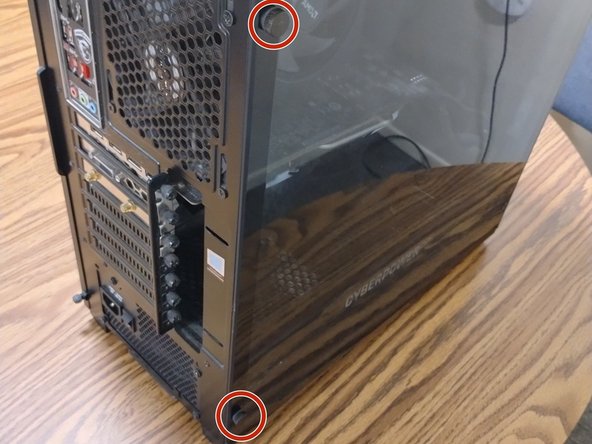
- The possibility of shattering a glass front panel.
- The possibility of static build-up.
- Turn off the desktop before starting, and handle all parts with care.
필요한 것


거의 끝나갑니다!
결승점
다른 2명이 해당 안내서를 완성하였습니다.
팀

CSU Los Angeles, Team 2-16, Briggs Fall 2022 CSU Los Angeles, Team 2-16, Briggs Fall 2022 회원
CSULA-BRIGGS-F22S2G16
1 회원
안내서 2개 작성하였습니다