주요 콘텐츠로 건너뛰기

BISSELL 3-in-1 Turbo 2610C Filter Replacement

필요한 것

  1. BISSELL 3-in-1 Turbo 2610C Filter Replacement, Filter: 1 단계, 이미지 1/1
    • Push up on the gray tab above the dust bin.

  2. BISSELL 3-in-1 Turbo 2610C Filter Replacement: 2 단계, 이미지 1/1
    • Remove the dust bin.

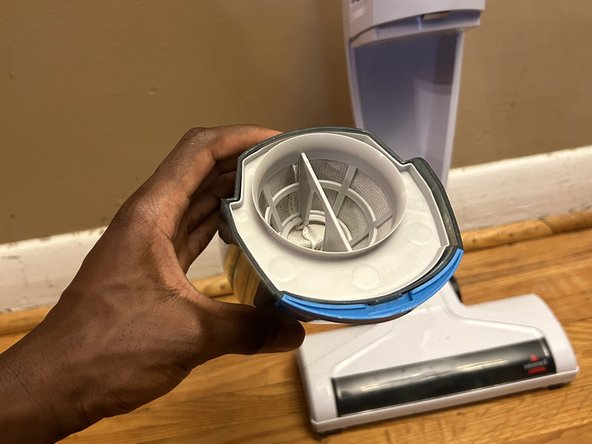
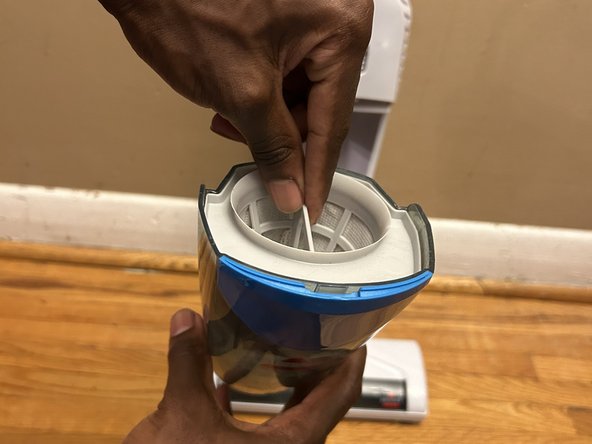
  3. BISSELL 3-in-1 Turbo 2610C Filter Replacement: 3 단계, 이미지 1/2 BISSELL 3-in-1 Turbo 2610C Filter Replacement: 3 단계, 이미지 2/2
    • Pull the filter straight up to remove it from the dust bin.

  4. BISSELL 3-in-1 Turbo 2610C Filter Replacement: 4 단계, 이미지 1/1
    • Empty the dirt from the dust bin into a garbage can.

  5. BISSELL 3-in-1 Turbo 2610C Filter Replacement: 5 단계, 이미지 1/1
    • Set your new filter back into place at the top of the dust bin.

  6. BISSELL 3-in-1 Turbo 2610C Filter Replacement: 6 단계, 이미지 1/2 BISSELL 3-in-1 Turbo 2610C Filter Replacement: 6 단계, 이미지 2/2
    • Place the bottom half of the dust bin back, then push the top in until you hear a click.

    • The "click" indicates that the dust bin has attached securely.

결론

Once this is done, you are free to use!

Williams Kalu

회원 가입일: 01/16/24

133 평판

안내서 1개 작성함

York University, Team 2-16, O'Regan Winter 2024 York University, Team 2-16, O'Regan Winter 2024 회원

YORK-O'REGAN-W24S2G16

1 회원

안내서 1개 작성하였습니다

댓글 0개

댓글 쓰기

조회 통계:

24 시간 전: 0

7일 전: 1

30일 전: 5

전체 시간: 33