주요 콘텐츠로 건너뛰기

Barnes And Noble Nook Glowlight 3 Disassembly

필요한 것

  1. Barnes And Noble Nook Glowlight 3 Disassembly, Barnes And Noble Nook Glowlight 3 Disassembly: 1 단계, 이미지 1/1
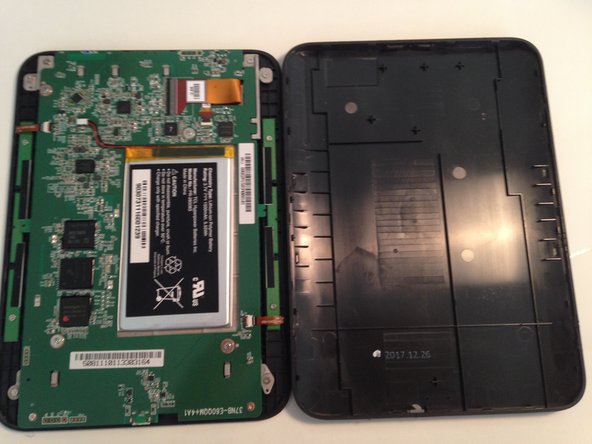
    • This is the Nook Glowlight 3. It features an E-ink display with a resolution of 300 ppi. This device is touchscreen. It comes with 8GB of on device storage. It is wifi compatible

  2. Barnes And Noble Nook Glowlight 3 Disassembly: 2 단계, 이미지 1/2 Barnes And Noble Nook Glowlight 3 Disassembly: 2 단계, 이미지 2/2
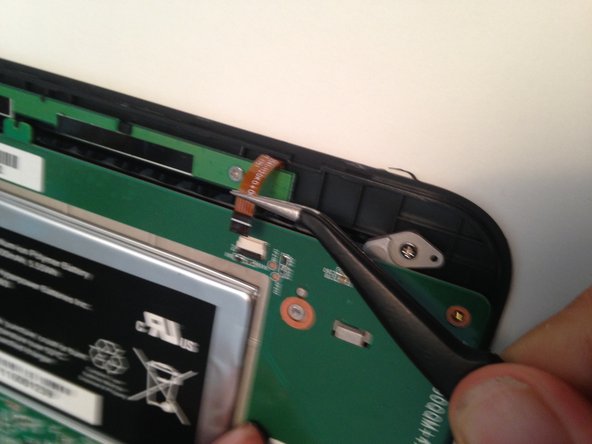
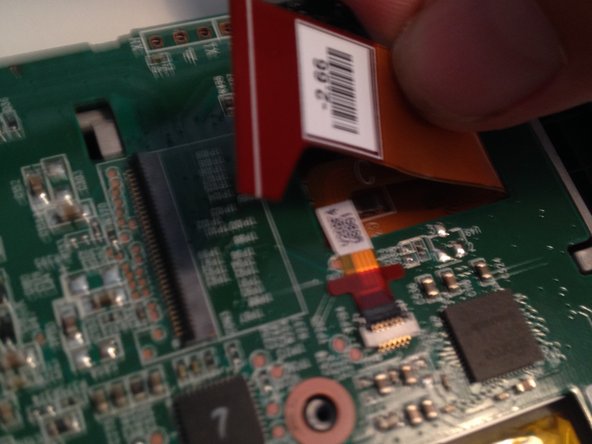
    • First, grab your Jimmy or any other thin tool and slide it along the edge of the device where the two halves meet, (shown in the picture).

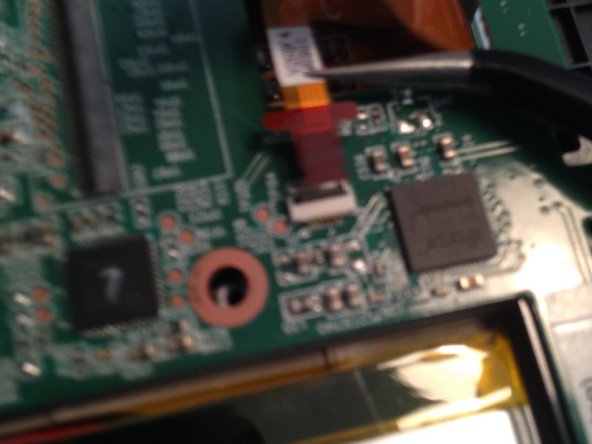
    • Push firmly until the tool slides into the crack. Then rotate the tool as you slide it down to separate the clips securing the device.

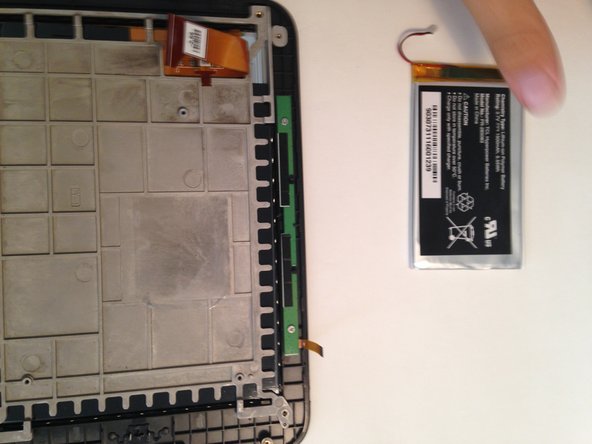
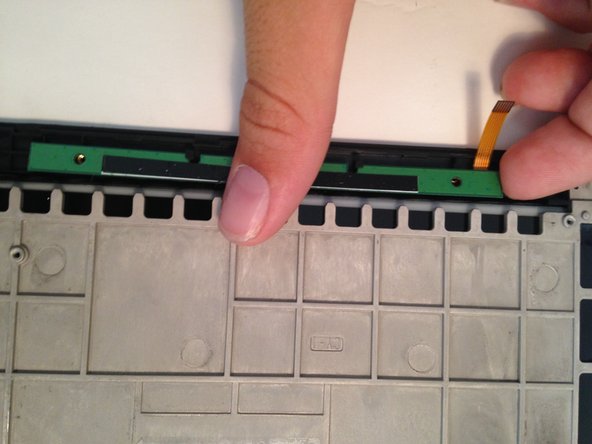
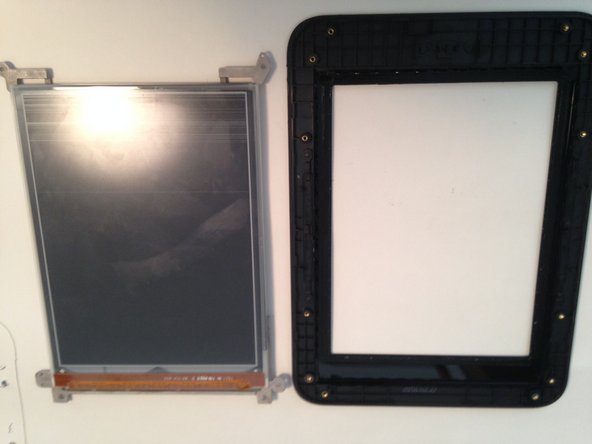
    • Do this all around the device until the device splits into two halves.

  3. Barnes And Noble Nook Glowlight 3 Disassembly: 3 단계, 이미지 1/2 Barnes And Noble Nook Glowlight 3 Disassembly: 3 단계, 이미지 2/2
    • When both of the halves are able to be separated move the back cover aside.

    • To reassemble the device, push down on the back cover until it snaps into place.

  4. Barnes And Noble Nook Glowlight 3 Disassembly: 4 단계, 이미지 1/3 Barnes And Noble Nook Glowlight 3 Disassembly: 4 단계, 이미지 2/3 Barnes And Noble Nook Glowlight 3 Disassembly: 4 단계, 이미지 3/3
    • Disconnect the battery with a flick of the spudger.

  5. Barnes And Noble Nook Glowlight 3 Disassembly: 5 단계, 이미지 1/1
    • Remove the screws marked in red that secure the system board to the outer plastic.

  6. Barnes And Noble Nook Glowlight 3 Disassembly: 6 단계, 이미지 1/2 Barnes And Noble Nook Glowlight 3 Disassembly: 6 단계, 이미지 2/2
    • On both sides, there are two straight and skinny button panels. These control the side up/down buttons. Please disconnect both of these ribbon cables.

  7. Barnes And Noble Nook Glowlight 3 Disassembly: 7 단계, 이미지 1/3 Barnes And Noble Nook Glowlight 3 Disassembly: 7 단계, 이미지 2/3 Barnes And Noble Nook Glowlight 3 Disassembly: 7 단계, 이미지 3/3
    • Now disconnect the display ribbon cables. ( one is hidden )

  8. Barnes And Noble Nook Glowlight 3 Disassembly: 8 단계, 이미지 1/1
    • Now lift the logic board

  9. Barnes And Noble Nook Glowlight 3 Disassembly: 9 단계, 이미지 1/2 Barnes And Noble Nook Glowlight 3 Disassembly: 9 단계, 이미지 2/2
    • Now remove the battery by sliding a spudger underneath the battery and breaking the adhesive.

  10. Barnes And Noble Nook Glowlight 3 Disassembly: 10 단계, 이미지 1/3 Barnes And Noble Nook Glowlight 3 Disassembly: 10 단계, 이미지 2/3 Barnes And Noble Nook Glowlight 3 Disassembly: 10 단계, 이미지 3/3
    • Now remove the screws on the button panels and remove them from the device.

  11. Barnes And Noble Nook Glowlight 3 Disassembly: 11 단계, 이미지 1/1
    • Remove the rest of the screws connecting the display to the frame. Remember to take out both of the button boards.

  12. Barnes And Noble Nook Glowlight 3 Disassembly: 12 단계, 이미지 1/2 Barnes And Noble Nook Glowlight 3 Disassembly: 12 단계, 이미지 2/2
    • Push firmly on the display. Going all around the edges until the display becomes loose. (the screen was already cracked)

결론

To reassemble your device, follow these instructions in reverse order.

다른 한 분이 해당 안내서를 완성하였습니다.

Joan Lee

회원 가입일: 12/09/19

463 평판

안내서 2개 작성하였습니다

댓글 한 개

does anyone know where I can purchase the screen?

John McNamara - 답글

댓글 쓰기

조회 통계:

24 시간 전: 1

7일 전: 4

30일 전: 24

전체 시간: 941