주요 콘텐츠로 건너뛰기

Barnes And Noble Nook Glowlight 3 Screen Replacement

필요한 것

  1. Barnes And Noble Nook Glowlight 3 Screen Replacement, Screen: 1 단계, 이미지 1/1
    • This is the Nook Glowlight 3. It features an eink display with a resolution of 300 ppi. The display is also Touchscreen. It comes with 8GB of Storage and the Total User Available Memory is 6.5 GB. It is also wifi compatible

  2. Barnes And Noble Nook Glowlight 3 Screen Replacement: 2 단계, 이미지 1/2 Barnes And Noble Nook Glowlight 3 Screen Replacement: 2 단계, 이미지 2/2
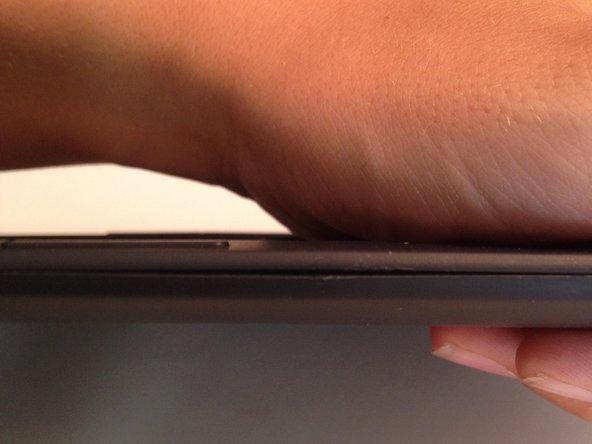
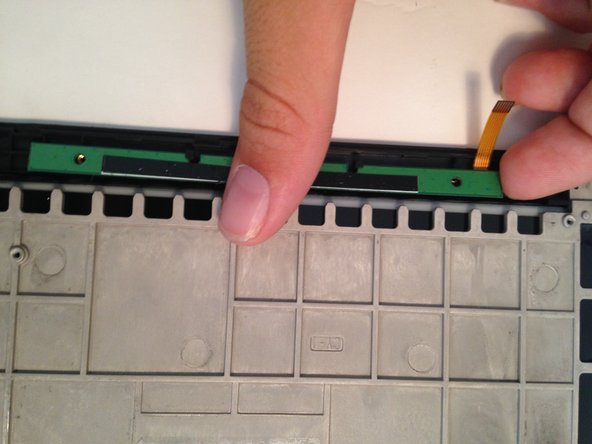
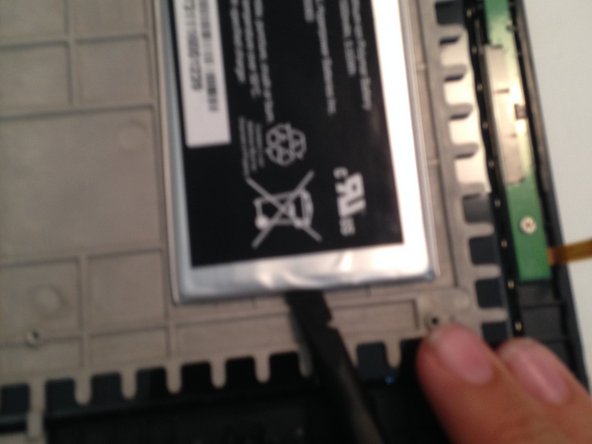
    • First Grab Your Jimmy or any other thin wedge tool and slide it along the edge of the device where the two halves meet.

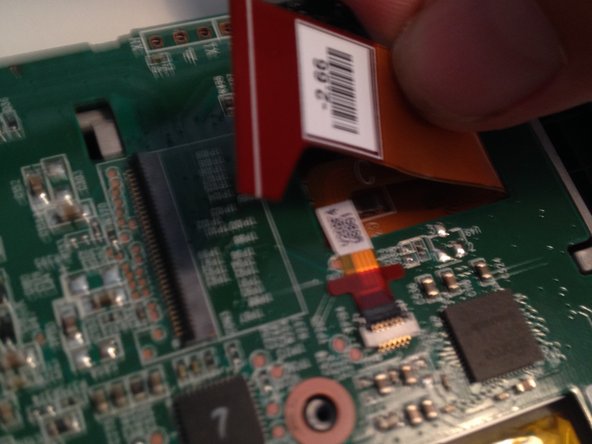
    • Push firmly until the Jimmy gets wedged into the crack. Then rotate the Jimmy while sliding it down to separate the clips

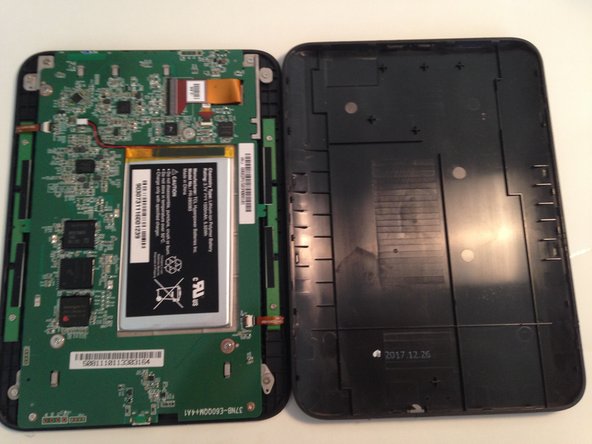
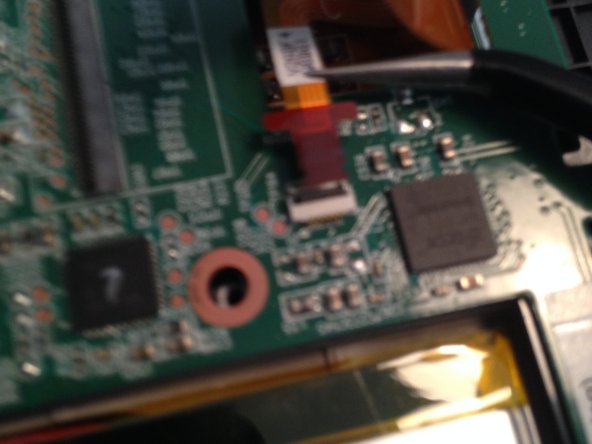
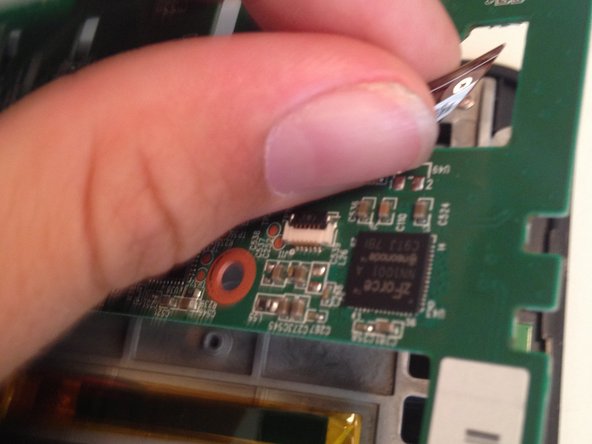
    • Do This all around the device until the device is able to be split into two halves.

  3. Barnes And Noble Nook Glowlight 3 Screen Replacement: 3 단계, 이미지 1/2 Barnes And Noble Nook Glowlight 3 Screen Replacement: 3 단계, 이미지 2/2
    • When both of the halves are able to be separated move the back cover aside.

    • (To Reassemble push down on the back cover)

  4. Barnes And Noble Nook Glowlight 3 Screen Replacement: 4 단계, 이미지 1/1
    • Remove the screws marked in red

  5. Barnes And Noble Nook Glowlight 3 Screen Replacement: 5 단계, 이미지 1/3 Barnes And Noble Nook Glowlight 3 Screen Replacement: 5 단계, 이미지 2/3 Barnes And Noble Nook Glowlight 3 Screen Replacement: 5 단계, 이미지 3/3
    • Disconnect the battery with a flick of the spudger.

  6. Barnes And Noble Nook Glowlight 3 Screen Replacement: 6 단계, 이미지 1/1
    • Tip: Before removing screws draw an outline of the device and place the screws where they are located on the device.

  7. Barnes And Noble Nook Glowlight 3 Screen Replacement: 7 단계, 이미지 1/3 Barnes And Noble Nook Glowlight 3 Screen Replacement: 7 단계, 이미지 2/3 Barnes And Noble Nook Glowlight 3 Screen Replacement: 7 단계, 이미지 3/3
    • On both sides, there are two straight and skinny button panels. These control the side up/down buttons. Please disconnect both of these ribbon cables.

  8. Barnes And Noble Nook Glowlight 3 Screen Replacement: 8 단계, 이미지 1/3 Barnes And Noble Nook Glowlight 3 Screen Replacement: 8 단계, 이미지 2/3 Barnes And Noble Nook Glowlight 3 Screen Replacement: 8 단계, 이미지 3/3
    • Now disconnect the display ribbon cables. ( one is hidden )

  9. Barnes And Noble Nook Glowlight 3 Screen Replacement: 9 단계, 이미지 1/3 Barnes And Noble Nook Glowlight 3 Screen Replacement: 9 단계, 이미지 2/3 Barnes And Noble Nook Glowlight 3 Screen Replacement: 9 단계, 이미지 3/3
    • Now lift the logic board

  10. Barnes And Noble Nook Glowlight 3 Screen Replacement: 10 단계, 이미지 1/3 Barnes And Noble Nook Glowlight 3 Screen Replacement: 10 단계, 이미지 2/3 Barnes And Noble Nook Glowlight 3 Screen Replacement: 10 단계, 이미지 3/3
    • Now remove the battery by sliding a spudger underneath the battery and breaking the adhesive.

결론

To reassemble your device, follow these instructions in reverse order.

Joan Lee

회원 가입일: 12/09/19

463 평판

안내서 2개 작성하였습니다

댓글 한 개

I’m afraid you did not get to include how the screen is disassembled.

Ian Van Giesen - 답글

댓글 쓰기

조회 통계:

24 시간 전: 0

7일 전: 1

30일 전: 3

전체 시간: 316