소개
Use this guide to repair or replace the clamp spring of your Beachwaver S-Series Dual Voltage Rotating Curling Iron.
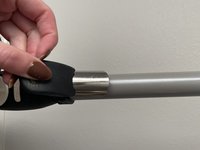
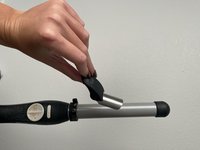
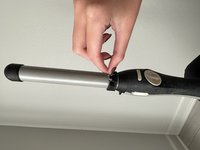
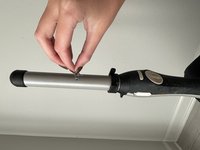
The clamp spring is a critical part that holds your hair in place against the rod—also called the heating barrel—of your curling iron. If your clamp is loose and no longer holds your hair against the rod, your clamp spring may be misaligned or broken.
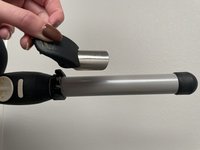
The Beachwaver S-Series is available in three sizes. The S.75 has a 0.75" rod. The S1 has a 1" rod. The S1.25 has a 1.25" rod. The size of your curling iron will determine the size of the clamp spring you require.
Sometimes, a clamp spring may simply be misaligned. Before ordering a replacement clamp spring, follow the steps in this guide to determine if you can repair your device with the original part.
Before starting this repair, ensure the curling iron is turned off and unplugged. If you’ve recently used the curling iron, allow it to cool completely to avoid the risk of burns.
Disclaimer: The user guide for the Beachwaver S-Series states, "If anything abnormal occurs, contact Customerservice@beachwaver.com for support. Do not attempt to repair iron yourself" and "Attempting to repair iron yourself voids warranty." If your device is still under warranty, we recommend you contact the manufacturer for instructions rather than performing this repair.
필요한 것


To reassemble your device, follow these instructions in reverse order.
To reassemble your device, follow these instructions in reverse order.
첨부 문서

팀

University of North Alabama, Team 23-5, Winner Fall 2024 University of North Alabama, Team 23-5, Winner Fall 2024 회원
UNA-WINNER-F24S23G5
1 회원
안내서 1개 작성