소개
Use this guide to replace the motherboard in a pair of Beats Solo 2 Wireless.
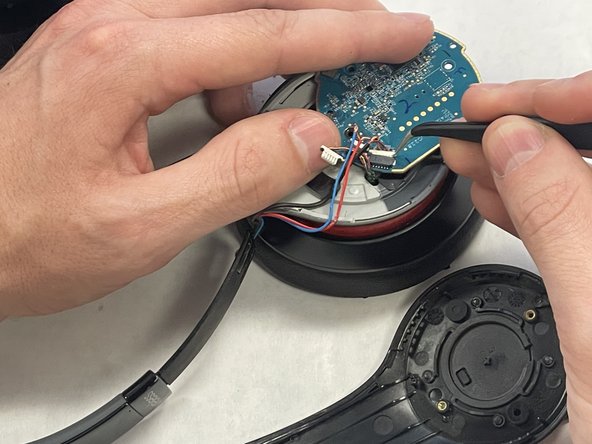
The motherboard is the most important piece of the Beats Solo 2 Wireless. It is connected to every electrical component and ensures that every process involved in making the Beats Solo 2 Wireless work properly is done effectively.
If the motherboard is broken or damaged, this can cause problems with sound quality and feedback, or may even cause the headphones to stop working completely.
필요한 것
-
-
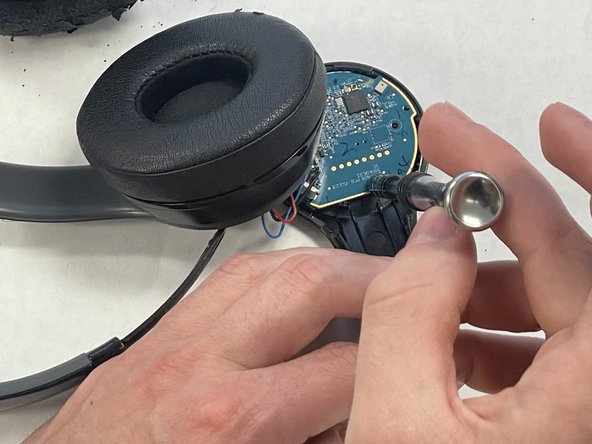
Insert an opening pick in the seam between the left outer speaker casing and the speaker housing.
-
Slide the pick around the perimeter of the casing until the outer casing releases entirely from the speaker housing.
-
-


To reassemble your device, follow these instructions in reverse order.
To reassemble your device, follow these instructions in reverse order.
다른 한 분이 해당 안내서를 완성하였습니다.
팀

IUPUI, Team 2-1, Harley Spring 2024 IUPUI, Team 2-1, Harley Spring 2024 회원
IUPUI-HARLEY-S24S2G1
4 회원들
안내서 3개 작성하였습니다