소개
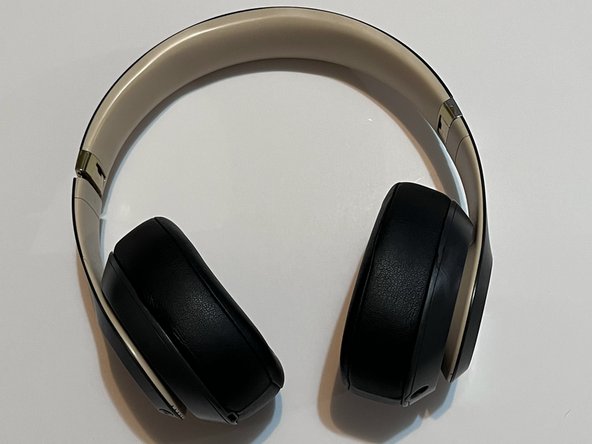
Look at this guide if your Studio 3 Beats headphones are broken from one side or both. After a particular time, a piece of the headband, which keeps the headphones in the proper position, will break. It can be fixed by replacing the headband.
필요한 것
-
-
Slide the headband down to reveal the the screws
-
Unscrew both screws from each side of the Headphones.
-
-


거의 끝나갑니다!
- locate screws and unscrew
- remove cushion, foam, and broken headband
- remove any broken plastic inside the clasps
- get the new headband and place it on the headphones; make sure the letter B is on the left and the S on the right of the headphones
- place foam and cushion with the headband. It will make a snapping noise if done correctly
- screw in the screws
결론
- locate screws and unscrew
- remove cushion, foam, and broken headband
- remove any broken plastic inside the clasps
- get the new headband and place it on the headphones; make sure the letter B is on the left and the S on the right of the headphones
- place foam and cushion with the headband. It will make a snapping noise if done correctly
- screw in the screws
다른 3명이 해당 안내서를 완성하였습니다.
팀

CSU Los Angeles, Team 3-3, Briggs Fall 2023 CSU Los Angeles, Team 3-3, Briggs Fall 2023 회원
CSULA-BRIGGS-F23S3G3
3 회원들
안내서 2개 작성하였습니다