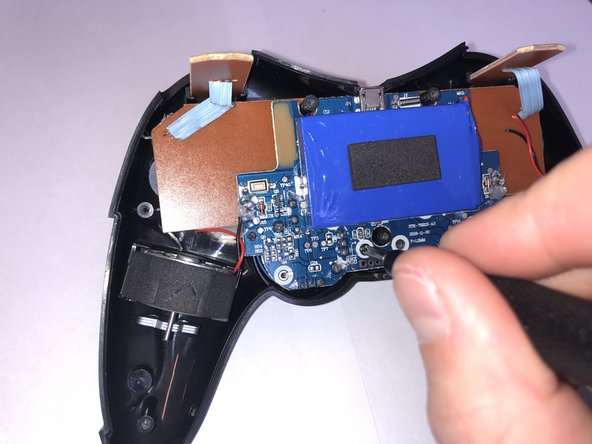
주요 콘텐츠로 건너뛰기

Beboncool Gamepad for Nintendo Switch Charging Port Replacement

필요한 것

  1. Beboncool Gamepad for Nintendo Switch Charging Port Replacement, Charging Port: 1 단계, 이미지 1/3 Beboncool Gamepad for Nintendo Switch Charging Port Replacement, Charging Port: 1 단계, 이미지 2/3 Beboncool Gamepad for Nintendo Switch Charging Port Replacement, Charging Port: 1 단계, 이미지 3/3
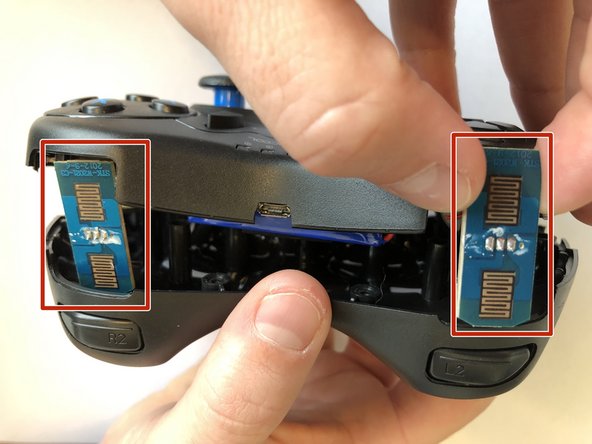
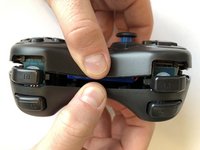
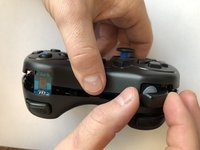
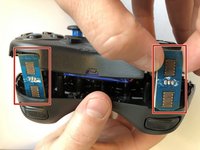
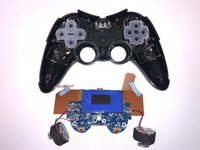
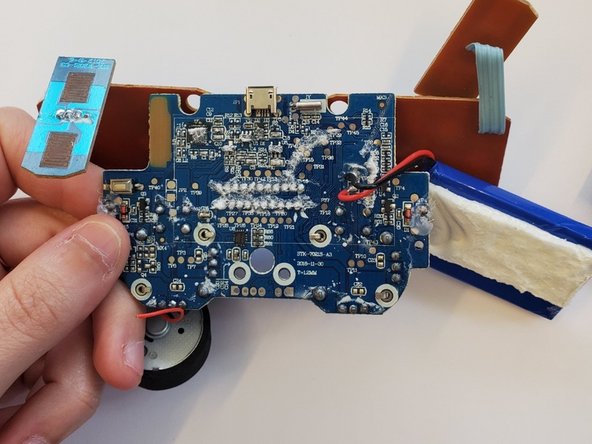
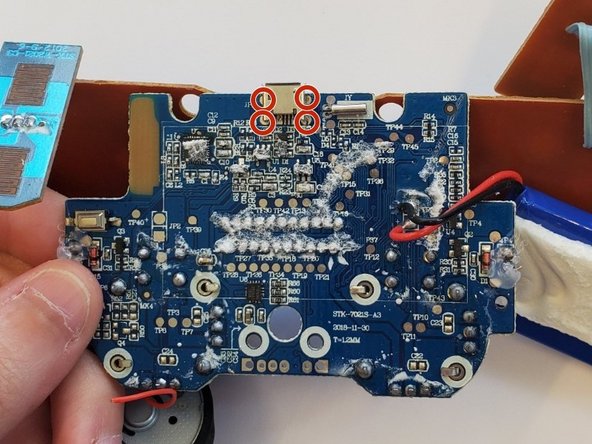
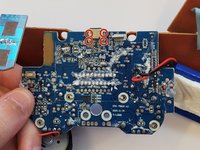
    • Use the plastic opening tool to remove the blue plastic grips from the sides of the controller.

  2. Beboncool Gamepad for Nintendo Switch Charging Port Replacement: 2 단계, 이미지 1/2 Beboncool Gamepad for Nintendo Switch Charging Port Replacement: 2 단계, 이미지 2/2
    • Use the Phillips #0 screwdriver to remove the seven 5mm screws from the back of the controller.

  3. Beboncool Gamepad for Nintendo Switch Charging Port Replacement: 3 단계, 이미지 1/3 Beboncool Gamepad for Nintendo Switch Charging Port Replacement: 3 단계, 이미지 2/3 Beboncool Gamepad for Nintendo Switch Charging Port Replacement: 3 단계, 이미지 3/3
    • Gently separate the two halves of the controller.

    • As the two covers come apart the L1 and R1 button, will fall free from the controller. Be sure not to lose them if they should pop out and fall.

    • Be sure to slide the small circuit boards out of the covers to be able to separate the two halves

  4. Beboncool Gamepad for Nintendo Switch Charging Port Replacement: 4 단계, 이미지 1/2 Beboncool Gamepad for Nintendo Switch Charging Port Replacement: 4 단계, 이미지 2/2
    • Use the Phillips #0 screwdriver to remove the two 3.5mm screws holding the circuit board in place.

  5. Beboncool Gamepad for Nintendo Switch Charging Port Replacement: 5 단계, 이미지 1/2 Beboncool Gamepad for Nintendo Switch Charging Port Replacement: 5 단계, 이미지 2/2
    • Lift the motherboard from the back case with the vibration motors and button boards attached.

  6. Beboncool Gamepad for Nintendo Switch Charging Port Replacement: 6 단계, 이미지 1/2 Beboncool Gamepad for Nintendo Switch Charging Port Replacement: 6 단계, 이미지 2/2
    • Gently pull the battery from the circuit board, leaving it connected to the board with its lead wires.

  7. Beboncool Gamepad for Nintendo Switch Charging Port Replacement: 7 단계, 이미지 1/3 Beboncool Gamepad for Nintendo Switch Charging Port Replacement: 7 단계, 이미지 2/3 Beboncool Gamepad for Nintendo Switch Charging Port Replacement: 7 단계, 이미지 3/3
    • Remove the charging port from the edge of the motherboard by desoldering each of its four solder points and lifting the port from the board.

결론

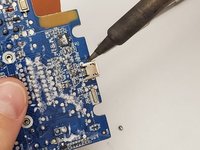
To reassemble your device, follow these instructions in reverse order.

Riley McCullough

회원 가입일: 01/30/20

285 평판

안내서 2개 작성하였습니다

댓글 0개

댓글 쓰기

조회 통계:

24 시간 전: 0

7일 전: 5

30일 전: 9

전체 시간: 653