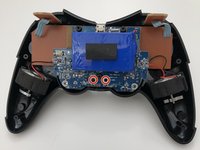
주요 콘텐츠로 건너뛰기

Beboncool Nintendo Switch Gamepad Disassembly

필요한 것

  1. Beboncool Nintendo Switch Gamepad Disassembly, Beboncool Nintendo Switch Gamepad Disassembly: 1 단계, 이미지 1/3 Beboncool Nintendo Switch Gamepad Disassembly, Beboncool Nintendo Switch Gamepad Disassembly: 1 단계, 이미지 2/3 Beboncool Nintendo Switch Gamepad Disassembly, Beboncool Nintendo Switch Gamepad Disassembly: 1 단계, 이미지 3/3
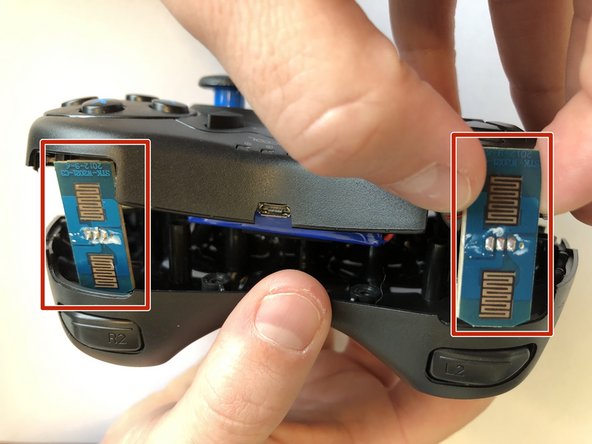
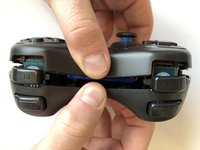
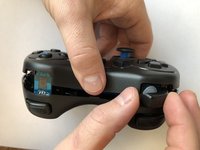
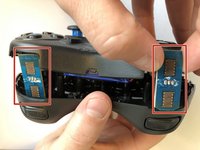
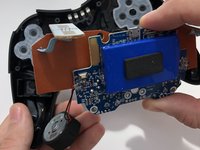
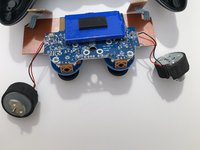
    • Use the plastic opening tool to remove the blue plastic grips from the sides of the controller.

  2. Beboncool Nintendo Switch Gamepad Disassembly: 2 단계, 이미지 1/2 Beboncool Nintendo Switch Gamepad Disassembly: 2 단계, 이미지 2/2
    • Use the Phillips #0 screwdriver to remove the seven 5mm screws from the back of the controller.

  3. Beboncool Nintendo Switch Gamepad Disassembly: 3 단계, 이미지 1/3 Beboncool Nintendo Switch Gamepad Disassembly: 3 단계, 이미지 2/3 Beboncool Nintendo Switch Gamepad Disassembly: 3 단계, 이미지 3/3
    • Gently separate the two halves of the controller.

    • As the two covers come apart the L1 and R1 button, will fall free from the controller. Be sure not to lose them if they should pop out and fall.

    • Be sure to slide the small circuit boards out of the covers to be able to separate the two halves

  4. Beboncool Nintendo Switch Gamepad Disassembly: 4 단계, 이미지 1/2 Beboncool Nintendo Switch Gamepad Disassembly: 4 단계, 이미지 2/2
    • Use the Phillips #0 screwdriver to remove the two 3.5mm screws holding the circuit board in place.

  5. Beboncool Nintendo Switch Gamepad Disassembly: 5 단계, 이미지 1/3 Beboncool Nintendo Switch Gamepad Disassembly: 5 단계, 이미지 2/3 Beboncool Nintendo Switch Gamepad Disassembly: 5 단계, 이미지 3/3
    • Lift the motherboard from the back case with the vibration motors and button boards attached.

결론

To reassemble your device, follow these instructions in reverse order.

다른 한 분이 해당 안내서를 완성하였습니다.

Patrick

회원 가입일: 01/30/20

402 평판

안내서 3개 작성하였습니다

댓글 0개

댓글 쓰기

조회 통계:

24 시간 전: 0

7일 전: 1

30일 전: 5

전체 시간: 1,019