주요 콘텐츠로 건너뛰기

Beboncool Wireless Switch Pro Controller Buttons Replacement

필요한 것

  1. Beboncool Wireless Switch Pro Controller Buttons Replacement, Motherboard: 1 단계, 이미지 1개 중 1개
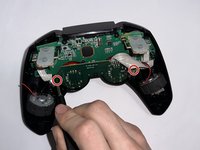
    • Use a Phillips #0 screwdriver to remove the seven 5 mm screws from the back of the controller.

  2. Beboncool Wireless Switch Pro Controller Buttons Replacement: 2 단계, 이미지 2개 중 1개 Beboncool Wireless Switch Pro Controller Buttons Replacement: 2 단계, 이미지 2개 중 2개
    • Gently separate the top and bottom halves of the controller.

  3. Beboncool Wireless Switch Pro Controller Buttons Replacement: 3 단계, 이미지 2개 중 1개 Beboncool Wireless Switch Pro Controller Buttons Replacement: 3 단계, 이미지 2개 중 2개
    • Use a Phillips #0 screwdriver to remove the two 5 mm screws holding the joystick motherboard in place.

  4. Beboncool Wireless Switch Pro Controller Buttons Replacement: 4 단계, 이미지 1개 중 1개
    • Carefully move the bumper buttons out of the way.

  5. Beboncool Wireless Switch Pro Controller Buttons Replacement: 5 단계, 이미지 2개 중 1개 Beboncool Wireless Switch Pro Controller Buttons Replacement: 5 단계, 이미지 2개 중 2개
    • Use a Phillips #0 screwdriver to remove the 5 mm screw holding the motherboard in place.

    • Remove the motherboard.

  6. Beboncool Wireless Switch Pro Controller Buttons Replacement, Buttons: 6 단계, 이미지 2개 중 1개 Beboncool Wireless Switch Pro Controller Buttons Replacement, Buttons: 6 단계, 이미지 2개 중 2개
    이 단계에 사용된 도구:
    Tweezers
    $4.99
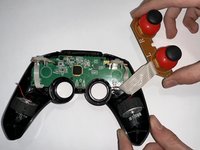
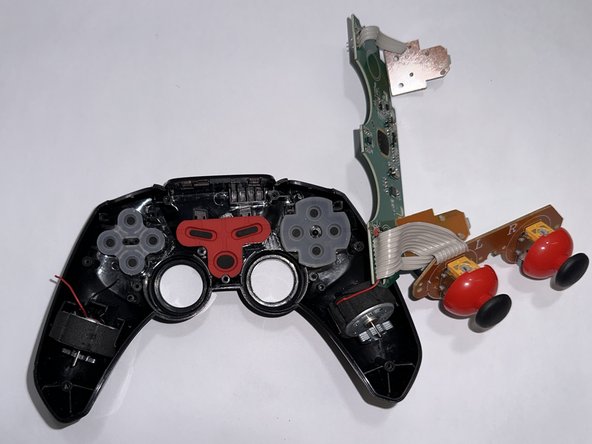
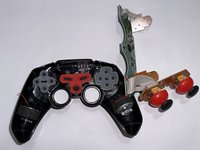
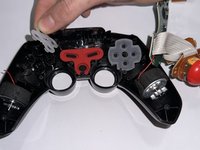
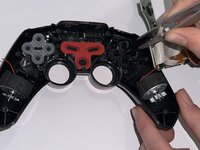
    • To remove the alphabetic buttons, remove the translucent silicone cover.

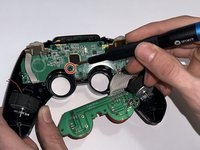
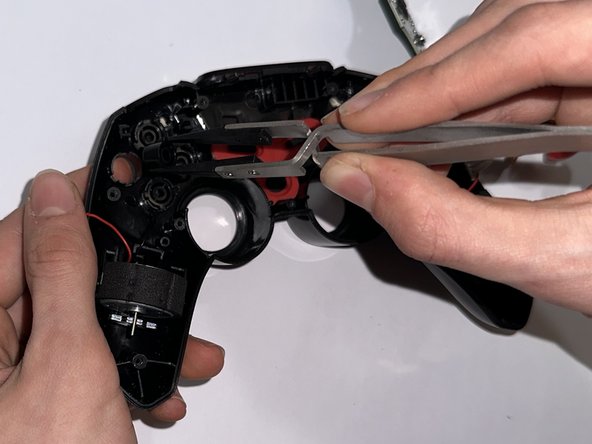
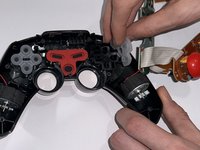
    • Use tweezers or your fingers to remove the buttons.

    • Pushing a button from below will elevate them enough to easily grab them.

  7. Beboncool Wireless Switch Pro Controller Buttons Replacement: 7 단계, 이미지 2개 중 1개 Beboncool Wireless Switch Pro Controller Buttons Replacement: 7 단계, 이미지 2개 중 2개
    • To remove the directional buttons, first remove the translucent silicone cover. Then, use tweezers or your fingers to remove the button pad.

    • As with the alphabetic buttons, push on the buttons from below, then grab them.

결론

To reassemble your device, follow these instructions in reverse order.

작성자

3다른 기여자 명과 함께

Tayah Appel

회원 가입일: 03/27/23

529 평판

안내서 5개를 작성함

Casper College, Team 1-3, Lareau Spring 2023 Casper College, Team 1-3, Lareau Spring 2023 회원

CASC-LAREAU-S23S1G3

3 회원들

안내서 5개를 작성함

0가이드 댓글

댓글 쓰기

조회 통계:

지난 24시간: 0

지난 7일: 3

지난 30일: 14

전체 시간: 195