소개
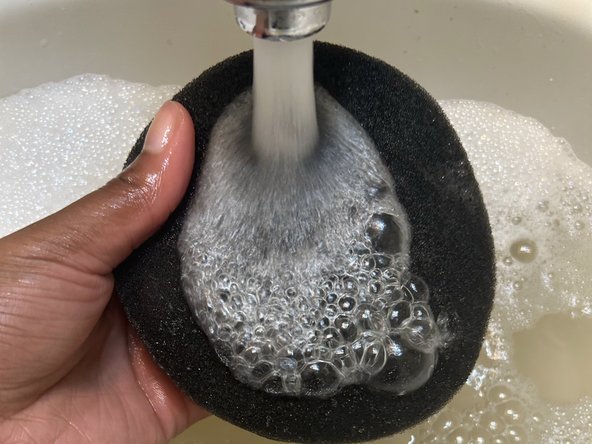
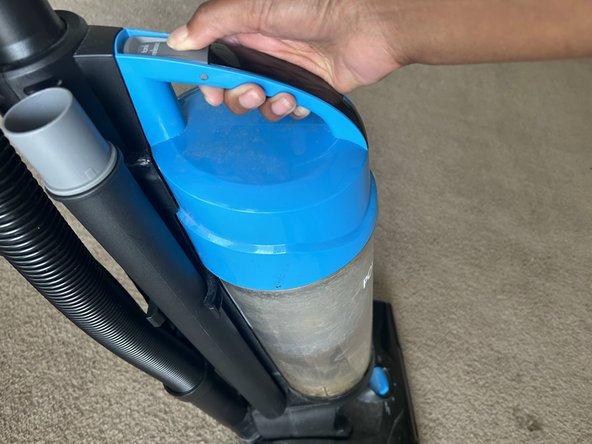
This replacement guide details how to clean or replace a filter for a Bissell PowerSwift Lightweight Compact Vacuum model 18082.
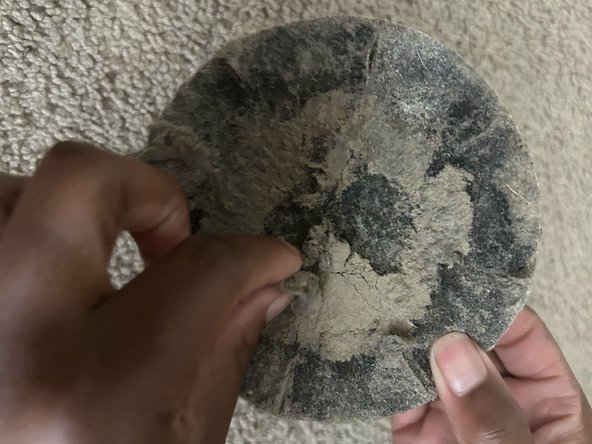
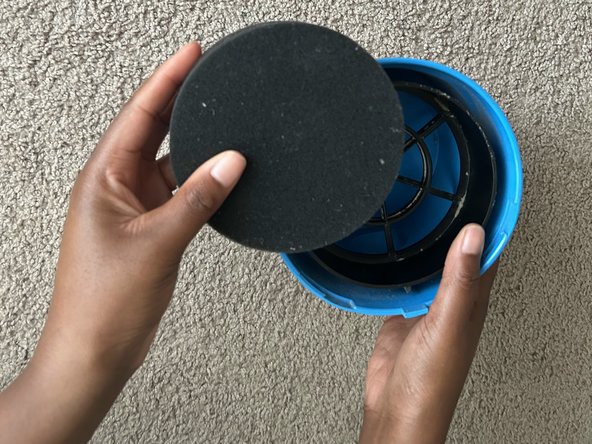
Vacuum filters keep dust and dirt from entering back into the air while vacuuming. A dirty filter does not allow for maximum air flow and suction. When your vacuum has trouble suctioning dust and dirt, this can be a sign to replace the filter instead of the entire vacuum.
필요한 것


거의 끝나갑니다!
결승점

팀

University of North Alabama, Team D-3, Winner Fall 2023 University of North Alabama, Team D-3, Winner Fall 2023 회원
UNA-WINNER-F23SDG3
1 회원
안내서 1개 작성하였습니다