주요 콘텐츠로 건너뛰기

Bissell SpotBot Pet Control Panel Replacement

필요한 것

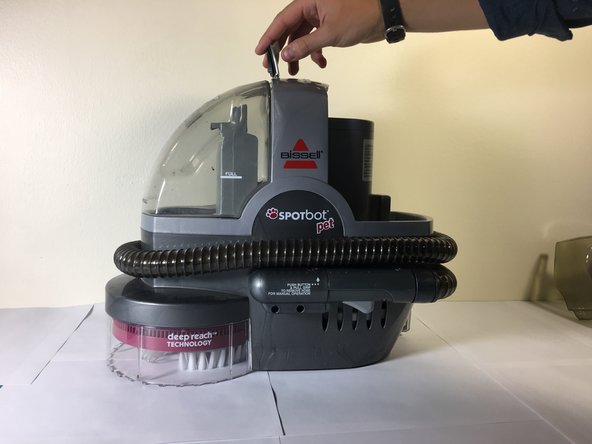
  1. Bissell SpotBot Pet Control Panel Replacement, Control Panel: 1 단계, 이미지 1/1
    • Start here.

  2. Bissell SpotBot Pet Control Panel Replacement: 2 단계, 이미지 1/1
    • Remove the container on the right side of the vacuum.

  3. Bissell SpotBot Pet Control Panel Replacement: 3 단계, 이미지 1/2 Bissell SpotBot Pet Control Panel Replacement: 3 단계, 이미지 2/2
    • Lift the tap on top of the vacuum, and then remove the container on the left side of the vacuum.

  4. Bissell SpotBot Pet Control Panel Replacement: 4 단계, 이미지 1/1
    • Remove the left container of the vacuum.

  5. Bissell SpotBot Pet Control Panel Replacement: 5 단계, 이미지 1/1
    • Remove the four screws on the top of the device.

  6. Bissell SpotBot Pet Control Panel Replacement: 6 단계, 이미지 1/1
    • Lift the top of the device off once the screws are removed.

  7. Bissell SpotBot Pet Control Panel Replacement: 7 단계, 이미지 1/1
    • Unplug the ribbon cable from the motherboard.

  8. Bissell SpotBot Pet Control Panel Replacement: 8 단계, 이미지 1/1
    • Separate the top piece and flip it upside down.

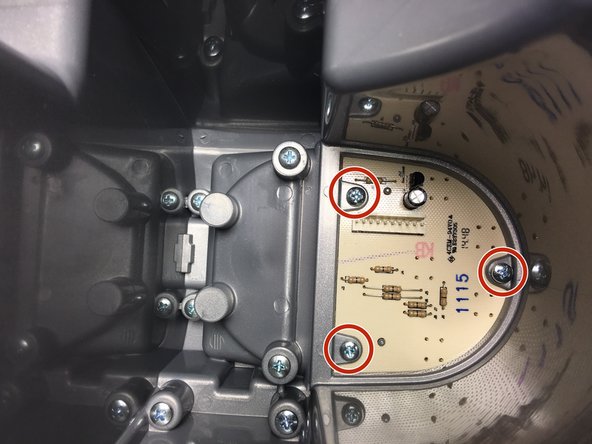
  9. Bissell SpotBot Pet Control Panel Replacement: 9 단계, 이미지 1/2 Bissell SpotBot Pet Control Panel Replacement: 9 단계, 이미지 2/2
    • Remove the screws holding the motherboard in place.

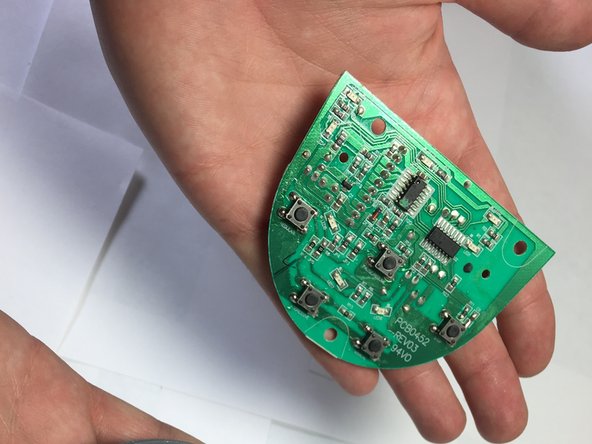
  10. Bissell SpotBot Pet Control Panel Replacement: 10 단계, 이미지 1/2 Bissell SpotBot Pet Control Panel Replacement: 10 단계, 이미지 2/2
    • Remove the motherboard from the top piece. Repair or replace the motherboard if it is faulty.

결론

To reassemble your device, follow these instructions in reverse order.

다른 4명이 해당 안내서를 완성하였습니다.

Anthony Bonvino

회원 가입일: 09/26/17

437 평판

안내서 2개 작성하였습니다

Cal Poly, Team S7-G3, Banghart Fall 2017 Cal Poly, Team S7-G3, Banghart Fall 2017 회원

CPSU-BANGHART-F17S7G3

4 회원들

안내서 4개 작성하였습니다

댓글 한 개

Where can I buy the part?

Sue Loberger - 답글

댓글 쓰기

조회 통계:

24 시간 전: 0

7일 전: 1

30일 전: 3

전체 시간: 530