주요 콘텐츠로 건너뛰기

Bissell Zing 2156A Case Replacement

필요한 것

  1. Bissell Zing 2156A Case Replacement, Rear Wheel: 1 단계, 이미지 1/1
    • Remove the dust tank, so the vacuum can lie upside down easily.

    • Press the grey button while pulling up.

  2. Bissell Zing 2156A Case Replacement: 2 단계, 이미지 1/1
    • Flip the vacuum upside down.

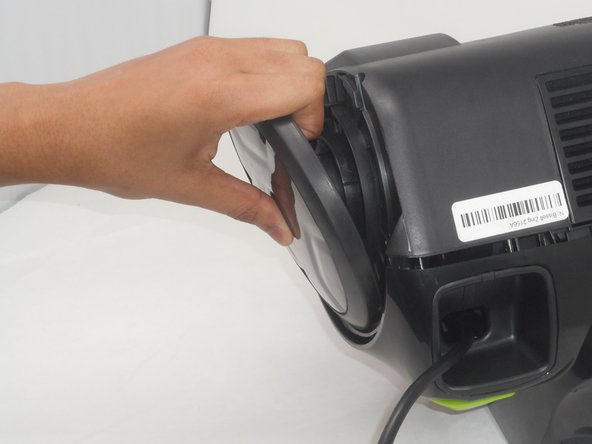
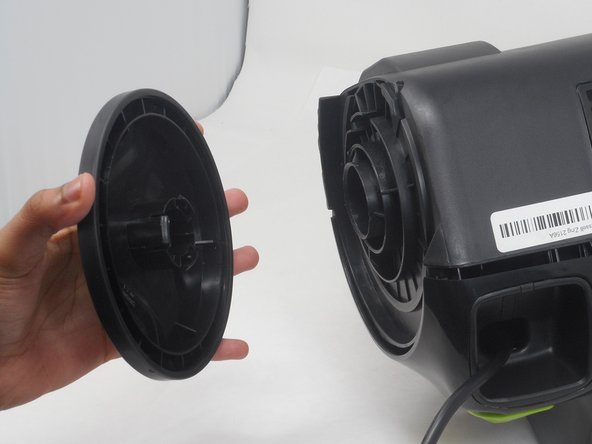
  3. Bissell Zing 2156A Case Replacement: 3 단계, 이미지 1/3 Bissell Zing 2156A Case Replacement: 3 단계, 이미지 2/3 Bissell Zing 2156A Case Replacement: 3 단계, 이미지 3/3
    • Place your hand inside between the wheel and vacuum and pry the wheel off.

    • Repeat with the other side.

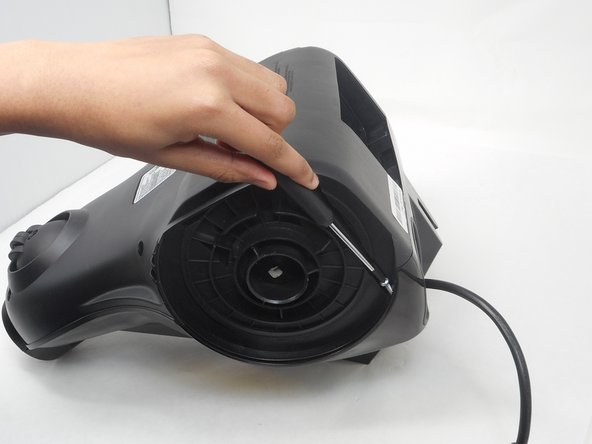
  4. Bissell Zing 2156A Case Replacement, Case: 4 단계, 이미지 1/2 Bissell Zing 2156A Case Replacement, Case: 4 단계, 이미지 2/2
    • Remove the two 18.1 mm screws using a Phillips #0 screwdriver.

    • Remove the four 18.1 mm screws under the wheels using a Phillips #0 screwdriver.

    • Don't try this until you have removed the wheels!

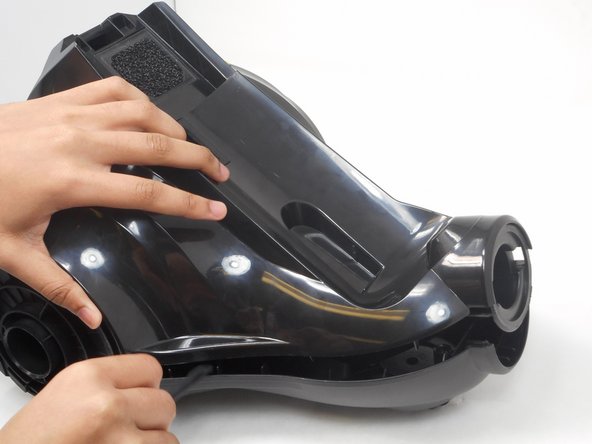
  5. Bissell Zing 2156A Case Replacement: 5 단계, 이미지 1/3 Bissell Zing 2156A Case Replacement: 5 단계, 이미지 2/3 Bissell Zing 2156A Case Replacement: 5 단계, 이미지 3/3
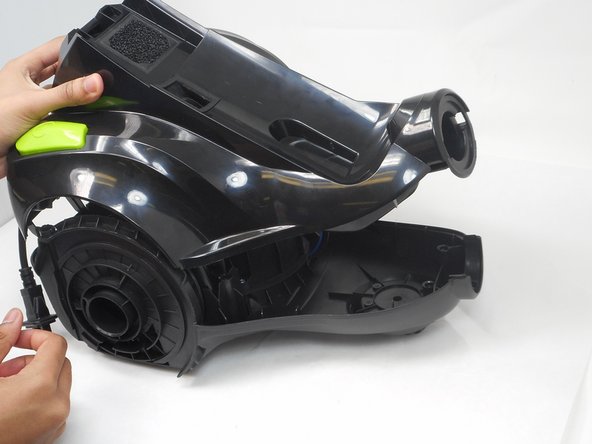
    • Use the spudger to loosen the top case from the bottom. Make sure to loosen it all around the bottom and lift up.

결론

To reassemble your device, follow these instructions in reverse order.

다른 한 분이 해당 안내서를 완성하였습니다.

Terrance

회원 가입일: 02/14/24

280 평판

안내서 3개 작성하였습니다

University of Memphis, Team 3-4, Sneed Spring 2024 University of Memphis, Team 3-4, Sneed Spring 2024 회원

UM-SNEED-S24S3G4

4 회원들

안내서 7개 작성하였습니다

댓글 0개

댓글 쓰기

조회 통계:

24 시간 전: 1

7일 전: 6

30일 전: 27

전체 시간: 92