주요 콘텐츠로 건너뛰기

Black and Decker DCM100R Control Panel Circuit Board Replacement

필요한 것

  1. Black and Decker DCM100R Control Panel Circuit Board Replacement, Heating Element: 1 단계, 이미지 1/2 Black and Decker DCM100R Control Panel Circuit Board Replacement, Heating Element: 1 단계, 이미지 2/2
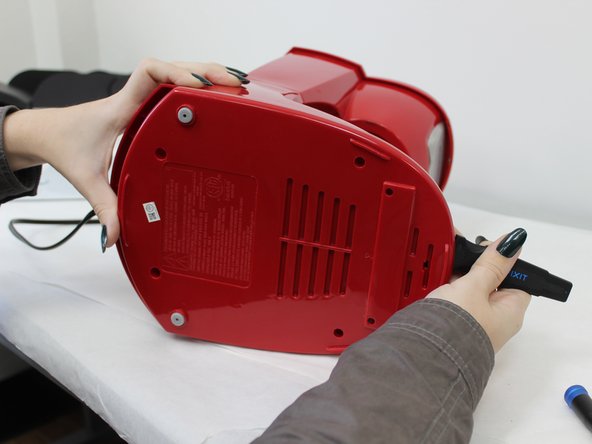
    • Turn the coffee maker on its side.

    • Remove the four 6 mm Phillips #2 that secure the baseplate.

  2. Black and Decker DCM100R Control Panel Circuit Board Replacement: 2 단계, 이미지 1/3 Black and Decker DCM100R Control Panel Circuit Board Replacement: 2 단계, 이미지 2/3 Black and Decker DCM100R Control Panel Circuit Board Replacement: 2 단계, 이미지 3/3
    • Insert the jimmy at the back of the panel and slide it around to the front.

  3. Black and Decker DCM100R Control Panel Circuit Board Replacement: 3 단계, 이미지 1/3 Black and Decker DCM100R Control Panel Circuit Board Replacement: 3 단계, 이미지 2/3 Black and Decker DCM100R Control Panel Circuit Board Replacement: 3 단계, 이미지 3/3
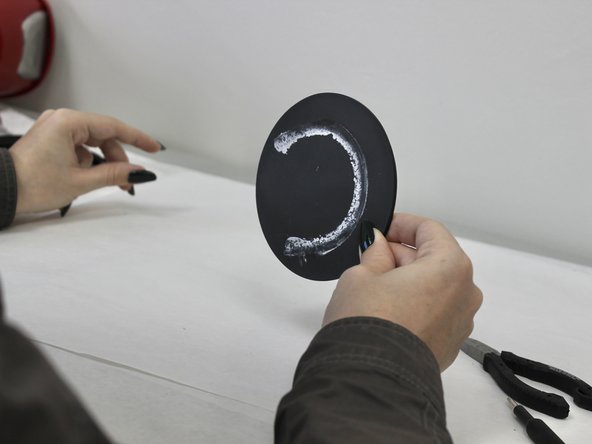
    • Apply pressure to the backside of the panel until it releases.

    • Remove the plate.

  4. Black and Decker DCM100R Control Panel Circuit Board Replacement: 4 단계, 이미지 1/2 Black and Decker DCM100R Control Panel Circuit Board Replacement: 4 단계, 이미지 2/2
    • Remove the two 10 mm Phillips #2 screws securing the metal support brace.

    • Remove the brace and set aside.

  5. Black and Decker DCM100R Control Panel Circuit Board Replacement: 5 단계, 이미지 1/2 Black and Decker DCM100R Control Panel Circuit Board Replacement: 5 단계, 이미지 2/2
    이 단계에 사용된 도구:
    Tweezers
    $4.99
    구매
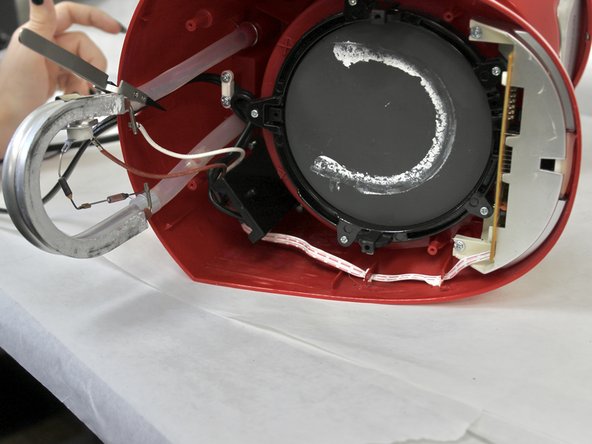
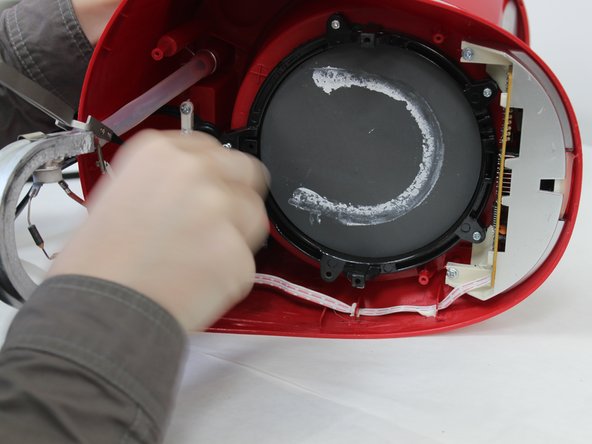
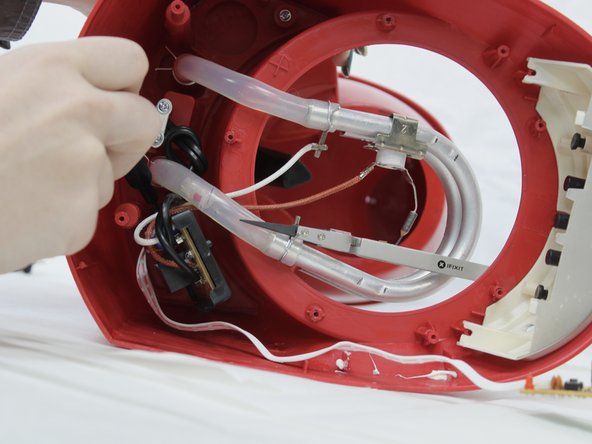
    • Pull back the tubing and wiring to reveal the hot plate.

    • To hold these out of your way, you can use the Nylon Tipped Tweezers to pin them back to the back panel.

  6. Black and Decker DCM100R Control Panel Circuit Board Replacement: 6 단계, 이미지 1/2 Black and Decker DCM100R Control Panel Circuit Board Replacement: 6 단계, 이미지 2/2
    • Use a Phillips #2 screwdriver to remove the five 8 mm screws that secure the mounting bracket and hot plate.

  7. Black and Decker DCM100R Control Panel Circuit Board Replacement: 7 단계, 이미지 1/2 Black and Decker DCM100R Control Panel Circuit Board Replacement: 7 단계, 이미지 2/2
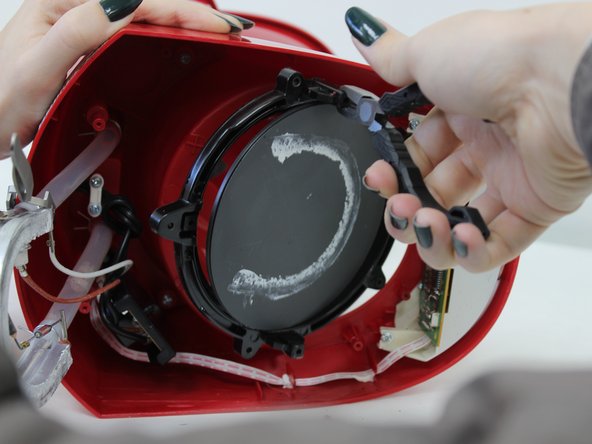
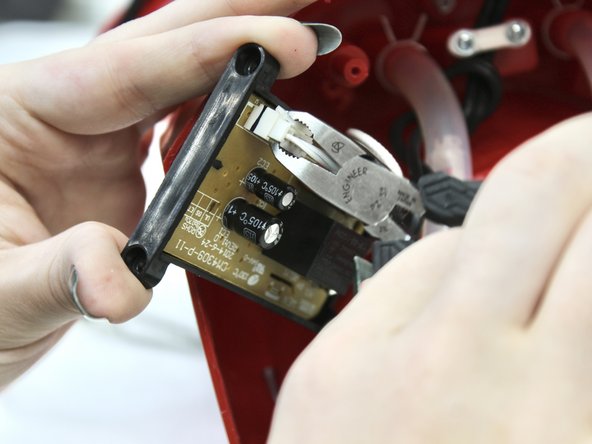
    • Use a pair of pliers to gently pull the mounting bracket out of place.

  8. Black and Decker DCM100R Control Panel Circuit Board Replacement: 8 단계, 이미지 1/3 Black and Decker DCM100R Control Panel Circuit Board Replacement: 8 단계, 이미지 2/3 Black and Decker DCM100R Control Panel Circuit Board Replacement: 8 단계, 이미지 3/3
    • Remove the hot plate from the mounting bracket.

    • Remove the O-ring from the hot plate.

  9. Black and Decker DCM100R Control Panel Circuit Board Replacement, Control Panel Circuit Board: 9 단계, 이미지 1/2 Black and Decker DCM100R Control Panel Circuit Board Replacement, Control Panel Circuit Board: 9 단계, 이미지 2/2
    • Remove the two 6 mm Phillips #2 screws that secure the circuit board.

  10. Black and Decker DCM100R Control Panel Circuit Board Replacement: 10 단계, 이미지 1/2 Black and Decker DCM100R Control Panel Circuit Board Replacement: 10 단계, 이미지 2/2
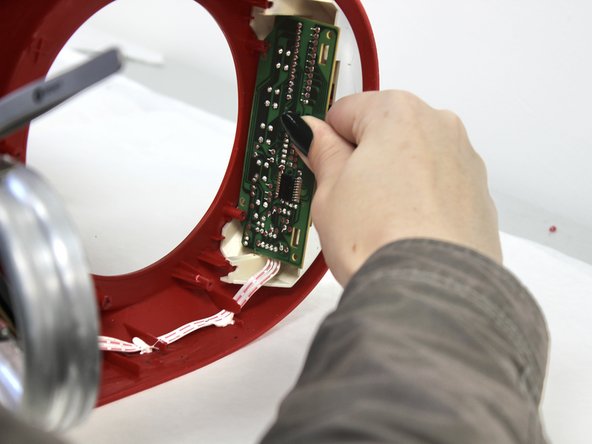
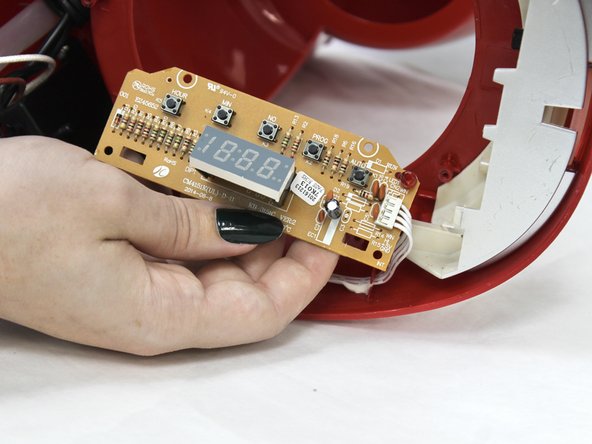
    • Pull the circuit board out and over the hooks.

  11. Black and Decker DCM100R Control Panel Circuit Board Replacement: 11 단계, 이미지 1/2 Black and Decker DCM100R Control Panel Circuit Board Replacement: 11 단계, 이미지 2/2
    • Using the jimmy, pry the circuit board out.

  12. Black and Decker DCM100R Control Panel Circuit Board Replacement: 12 단계, 이미지 1/2 Black and Decker DCM100R Control Panel Circuit Board Replacement: 12 단계, 이미지 2/2
    • Remove the two 8 mm Phillips #2 screws that hold the main circuit board.

  13. Black and Decker DCM100R Control Panel Circuit Board Replacement: 13 단계, 이미지 1/3 Black and Decker DCM100R Control Panel Circuit Board Replacement: 13 단계, 이미지 2/3 Black and Decker DCM100R Control Panel Circuit Board Replacement: 13 단계, 이미지 3/3
    • Pull out the circuit board and disconnect the white plug.

  14. Black and Decker DCM100R Control Panel Circuit Board Replacement: 14 단계, 이미지 1/3 Black and Decker DCM100R Control Panel Circuit Board Replacement: 14 단계, 이미지 2/3 Black and Decker DCM100R Control Panel Circuit Board Replacement: 14 단계, 이미지 3/3
    • Dislodge the ribbon cable.

결론

To reassemble your device, follow these instructions in reverse order.

Rory O'Neal

회원 가입일: 09/13/23

133 평판

안내서 1개 작성함

University of North Texas, Team 6-6, Kilpatrick Fall 2023 University of North Texas, Team 6-6, Kilpatrick Fall 2023 회원

UNT-KILPATRICK-F23S6G6

4 회원들

안내서 5개 작성하였습니다

댓글 0개

댓글 쓰기

조회 통계:

24 시간 전: 0

7일 전: 0

30일 전: 6

전체 시간: 124