소개
If you're experiencing microphone issues with your BlackBerry Curve 8900, such as call disruptions or audio problems, this guide is here to help. We will guide you through the process of replacing the microphone, which will restore your device's audio functionality.
The microphone in your BlackBerry Curve 8900 is essential for clear communication during calls and voice recordings. It can be frustrating when it starts malfunctioning. However, this repair is accessible to most users as it doesn't require any special skills like soldering.
Our guide provides you with detailed steps and visuals that will help you successfully replace the microphone. Following these steps with caution and working in an ESD-safe environment will help you resolve your audio problems, and restore the functionality of your device. Let's get started on improving your BlackBerry Curve 8900's audio quality!
필요한 것
-
-
Press and slide the battery cover from the back of the device with your fingers.
-
Remove the battery by pulling it out.
 FixBot에 문의하기
-
-
이 단계에 사용된 도구:iFixit Opening Tool$1.99
-
Using the iFixit Opening Tool, remove the lower rear cover.
-
-
이 단계에 사용된 도구:T6 Torx Screwdriver$9.99
-
Using a T6 Torx screwdriver, remove the six screws.
-
-
이 단계에 사용된 도구:iFixit Opening Tool$1.99
-
Using the iFixit Opening Tool or your fingers, remove the midframe of the phone.
-
-
-
-
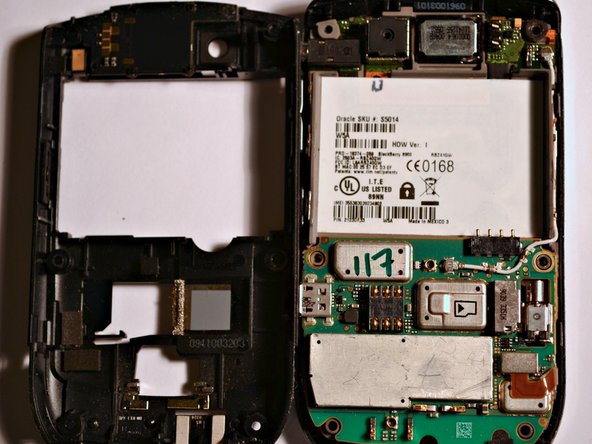
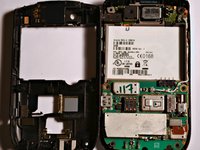
Work your way around the case, slowly, prying the back of the plastic tabs until the motherboard comes free.
-
-
-
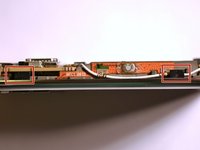
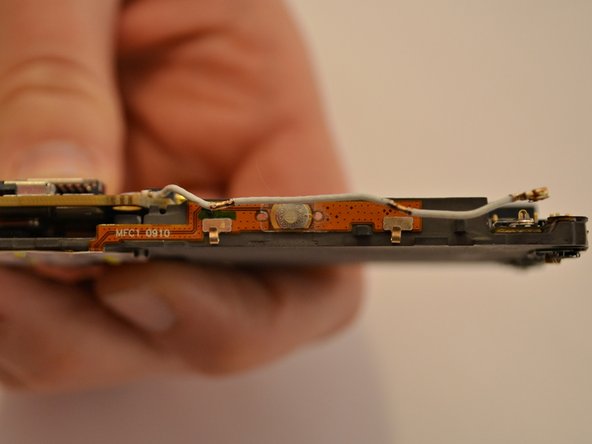
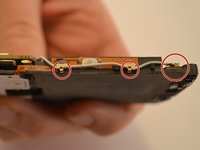
With your fingers, carefully unhook the antenna cable in all three locations.
-
-
이 단계에 사용된 도구:Spudger$3.99
-
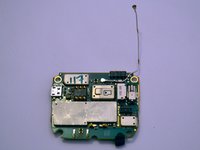
Detach the ribbon cable on the front of the motherboard using the Spudger tool.
-
-
-
Detach the motherboard from both ribbon connections.
-
The ribbon connections are indicated by red circles on the photograph.
-
The ribbon connections are indicated by orange rectangles on the photograph.
-


To reassemble your device, follow these instructions in reverse order.
다른 한 분이 해당 안내서를 완성하였습니다.
팀

Cuesta, Team 1-3, Zipperian Fall 2011 Cuesta, Team 1-3, Zipperian Fall 2011 회원
CUESTA-ZIPPERIAN-F11S1G3
3 회원들
안내서 8개를 작성함