이 버전에는 잘못된 편집 사항이 있을 수 있습니다. 최신 확인된 스냅샷으로 전환하십시오.
필요한 것
-
이 단계는 번역되지 않았습니다. 번역을 도와주십시오
-
With the back of the device facing you, press down on the button while sliding the battery casing away from the speaker to remove it.
-
-
이 단계는 번역되지 않았습니다. 번역을 도와주십시오
-
Use a plastic opening tool or fingernails to unclip the two hinges of the speaker covering and remove it.
-
-
이 단계는 번역되지 않았습니다. 번역을 도와주십시오
-
Remove the battery by pushing against it from the right and then pulling towards you.
-
-
-
이 단계는 번역되지 않았습니다. 번역을 도와주십시오
-
Remove the four screws indicated in the picture with a #T6 Torx Bit screwdriver and set them aside.
-
-
이 단계는 번역되지 않았습니다. 번역을 도와주십시오
-
Use a plastic opening tool or your fingernails to remove the plastic backing.
-
Start with the seam indicated in the picture and slide the plastic opening tool until the case is seperated.
-
-
이 단계는 번역되지 않았습니다. 번역을 도와주십시오
-
Unscrew the four screws indicated in the picture with #T6 Torx Bit screwdriver.
-
Place the four screws released from the phone in a plastic bag.
-
-
이 단계는 번역되지 않았습니다. 번역을 도와주십시오
-
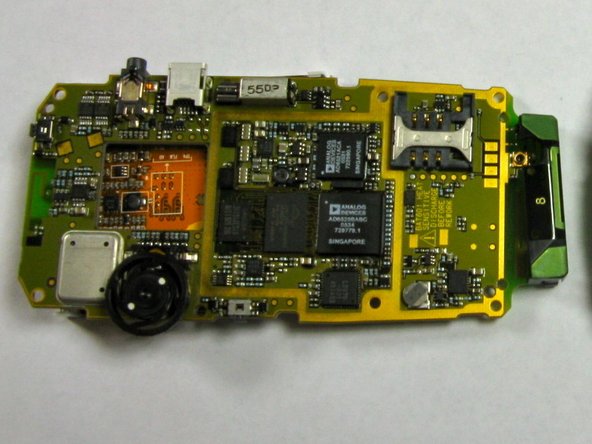
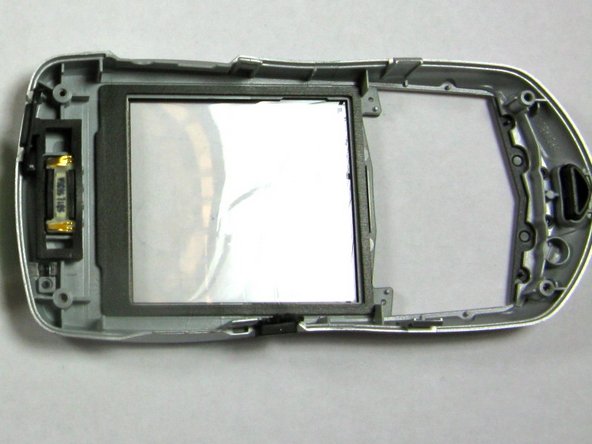
The black battery casing and logic board can now be separated for the following steps.
-


팀

Cal Poly, Team 9-17, Regan Fall 2009 Cal Poly, Team 9-17, Regan Fall 2009 회원
CPSU-REGAN-F09S9G17
4 회원들
안내서 14개 작성하였습니다