소개
Replacing the back case of the BlackBerry Bold 9900 is a tedious task, but it will allow you to become more familiar with your device, increase the lifespan of the device, and reduce e-waste.
필요한 것
-
-
Place phone screen down.
-
Use your finger to life upward on the battery case.
-
Pull the cover away from the battery.
 FixBot에 문의하기
-
-
-
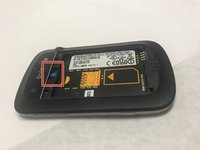
The Mini-SIM card is located inside the red rectangle.
-
To remove the Mini-SIM Card, push and slide the card inward towards the top of the phone. It will be ejected.
-
-
-
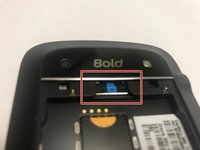
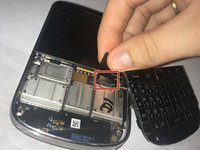
The MicroSD card is located where the red rectangle is shown.
-
To remove MicroSD card, push the card inward towards the top of the phone then release. The MicroSD card will be ejected.
-
-
-
-
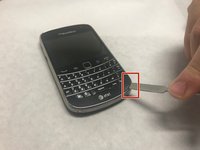
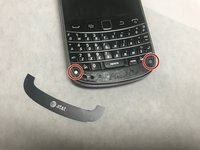
Lift the bezel at the bottom of the phone up and peel it away from the phone.
-
-
-
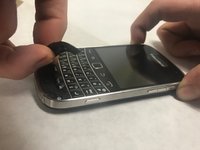
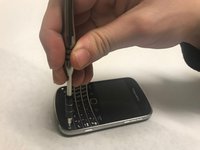
The keyboard is attached via a ribbon cable. Pull the cable up to remove the keyboard.
-
-
-
Using the T5 Torx Screwdriver, remove the four torx screws that are located on the bottom half of the device
-
-
-
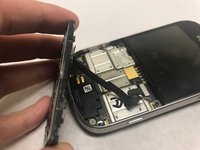
Now, carefully and gently using your fingers, lift and remove the assembly from the back case.
-


To reassemble your device, follow these instructions in reverse order.
다른 3명이 해당 안내서를 완성하였습니다.
팀

Baylor, Team S1-G4, Johnson Spring 2018 Baylor, Team S1-G4, Johnson Spring 2018 회원
BU-JOHNSON-S18S1G4
3 회원들
안내서 12개를 작성함