소개
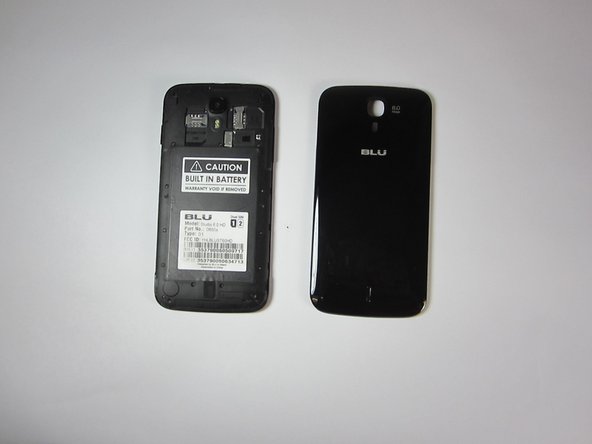
In this guide you'll be opening the back panel of your Blu Studio, this is the first step you'll take whenever you replace or add internal parts.
If you don't have any fingernails you may want to use the plastic prying tools.
필요한 것
-
-
-
To begin the removal of your back panel, first locate the lift tab on the bottom-right corner.
-


To reassemble your device, follow these instructions in reverse order.
To reassemble your device, follow these instructions in reverse order.
다른 7명이 해당 안내서를 완성하였습니다.
팀

USF Tampa, Team 9-1, Blackwell Fall 2014 USF Tampa, Team 9-1, Blackwell Fall 2014 회원
USFT-BLACKWELL-F14S9G1
3 회원들
안내서 8개 작성하였습니다