소개
Before beginning this guide make sure to have your soldering workstation ready for use.
필요한 것
-
-
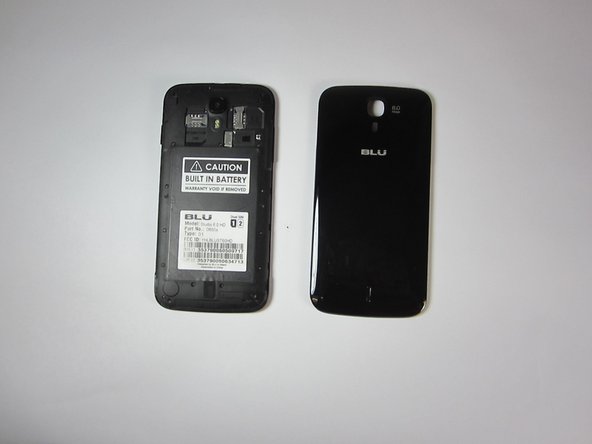
To begin the removal of your back panel, first locate the lift tab on the bottom-right corner.
-
-
-
With your back panel already removed from the previous guide you'll need to acquire a Philips head screw driver size (PH00)
-
-
-
-
After removing all 16 screws you can begin the process of removing the battery housing panel.
-
You will need to use the thinner plastic prying tool to slowly outline the seem of the case starting from the top (near the camera).
-
Try to be careful around the side buttons as the plastic is weakest there.
-
After the top half of the case has been opened insert the thicker prying tool to keep the case open. This will help as the battery and battery housing have a suction cup like action that keeps them from separating.
-
-
-
The volume buttons are located on the rear-upper-right side of your Blu Studio phone.
-
-
-
Using the tweezers lift the volume buttons and unsolder the buttons connection.
-
-
-
Finally you solder the new buttons to the motherboard of your Blu Studio.
-
Make sure that your buttons are placed as shown in the picture.
-


To reassemble your device, follow these instructions in reverse order.
To reassemble your device, follow these instructions in reverse order.
다른 한 분이 해당 안내서를 완성하였습니다.

팀

USF Tampa, Team 9-1, Blackwell Fall 2014 USF Tampa, Team 9-1, Blackwell Fall 2014 회원
USFT-BLACKWELL-F14S9G1
3 회원들
안내서 8개 작성하였습니다