소개
Use this guide to replace a worn out tire ring for the bobbin winder of a Brother CS-80 sewing machine.
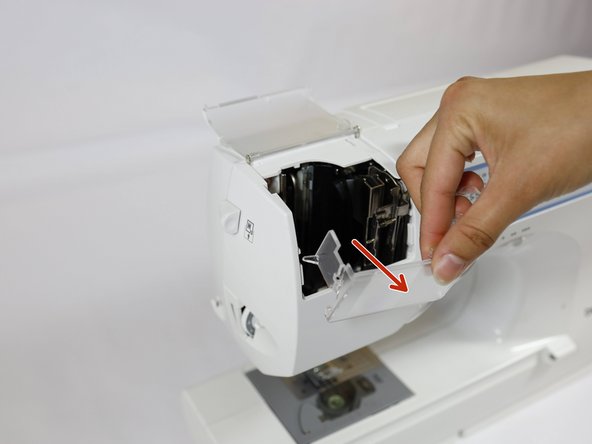
Over time and with constant usage, the bobbin winder tire ring in a Brother CS-80 sewing machine can wear out, break, or even disintegrate. You may need to replace your tire ring if your machine has issues with winding the bobbin correctly.
필요한 것


거의 끝나갑니다!
To reassemble your sewing machine, follow the disassembly instructions in reverse order.
결론
To reassemble your sewing machine, follow the disassembly instructions in reverse order.

팀

UC Davis, Team 1-5, Whithaus Spring 2024 UC Davis, Team 1-5, Whithaus Spring 2024 회원
UCD-WHITHAUS-S24S1G5
3 회원들
안내서 1개 작성하였습니다