주요 콘텐츠로 건너뛰기

Brother PT-1290 Keyboard Replacement

필요한 것

  1. Brother PT-1290 Keyboard Replacement, Turn over device to remove batteries.: 1 단계, 이미지 1/3 Brother PT-1290 Keyboard Replacement, Turn over device to remove batteries.: 1 단계, 이미지 2/3 Brother PT-1290 Keyboard Replacement, Turn over device to remove batteries.: 1 단계, 이미지 3/3
    • Turn the device to it's side toward the bottom of the keyboard. Then pop open the case and remove the batteries.

  2. Brother PT-1290 Keyboard Replacement, Back of device: 2 단계, 이미지 1/3 Brother PT-1290 Keyboard Replacement, Back of device: 2 단계, 이미지 2/3 Brother PT-1290 Keyboard Replacement, Back of device: 2 단계, 이미지 3/3
    • Remove back of device and set aside.

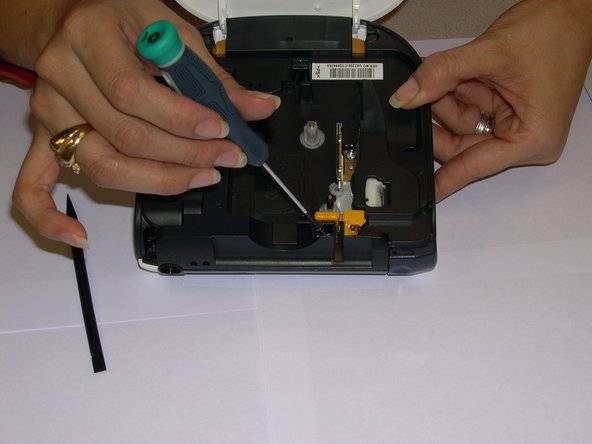
  3. Brother PT-1290 Keyboard Replacement, Remove screws: 3 단계, 이미지 1/3 Brother PT-1290 Keyboard Replacement, Remove screws: 3 단계, 이미지 2/3 Brother PT-1290 Keyboard Replacement, Remove screws: 3 단계, 이미지 3/3
    • Remove all 1/4 inch screws(6 total) with a (+PH00) screwdriver. Open slowly not to damage the display data cable.

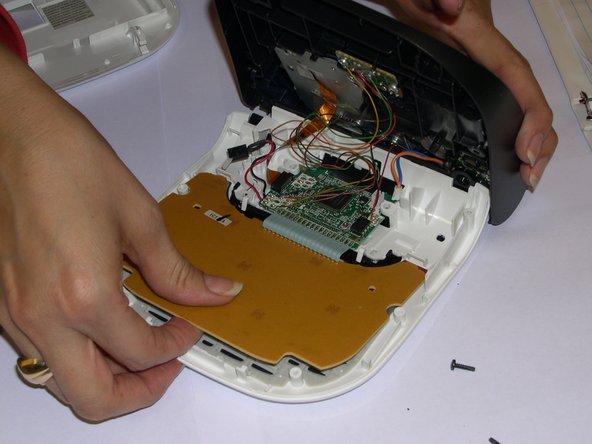
  4. Brother PT-1290 Keyboard Replacement, Remove flat panel: 4 단계, 이미지 1/3 Brother PT-1290 Keyboard Replacement, Remove flat panel: 4 단계, 이미지 2/3 Brother PT-1290 Keyboard Replacement, Remove flat panel: 4 단계, 이미지 3/3
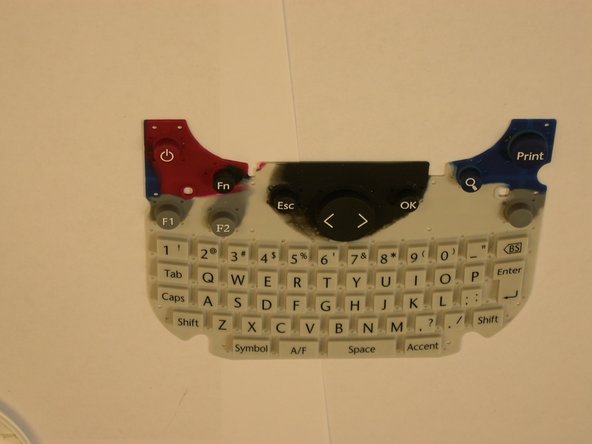
    • Use a plastic opening tool to remove the flat-panel membrane keyboard. Lift up and set aside.

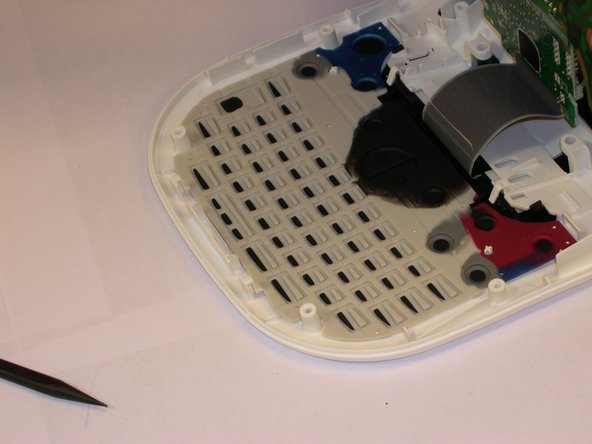
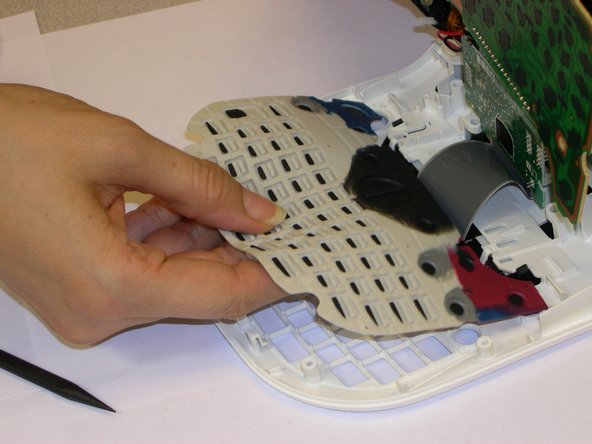
  5. Brother PT-1290 Keyboard Replacement, Remove: 5 단계, 이미지 1/3 Brother PT-1290 Keyboard Replacement, Remove: 5 단계, 이미지 2/3 Brother PT-1290 Keyboard Replacement, Remove: 5 단계, 이미지 3/3
    • Use a spudger to aid in removing the keyboard.

    • Gently lift out while removing the LCD screen that is connected to the data cable and finishing removing.

결론

To reassemble your device, follow these instructions in reverse order.

Angela Araujo

회원 가입일: 10/24/14

99 평판

안내서 1개 작성함

Gateway, Team 1-4, Johnson Fall 2014 Gateway, Team 1-4, Johnson Fall 2014 회원

GCC-JOHNSON-F14S1G4

3 회원들

안내서 6개 작성하였습니다

댓글 0개

댓글 쓰기

조회 통계:

24 시간 전: 1

7일 전: 3

30일 전: 7

전체 시간: 478