주요 콘텐츠로 건너뛰기

이 안내서에는 최근 변경 사항이 더 있습니다. 최신 비검증 버전으로 전환하십시오.

Building a Caramel Apple

필요한 것

  1. Building a Caramel Apple, Building a Caramel Apple: 1 단계, 이미지 1/3 Building a Caramel Apple, Building a Caramel Apple: 1 단계, 이미지 2/3 Building a Caramel Apple, Building a Caramel Apple: 1 단계, 이미지 3/3
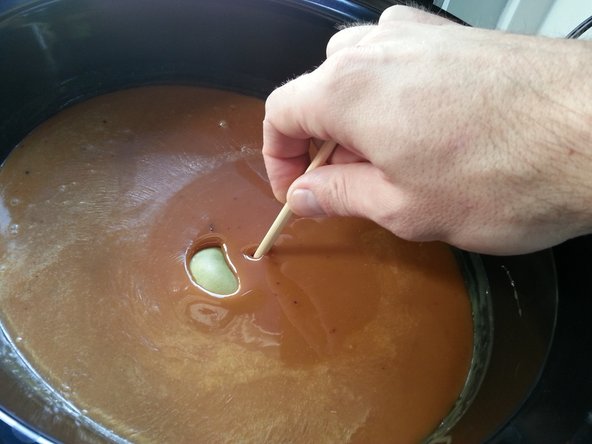
    • Acquire apple, stick, plate, and wax paper

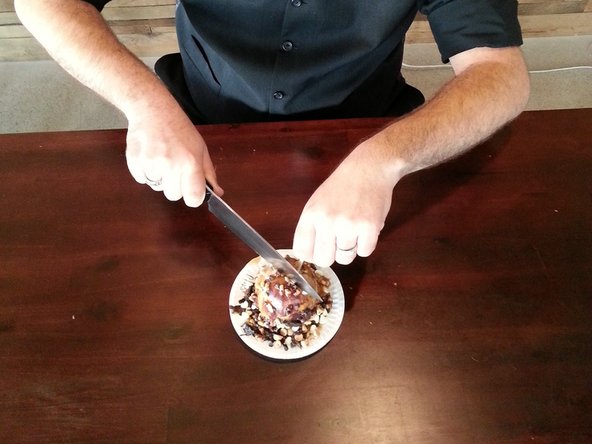
    • Write your name on small plate.

  2. Building a Caramel Apple: 2 단계, 이미지 1/2 Building a Caramel Apple: 2 단계, 이미지 2/2
    • Insert the stick into the apple near the stem.

  3. Building a Caramel Apple: 3 단계, 이미지 1/3 Building a Caramel Apple: 3 단계, 이미지 2/3 Building a Caramel Apple: 3 단계, 이미지 3/3
    • Dunk the apple in the hot caramel, making sure to coat the whole apple.

    • Remove the apple from the caramel, twisting it in the air, allowing the caramel to cool slightly.

  4. Building a Caramel Apple: 4 단계, 이미지 1/1
    • Place the slightly cooled caramel apple on the waxed paper with the stick pointed up.

  5. Building a Caramel Apple: 5 단계, 이미지 1/2 Building a Caramel Apple: 5 단계, 이미지 2/2
    • Put a ton of toppings on the caramel apple, starting with the dry toppings, then the wet.

  6. Building a Caramel Apple: 6 단계, 이미지 1/2 Building a Caramel Apple: 6 단계, 이미지 2/2
    • Put the caramel apple in the refrigerator for at least an hour, or leave it out to cool.

  7. Building a Caramel Apple: 7 단계, 이미지 1/2 Building a Caramel Apple: 7 단계, 이미지 2/2
    • Once the caramel apple has cooled properly, eat it.

    • Use a knife and fork if you must.

결론

If you find yourself feeling ill after eating this delicious item, you know you've made it right.

다른 2명이 해당 안내서를 완성하였습니다.

Brett Hartt

회원 가입일: 04/12/10

127,897 평판

안내서 143개 작성하였습니다

iFixit iFixit 회원

Staff

135 회원들

안내서 16,817개 작성하였습니다

댓글 3개

Why the !&&* is this on iFixit?

Jake Dupre - 답글

Why not? It's a fun and seasonal.

Tim Asp -

I quite love Carmel Apples, SOOOO... I love this guide!

Ben Capehart - 답글

댓글 쓰기

조회 통계:

24 시간 전: 0

7일 전: 1

30일 전: 5

전체 시간: 658