이 버전에는 잘못된 편집 사항이 있을 수 있습니다. 최신 확인된 스냅샷으로 전환하십시오.
필요한 것
-
이 단계는 번역되지 않았습니다. 번역을 도와주십시오
-
Acquire apple, stick, plate, and wax paper
-
Write your name on small plate.
-
-
이 단계는 번역되지 않았습니다. 번역을 도와주십시오
-
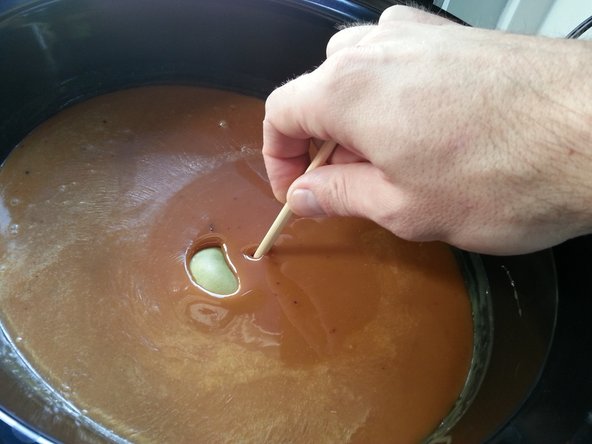
Dunk the apple in the hot caramel, making sure to coat the whole apple.
-
Remove the apple from the caramel, twisting it in the air, allowing the caramel to cool slightly.
-
-
-
이 단계는 번역되지 않았습니다. 번역을 도와주십시오
-
Place the slightly cooled caramel apple on the waxed paper with the stick pointed up.
-
-
이 단계는 번역되지 않았습니다. 번역을 도와주십시오
-
Put a ton of toppings on the caramel apple, starting with the dry toppings, then the wet.
-
-
이 단계는 번역되지 않았습니다. 번역을 도와주십시오
-
Put the caramel apple in the refrigerator for at least an hour, or leave it out to cool.
-
-
이 단계는 번역되지 않았습니다. 번역을 도와주십시오
-
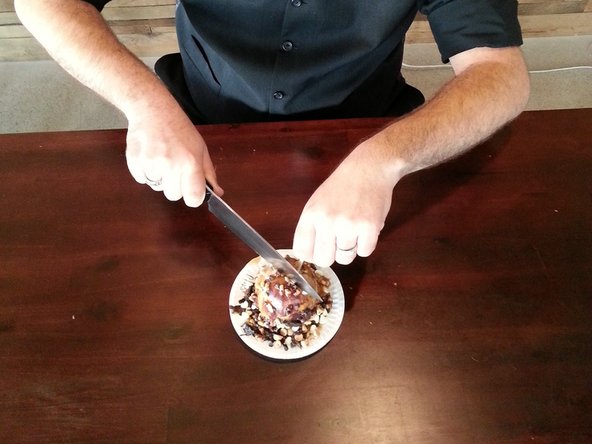
Once the caramel apple has cooled properly, eat it.
-
Use a knife and fork if you must.
-


다른 2명이 해당 안내서를 완성하였습니다.


댓글 3개
Why the !&&* is this on iFixit?
Jake Dupre - 답글
Why not? It's a fun and seasonal.
Tim Asp -
I quite love Carmel Apples, SOOOO... I love this guide!