주요 콘텐츠로 건너뛰기
수리 커뮤니티 가입 - 계정 만들기

CHI Original Circuit Board Replacement

필요한 것

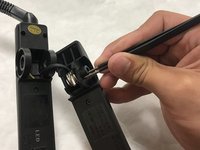
  1. CHI Original Circuit Board Replacement, Hinge Spring: 1 단계, 이미지 2개 중 1개 CHI Original Circuit Board Replacement, Hinge Spring: 1 단계, 이미지 2개 중 2개
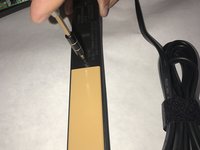
    • Insert a nylon or metal spudger under the plastic CHI spring covers. Pry them up to pop them off. Do this for each side.

    댓글 쓰기

  2. CHI Original Circuit Board Replacement: 2 단계, 이미지 1개 중 1개
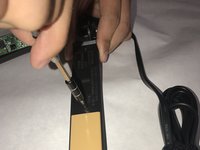
    • Remove the .53" long screw from the hinge pin.

    댓글 쓰기

  3. CHI Original Circuit Board Replacement: 3 단계, 이미지 1개 중 1개
    • Remove the hinge pin.

    댓글 쓰기

  4. CHI Original Circuit Board Replacement: 4 단계, 이미지 1개 중 1개
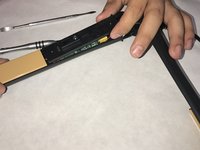
    • Separate the two halves of the CHI Original.

    댓글 쓰기

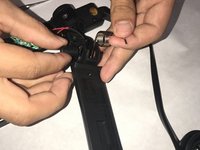
  5. CHI Original Circuit Board Replacement: 5 단계, 이미지 2개 중 1개 CHI Original Circuit Board Replacement: 5 단계, 이미지 2개 중 2개
    이 단계에 사용된 도구:
    Tweezers
    $4.99
    • Remove the spring pin with a pair of pliers or tweezers.

    • Remove the spring.

    댓글 쓰기

  6. CHI Original Circuit Board Replacement, Power Cord: 6 단계, 이미지 2개 중 1개 CHI Original Circuit Board Replacement, Power Cord: 6 단계, 이미지 2개 중 2개
    • Remove (2) .31" Phillips head screws from back cover.

    • Remove cover.

    댓글 쓰기

  7. CHI Original Circuit Board Replacement: 7 단계, 이미지 1개 중 1개
    • Gently pull upwards on the connection point and disconnect the power cord.

    댓글 쓰기

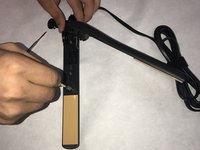
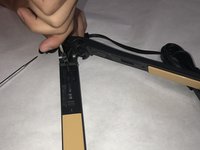
  8. CHI Original Circuit Board Replacement, Circuit Board: 8 단계, 이미지 3개 중 1개 CHI Original Circuit Board Replacement, Circuit Board: 8 단계, 이미지 3개 중 2개 CHI Original Circuit Board Replacement, Circuit Board: 8 단계, 이미지 3개 중 3개
    • Remove the (2) .27" Phillips head screws on each half of the CHI Original.

    댓글 쓰기

  9. CHI Original Circuit Board Replacement: 9 단계, 이미지 3개 중 1개 CHI Original Circuit Board Replacement: 9 단계, 이미지 3개 중 2개 CHI Original Circuit Board Replacement: 9 단계, 이미지 3개 중 3개
    • Remove the covers on both halves.

    댓글 쓰기

  10. CHI Original Circuit Board Replacement: 10 단계, 이미지 1개 중 1개
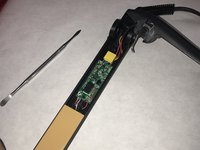
    • Remove (2) .15" Phillips screws from the circuit board.

    댓글 쓰기

  11. CHI Original Circuit Board Replacement: 11 단계, 이미지 2개 중 1개 CHI Original Circuit Board Replacement: 11 단계, 이미지 2개 중 2개
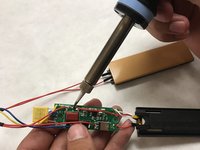
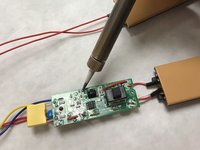
    • Desolder all points of contact between the circuit board and wires on the ceramic heating elements.

    댓글 쓰기

결론

To reassemble your device, follow these instructions in reverse order.

취소: 해당 안내서를 완성하지 않았습니다.

다른 3명이 해당 안내서를 완성하였습니다.

작성자

2다른 기여자 명과 함께

Eric Knigga

회원 가입일: 08/23/17

248 평판

안내서 2개를 작성함

IUPUI, Team S1-G2, Freund Fall 2017 IUPUI, Team S1-G2, Freund Fall 2017 회원

IUPUI-FREUND-F17S1G2

4 회원들

안내서 5개를 작성함

1가이드 댓글

I used most of this guide through step 10 after dropping this in water; I didn't take out the power cord. I left the partially disassembled straightener in a container with desiccant overnight to remove the moisture. There was some corrosion on the switch that prevented the device from turning off that I cleaned up with isopropyl alcohol . I confirmed the switch behavior before and after cleaning with a multimeter to check continuity. On my device, the contact closest to the heating element was supposed to be disconnected from the other two contacts when off; when on, they were all showing contact. Before cleaning, there was continuity between all contacts. Thanks for the guide.

bnh8 - 답글 공유

댓글 쓰기

조회 통계:

지난 24시간: 0

지난 7일: 10

지난 30일: 60

전체 시간: 4,415