소개
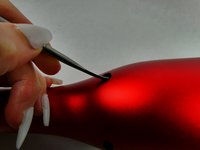
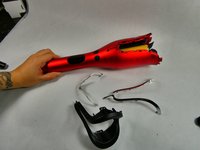
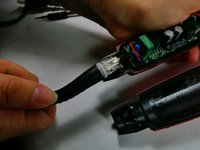
Creating waves and curls in your hair is difficult and tiresome with normal products. The CHI Spin N Curl Rotating Curler makes creating waves and curls easy and efficient. If your curler no longer works it is worth the time to save money and repair it from home with just a few easy steps. This step by step process shows how to repair a CHI Spin N Curl Curler that no longer turns on. This is a safe and easy process that requires a replacement of the device's motherboard. These easy steps don’t require any advanced knowledge of electronics and include pictures to help guide along the way.
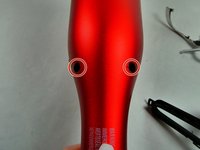
Before beginning this repair, be sure that your curler is unplugged from the power outlet and has cooled off it was used recently.
필요한 것


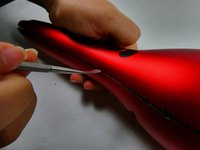


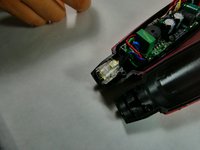


To reassemble your device, follow these instructions in reverse order.
To reassemble your device, follow these instructions in reverse order.

팀

UMass Dartmouth, Team 2-7, Petersen Fall 2022 UMass Dartmouth, Team 2-7, Petersen Fall 2022 회원
UMASSD-PETERSEN-F22S2G7
3 회원들
안내서 6개를 작성함