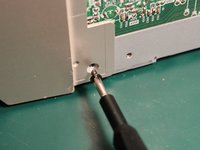
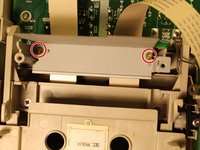
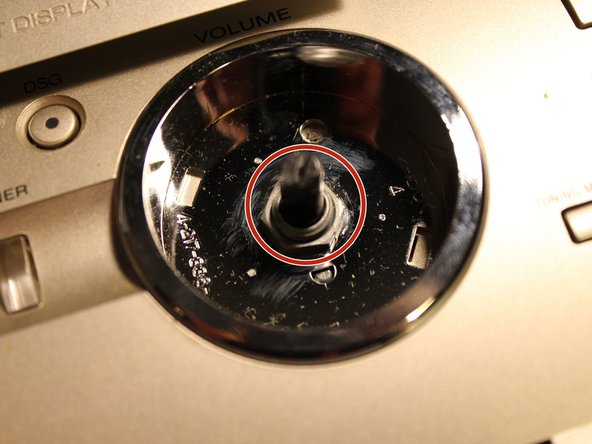
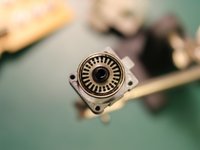
주요 콘텐츠로 건너뛰기

CMT-CP1 Rotary encoder cleaning/replacing

필요한 것

  1. CMT-CP1 Rotary encoder cleaning/replacing, remove cover: 1 단계, 이미지 1/2 CMT-CP1 Rotary encoder cleaning/replacing, remove cover: 1 단계, 이미지 2/2
    • Remove the screws

  2. CMT-CP1 Rotary encoder cleaning/replacing, remove flex cables: 2 단계, 이미지 1/1
    • Remove the flex cables with easy access

  3. CMT-CP1 Rotary encoder cleaning/replacing, remove screws: 3 단계, 이미지 1/2 CMT-CP1 Rotary encoder cleaning/replacing, remove screws: 3 단계, 이미지 2/2
    • Remove the screws on both sides and on the bottom

  4. CMT-CP1 Rotary encoder cleaning/replacing, remove more cables: 4 단계, 이미지 1/1
    • Remove the front and the rest of the cables

  5. CMT-CP1 Rotary encoder cleaning/replacing, remove cassette deck: 5 단계, 이미지 1/2 CMT-CP1 Rotary encoder cleaning/replacing, remove cassette deck: 5 단계, 이미지 2/2
    • Remove the cassette deck (this is to access the screw beneath it)

  6. CMT-CP1 Rotary encoder cleaning/replacing, remove pcb: 6 단계, 이미지 1/1
    • Remove the screws (you have to remove the casetdeck to access the orange screw)

  7. CMT-CP1 Rotary encoder cleaning/replacing, remove knob: 7 단계, 이미지 1/2 CMT-CP1 Rotary encoder cleaning/replacing, remove knob: 7 단계, 이미지 2/2
    • Remove the volume knob and the screw behind it

  8. CMT-CP1 Rotary encoder cleaning/replacing, remove more screws: 8 단계, 이미지 1/1
    • Remove the screws

  9. CMT-CP1 Rotary encoder cleaning/replacing, lift up one side: 9 단계, 이미지 1/1
    • carefully lift up one side of the cassette deck and remove the pcb

  10. CMT-CP1 Rotary encoder cleaning/replacing, open the rotary encoder: 10 단계, 이미지 1/1
    • Remove the taps to the side carefully

  11. CMT-CP1 Rotary encoder cleaning/replacing, clean the rotary encoder: 11 단계, 이미지 1/3 CMT-CP1 Rotary encoder cleaning/replacing, clean the rotary encoder: 11 단계, 이미지 2/3 CMT-CP1 Rotary encoder cleaning/replacing, clean the rotary encoder: 11 단계, 이미지 3/3
    • clean up your rotary encoder with a screwdriver, also the inside!

결론

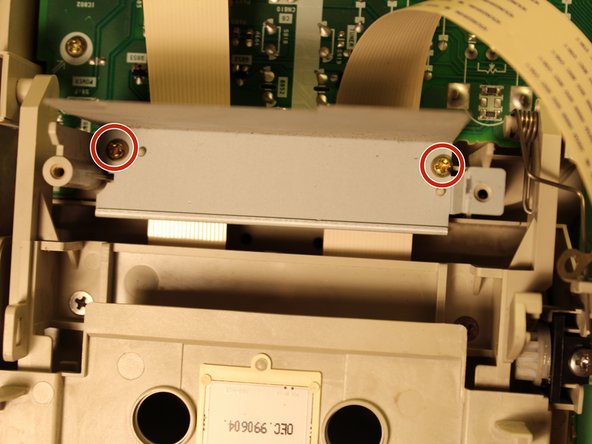
To reassemble your device, follow these instructions in reverse order.

다른 3명이 해당 안내서를 완성하였습니다.

Jacco Hogen Esch

회원 가입일: 05/14/18

299 평판

안내서 1개 작성함

댓글 한 개

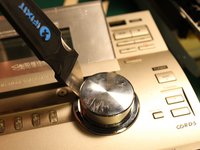
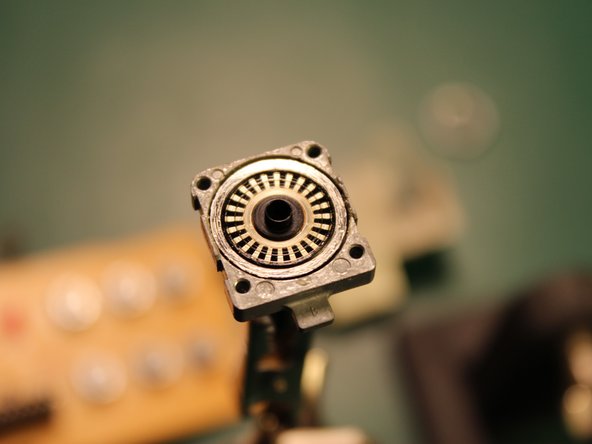
Hi Jacco, thanks for this guide. What device is this? As the instructions for disassembly are somewhat specific, this could be interesting. For cleaning the encoder, you seriously recommend to do that using a screwdriver? I find the spring contacts inside these encoders rather delicate typically and they would easily take damage if the wrong tool is used for cleaning. I must recommend to use 1) a lot of care, 2) nothing that is tougher than cotton buds, 3) alcohol, and 4) contact spray eventually to keep things clean and coated against future oxidation. Usually there is no need for scrubbing if contacts are gold plated. Oxidation might be an issue otherwise but that is best removed with chemical anti-oxidation agents, and if that does not help, a (very) soft metal brush, or maybe very fine grain sandpaper, applied with as little pressure as possible of course. A screwdriver will easily scratch surfaces or bend contacts, both of which will cause the encoder to drop out again sooner than later.

JoeMuc2014 - 답글

댓글 쓰기

조회 통계:

24 시간 전: 0

7일 전: 5

30일 전: 36

전체 시간: 2,734