이 버전에는 잘못된 편집 사항이 있을 수 있습니다. 최신 확인된 스냅샷으로 전환하십시오.
필요한 것
-
이 단계는 번역되지 않았습니다. 번역을 도와주십시오
-
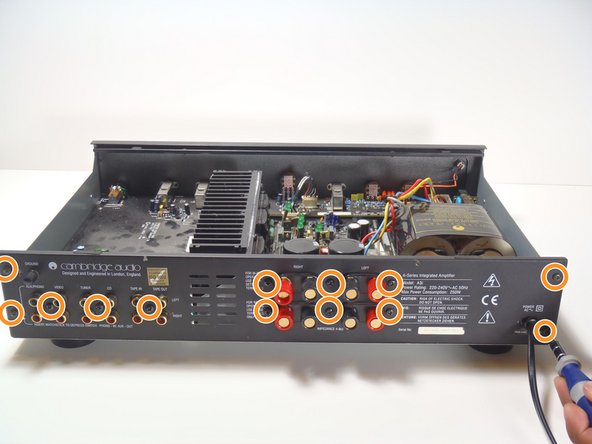
Remove 2 screws on rear of device. Slide top cover up and back from main case.
-
-
-
이 단계는 번역되지 않았습니다. 번역을 도와주십시오
-
Using a pair of pliers, squeeze the retainer for the power cord as shown and pull it toward the external side the panel.
-
It may require some wiggling, but it should slip out of the hole and then off of the cord.
-
-
이 단계는 번역되지 않았습니다. 번역을 도와주십시오
-
Carefully de-solder ends of power cord from circuit board.
-
Keep track of the colors of the cords. The brown cord leads to the L on the circuit board, and this cord will lead to a fuse in the power plug. The blue cord leads to the N on the board.
-
Finally, pull the power cord through the rear panel to completely remove it.
-
-
이 단계는 번역되지 않았습니다. 번역을 도와주십시오
-
Remove the 4 nuts holding down the transformer bracket using a 7mm nut driver or socket.
-


다른 5명이 해당 안내서를 완성하였습니다.

팀

Cal Poly, Team 28-36, Regan Spring 2010 Cal Poly, Team 28-36, Regan Spring 2010 회원
CPSU-REGAN-S10S28G36
4 회원들
안내서 3개 작성하였습니다