소개
If the Ethernet port is broken and you would rather not use Wi-Fi, this guide will show you how to replace the Ethernet PCB board.
The Ethernet port has its own dedicated PCB board, meaning it can be replaced without needing to replace working components.
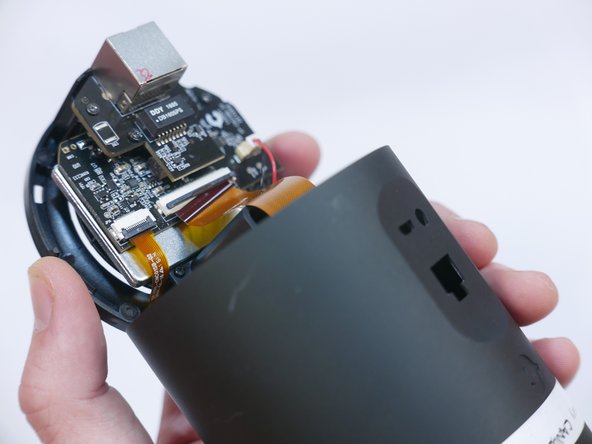
In order to access the Ethernet PCB board, you need to remove the bottom casing. The bottom casing is held in by clips. Use a spudger to pry it off, but be mindful of the delicate ribbon cable inside connecting the bottom casing to the motherboard.
A Phillips #0 screwdriver can be used for all 7 screws.
필요한 것
-
-
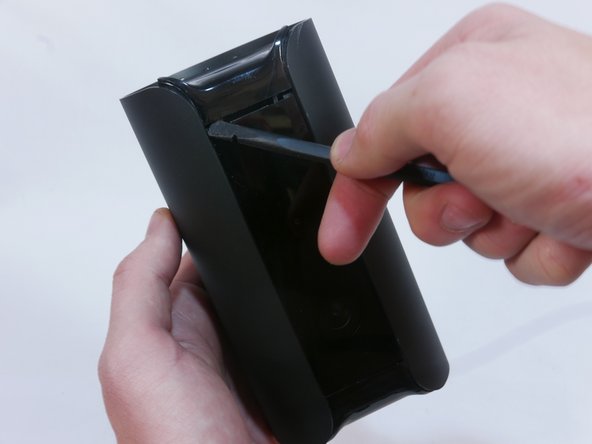
Grip the rubber ring with your fingers and pull up.
-
Rotate the Canary as you pull out one tab at a time.
-
-
-
-
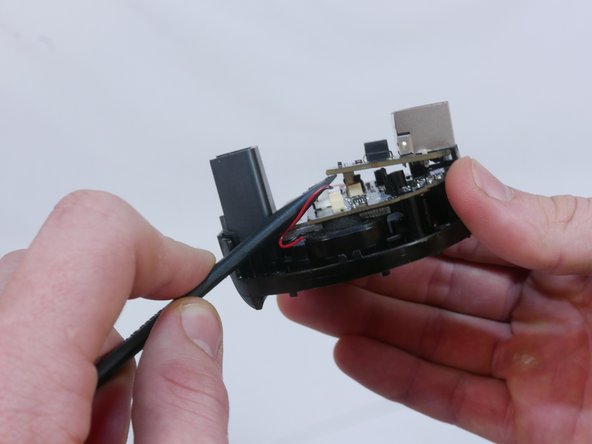
Use the pointed end of the spudger to flip up the small retaining flap on the ZIF (zero insertion force) connector.
-
Pull the ribbon cable out towards the device.
-


To reassemble your device, follow these instructions in reverse order.
To reassemble your device, follow these instructions in reverse order.
팀

USF Tampa, Team S1-G2, Nance Spring 2017 USF Tampa, Team S1-G2, Nance Spring 2017 회원
USFT-NANCE-S17S1G2
4 회원들
안내서 16개 작성하였습니다