주요 콘텐츠로 건너뛰기

Canon EOS Rebel XTi Top Casing Replacement

필요한 것

  1. Canon EOS Rebel XTi Top Casing Replacement, Battery: 1 단계, 이미지 1/1
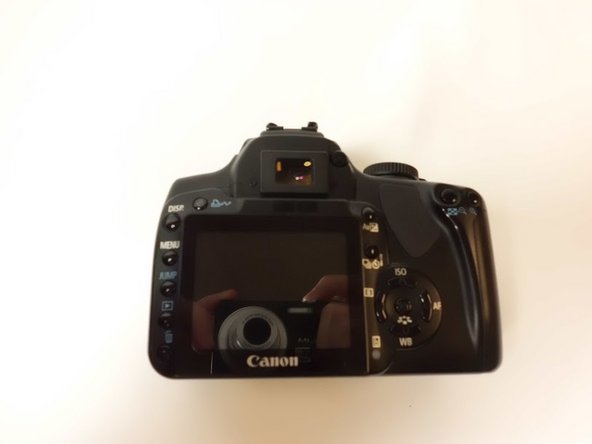
    • Place the camera upside down, and position it to where the back of the camera is visible.

  2. Canon EOS Rebel XTi Top Casing Replacement: 2 단계, 이미지 1/1
    • Pull the orange tab to the right to release the primary battery.

  3. Canon EOS Rebel XTi Top Casing Replacement: 3 단계, 이미지 1/1
    • To remove the secondary battery, reposition the camera to where the display screen is facing upwards.

    • Place your finger inside the empty battery compartment and pull away from the camera on the ridged battery tab.

  4. Canon EOS Rebel XTi Top Casing Replacement, Memory Card: 4 단계, 이미지 1/1
    • Place the camera on its side with the soft touch grip facing up and the top of the camera facing right.

  5. Canon EOS Rebel XTi Top Casing Replacement: 5 단계, 이미지 1/1
    • Slide the memory card door in the direction of the arrow engraved on the camera.

    • Once the door has slid open to its full position, lift up on the door.

  6. Canon EOS Rebel XTi Top Casing Replacement: 6 단계, 이미지 1/1
    • With the door open, push down the small black plunger next to the CF slot. The CF card will disengage from the slot and be ejected far enough that you can grasp it between thumb and forefinger and remove it from the slot.

    • The plunger will stay in its depressed position until a CF card is again inserted in the slot.

  7. Canon EOS Rebel XTi Top Casing Replacement, Top Casing: 7 단계, 이미지 1/3 Canon EOS Rebel XTi Top Casing Replacement, Top Casing: 7 단계, 이미지 2/3 Canon EOS Rebel XTi Top Casing Replacement, Top Casing: 7 단계, 이미지 3/3
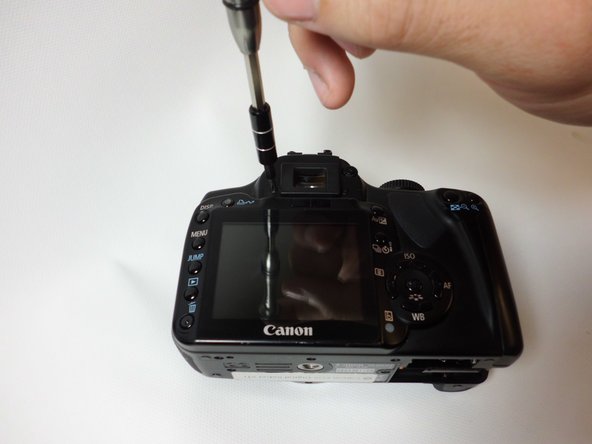
    • Remove the single 10 mm JIS #00 shoulder screw.

    • Remove the two 6 mm JIS #00 screws.

  8. Canon EOS Rebel XTi Top Casing Replacement: 8 단계, 이미지 1/1
    • Separate the top casing from the electrical components enough to expose the wire harnesses that will need to be disconnected.

    • Ensure to remove the casing gently. There are several wire harnesses connecting the motherboard to components on the casing.

  9. Canon EOS Rebel XTi Top Casing Replacement: 9 단계, 이미지 1/1
    • Unplug the yellow connector located on the top of the camera.

  10. Canon EOS Rebel XTi Top Casing Replacement: 10 단계, 이미지 1/1
    • Disconnect the red connector located by the USB port.

결론

To reassemble your device, follow these instructions in reverse order.

다른 한 분이 해당 안내서를 완성하였습니다.

Nicholas Abate

회원 가입일: 08/28/15

656 평판

안내서 5개 작성하였습니다

USF Tampa, Team 8-6, Eyestone Fall 2015 USF Tampa, Team 8-6, Eyestone Fall 2015 회원

USFT-EYESTONE-F15S8G6

3 회원들

안내서 18개 작성하였습니다

댓글 0개

댓글 쓰기

조회 통계:

24 시간 전: 0

7일 전: 1

30일 전: 9

전체 시간: 966