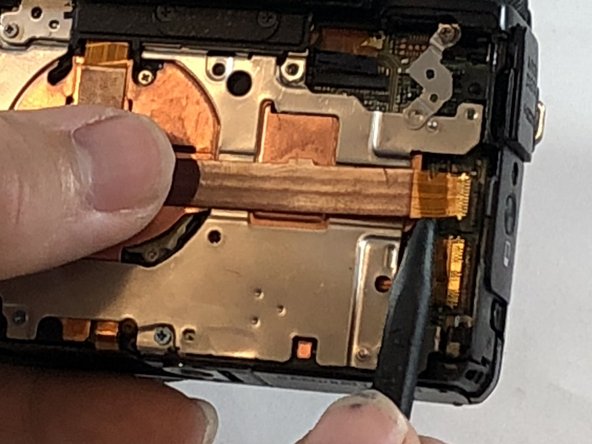
주요 콘텐츠로 건너뛰기

Canon PowerShot G7X Flash Replacement

필요한 것

  1. Canon PowerShot G7X Flash Replacement, Dial: 1 단계, 이미지 1/1
    • Remove the five 2mm Phillips #000 screws that are under the screen of the camera.

  2. Canon PowerShot G7X Flash Replacement: 2 단계, 이미지 1/1
    • Remove the two 3mm Phillips #000 screws under the AV-out digital flap.

    • Remove the two 3 mm Phillips #000 screws from the side of the camera.

  3. Canon PowerShot G7X Flash Replacement: 3 단계, 이미지 1/1
    • Remove the two 3 mm Phillips #000 screws on the side of camera with the flash toggle.

  4. Canon PowerShot G7X Flash Replacement: 4 단계, 이미지 1/1
    • Remove the four 4 mm Phillips #000 screws from the plate on the bottom of the camera.

  5. Canon PowerShot G7X Flash Replacement: 5 단계, 이미지 1/1
    • Remove the back plate.

  6. Canon PowerShot G7X Flash Replacement: 6 단계, 이미지 1/1
    • Remove the three 3 mm Phillips #000 screws around the dial.

  7. Canon PowerShot G7X Flash Replacement: 7 단계, 이미지 1/2 Canon PowerShot G7X Flash Replacement: 7 단계, 이미지 2/2
    • Using the nylon spudger, gently lift the ZIF tab.

    • Disconnect the ribbon cable that connects the dial to the motherboard.

    • Remove the dial from the device.

  8. Canon PowerShot G7X Flash Replacement, Flash: 8 단계, 이미지 1/2 Canon PowerShot G7X Flash Replacement, Flash: 8 단계, 이미지 2/2
    • Remove the three, blue 5 mm Phillips screws from the back plate.

    • Remove seven 2 mm Phillips #000 screws.

  9. Canon PowerShot G7X Flash Replacement: 9 단계, 이미지 1/2 Canon PowerShot G7X Flash Replacement: 9 단계, 이미지 2/2
    • While using the plastic opening tool, gently pry the top plate off the camera.

  10. Canon PowerShot G7X Flash Replacement: 10 단계, 이미지 1/2 Canon PowerShot G7X Flash Replacement: 10 단계, 이미지 2/2
    • Using the black nylon spudger, gently lift the ribbon cable connected to the LCD screen housing until it comes out then remove the housing.

  11. Canon PowerShot G7X Flash Replacement: 11 단계, 이미지 1/2 Canon PowerShot G7X Flash Replacement: 11 단계, 이미지 2/2
    • Remove the 2 mm Phillips #000 screw underneath the top plate.

    • Remove silver plate.

  12. Canon PowerShot G7X Flash Replacement: 12 단계, 이미지 1/1
    • Take the Phillips #000 and remove the three 5 mm screws from the front plate.

  13. Canon PowerShot G7X Flash Replacement: 13 단계, 이미지 1/2 Canon PowerShot G7X Flash Replacement: 13 단계, 이미지 2/2
    • Using the spudger, gently lift the ribbon cable from underneath the front plate.

    • Remove the front plate.

  14. Canon PowerShot G7X Flash Replacement: 14 단계, 이미지 1/2 Canon PowerShot G7X Flash Replacement: 14 단계, 이미지 2/2
    • Remove flash toggle plate.

    • Remove the 2mm Phillips #000 screws under the flash toggle.

  15. Canon PowerShot G7X Flash Replacement: 15 단계, 이미지 1/2 Canon PowerShot G7X Flash Replacement: 15 단계, 이미지 2/2
    • Flash contains charged capacitor. Shock hazard.

    • Using the black nylon spudger, gently lift the ribbon cable that connects the flash to motherboard and remove the flash from the device.

결론

To reassemble your device, follow these instructions in reverse order.

Kyle Pellham

회원 가입일: 04/09/18

420 평판

안내서 2개 작성하였습니다

댓글 한 개

Hi,

great guide, thanks!. Where can I buy the flash?

Best

david olivelli - 답글

댓글 쓰기

조회 통계:

24 시간 전: 1

7일 전: 15

30일 전: 53

전체 시간: 1,868