소개
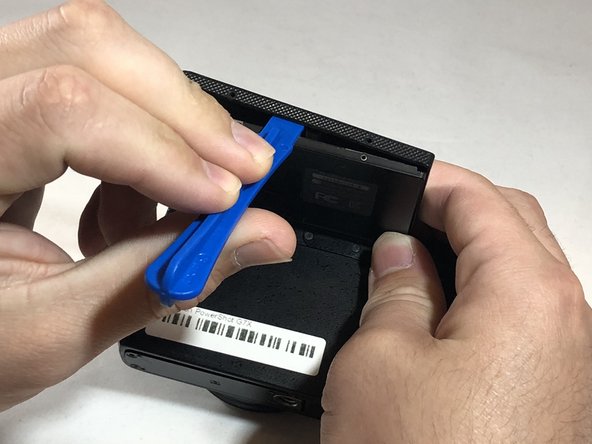
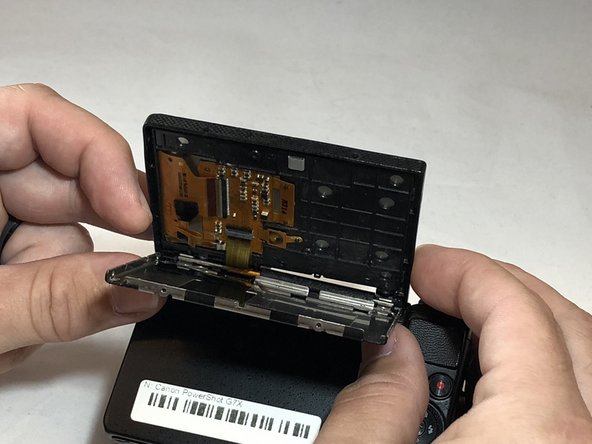
The LCD screen of the Camera is important to see what exactly the pictures you took look like. The purpose of this replacement guide is to help you remove the camera's LCD screen.
필요한 것
To reassemble your device, follow these instructions in reverse order.
To reassemble your device, follow these instructions in reverse order.
다른 3명이 해당 안내서를 완성하였습니다.
댓글 한 개
This is good and was a big help replacing my cracked G7 X display, but a few additional things worth noting
The ribbon connectors are ZIF. Be sure to flip up the little flaps to release them.
To replace the LCD panel, two additional steps are needed:
Remove the PCB. It’s held on with a strip of adhesive, and can be removed by slowly, gently prying it up with a plastic spudger from the exposed edges.
The panel itself is held into the frame by strips of tar like adhesive around the edges. I got it out with a combination of prying between the display and the plastic back of the frame though the opening left by the PCB, a suction cup on the front, and working around the edges. The glass is very delicate, it’s easy to crack prying around the edges or bending the frame . The adhesive can be reused to an extent, but the fit may not be as nice as factory.


