이 버전에는 잘못된 편집 사항이 있을 수 있습니다. 최신 확인된 스냅샷으로 전환하십시오.
필요한 것
-
이 단계는 번역되지 않았습니다. 번역을 도와주십시오
-
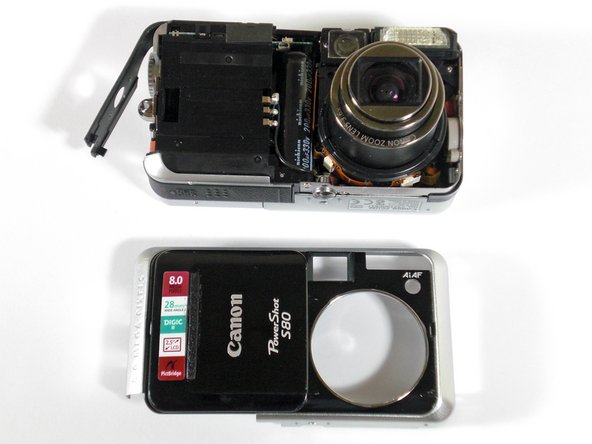
Remove the knot on the wrist lanyard.
-
Remove the battery and the memory card.
-
-
이 단계는 번역되지 않았습니다. 번역을 도와주십시오
-
Begin removing the screws on the bottom of the outer casing.
-
Next, remove the rest of the screws from the outer casing.
-
-
이 단계는 번역되지 않았습니다. 번역을 도와주십시오
-
Open the "A/V Out Digital" cover. Remove the screw inside.
-
Gently pull off the back casing.
-
Remove the black "L" shaped piece of metal.
-
-
이 단계는 번역되지 않았습니다. 번역을 도와주십시오
-
Remove the three screws that are holding the screen in place. Free the screen from the underlying components.
-
-
이 단계는 번역되지 않았습니다. 번역을 도와주십시오
-
With the spudger, gently lift the black flap that is holding the wide ribbon cable wire in place.
-
Unplug the wide ribbon cable.
-
Unplug the narrow ribbon cable to free the LCD screen from the camera body.
-
-
-
이 단계는 번역되지 않았습니다. 번역을 도와주십시오
-
Gently pry up the tab with a metal spudger and remove the ribbon cable.
-
-
이 단계는 번역되지 않았습니다. 번역을 도와주십시오
-
Be mindful of the pins as you lift up and remove the function/set button.
-
-
이 단계는 번역되지 않았습니다. 번역을 도와주십시오
-
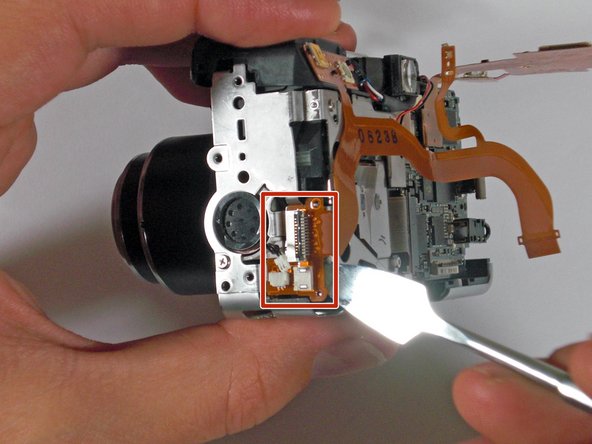
Use a spudger to lift up the ribbon cable tab.
-
Detach the ribbon cable.
-
-
이 단계는 번역되지 않았습니다. 번역을 도와주십시오
-
Gently remove the entire ribbon cable connection to release the ribbon cable from the camera.
-
-
이 단계는 번역되지 않았습니다. 번역을 도와주십시오
-
Pry up the ribbon cable connection and remove it from the camera.
-
Lift the ribbon cable tab and completely detach the cable from the camera.
-


다른 2명이 해당 안내서를 완성하였습니다.

팀

Cal Poly, Team 19-5, Maness SU 2012 Cal Poly, Team 19-5, Maness SU 2012 회원
CPSU-MANESS-SU12S19G5
1 회원
안내서 5개 작성하였습니다