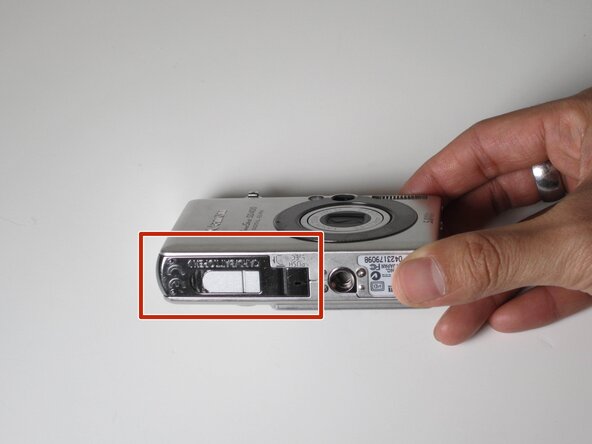
주요 콘텐츠로 건너뛰기

Canon PowerShot SD400 LCD Replacement

필요한 것

  1. Canon PowerShot SD400 LCD Replacement, LCD: 1 단계, 이미지 1/3 Canon PowerShot SD400 LCD Replacement, LCD: 1 단계, 이미지 2/3 Canon PowerShot SD400 LCD Replacement, LCD: 1 단계, 이미지 3/3
    • Locate the 6 screws that you must remove to open the camera housing.

    • There are 2 screws on the bottom and 2 screws on each side

  2. Canon PowerShot SD400 LCD Replacement: 2 단계, 이미지 1/3 Canon PowerShot SD400 LCD Replacement: 2 단계, 이미지 2/3 Canon PowerShot SD400 LCD Replacement: 2 단계, 이미지 3/3
    • Using the screwdriver, carefully remove the exterior screws and set them aside to avoid misplacing them.

  3. Canon PowerShot SD400 LCD Replacement: 3 단계, 이미지 1/2 Canon PowerShot SD400 LCD Replacement: 3 단계, 이미지 2/2
    • Locate the interior screw to the top right of the screen.

    • Remove the screw using the screwdriver.

  4. Canon PowerShot SD400 LCD Replacement: 4 단계, 이미지 1/3 Canon PowerShot SD400 LCD Replacement: 4 단계, 이미지 2/3 Canon PowerShot SD400 LCD Replacement: 4 단계, 이미지 3/3
    • Insert the flat-head screwdriver under the LCD screen into the two clips.

    • Lift the LCD screen.

    • Potential for device damage Lift the screen gently and be careful not to rip the screen off.

결론

To reassemble your device, follow these instructions in reverse order.

다른 2명이 해당 안내서를 완성하였습니다.

Yi Huang Ke

회원 가입일: 10/18/11

51 평판

안내서 4개 작성하였습니다

James Madison, Team 1-1, Allen Fall 2011 James Madison, Team 1-1, Allen Fall 2011 회원

JMU-ALLEN-F11S1G1

4 회원들

안내서 4개 작성하였습니다

댓글 한 개

Do you carry a lcd screen for the Powershot sd400?

Jesus Licon - 답글

댓글 쓰기

조회 통계:

24 시간 전: 0

7일 전: 8

30일 전: 22

전체 시간: 3,024