이 안내서에는 최근 변경 사항이 더 있습니다. 최신 비검증 버전으로 전환하십시오.
소개
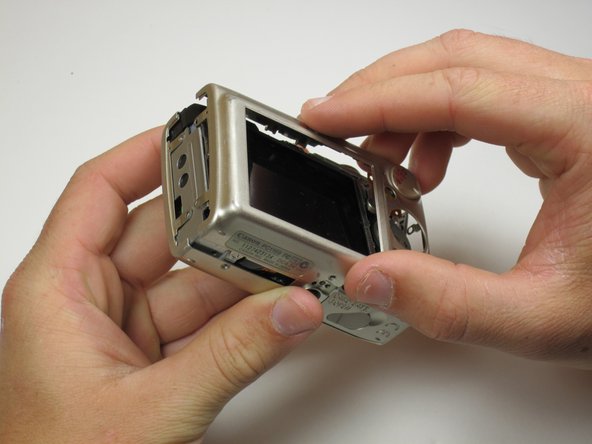
The outer case of the PowerShot SD550 is the part that takes the greatest beating. Every time the camera falls, it lands on its case. Some common problems include cracking and paint wear.
필요한 것
-
-
In preparation for disassembly, the battery and SD Card need to be removed from the camera. You can access both the battery and the SD card through the door on the bottom of the camera.
-
-
-
-
Find the next two screws on the right side of the camera. One of them is hidden under the USB port cover. The upper screw is .125 inches long, while the lower screw measures .085 inches.
-
Remove both screws, then carefully lift the side panel off.
-
Underneath the side panel, there is a .07 inch screw. Remove it.
-


To reassemble your device, follow these instructions in reverse order.
To reassemble your device, follow these instructions in reverse order.
팀

Cal Poly, Team 18-23, Garner Spring 2011 Cal Poly, Team 18-23, Garner Spring 2011 회원
CPSU-GARNER-S11S18G23
5 회원들
안내서 7개 작성하였습니다