주요 콘텐츠로 건너뛰기

Canon Vixia HF R70 Side Panel Replacement

필요한 것

  1. Canon Vixia HF R70 Side Panel Replacement, Battery: 1 단계, 이미지 1/1
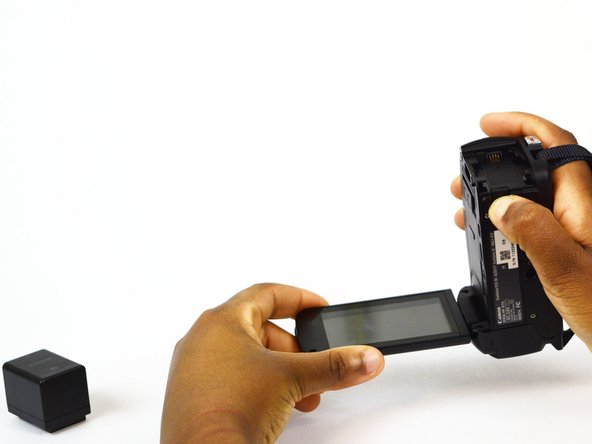
    • Power off and unplug the device.

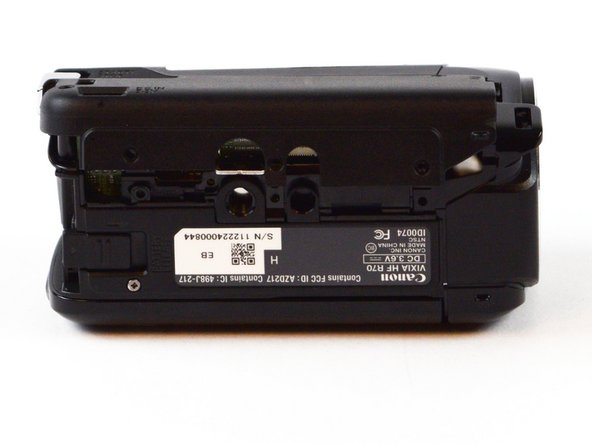
    • Position the camera so that the battery is facing you.

  2. Canon Vixia HF R70 Side Panel Replacement: 2 단계, 이미지 1/1
    • Locate the latch on the bottom edge of the camera.

    • Hold the battery into place and gently push down on the latch towards the lens.

  3. Canon Vixia HF R70 Side Panel Replacement: 3 단계, 이미지 1/2 Canon Vixia HF R70 Side Panel Replacement: 3 단계, 이미지 2/2
    • While holding down the latch, remove the battery by pulling it out of the device.

  4. Canon Vixia HF R70 Side Panel Replacement, Wrist Strap: 4 단계, 이미지 1/1
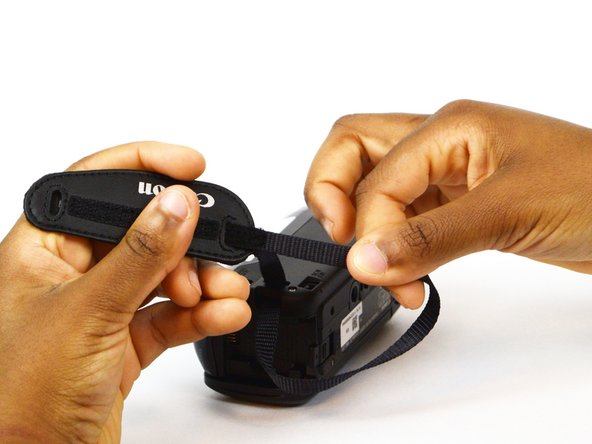
    • Position the camcorder so that the wrist strap is facing you.

    • Locate the loose end of the strap.

  5. Canon Vixia HF R70 Side Panel Replacement: 5 단계, 이미지 1/1
    • Gently pull on the loose end to separate the Velcro.

  6. Canon Vixia HF R70 Side Panel Replacement: 6 단계, 이미지 1/1
    • Locate the "slot" on bottom right corner of the camcorder where the strap loops through.

    • Pull the strap through the loop.

  7. Canon Vixia HF R70 Side Panel Replacement: 7 단계, 이미지 1/2 Canon Vixia HF R70 Side Panel Replacement: 7 단계, 이미지 2/2
    • Pull the strap through the leather cushion.

  8. Canon Vixia HF R70 Side Panel Replacement: 8 단계, 이미지 1/1
    • Pull the strap through the slot on the left side of the camcorder.

  9. Canon Vixia HF R70 Side Panel Replacement, Side Panel: 9 단계, 이미지 1/2 Canon Vixia HF R70 Side Panel Replacement, Side Panel: 9 단계, 이미지 2/2
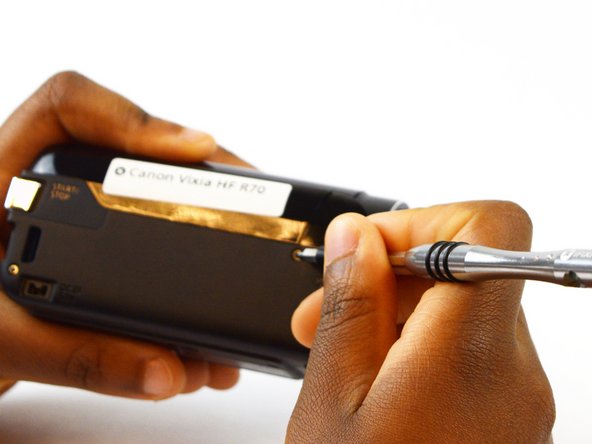
    • Position the camcorder so that the side panel is facing you.

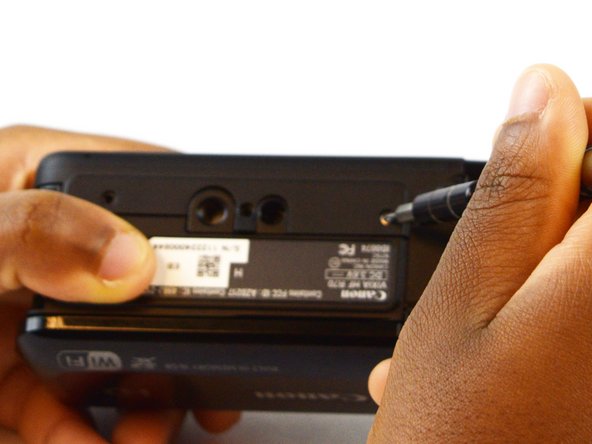
    • Locate the two 6mm Phillips #00 screws on the side panel.

    • Remove the the screws using a screwdriver with a Phillips #00 head.

  10. Canon Vixia HF R70 Side Panel Replacement: 10 단계, 이미지 1/3 Canon Vixia HF R70 Side Panel Replacement: 10 단계, 이미지 2/3 Canon Vixia HF R70 Side Panel Replacement: 10 단계, 이미지 3/3
    • Turn the camcorder so that the bottom is facing you.

    • Using your screwdriver, locate and remove the four 6mm Phillips #00 screws connecting the side panel to the bottom of the camcorder.

  11. Canon Vixia HF R70 Side Panel Replacement: 11 단계, 이미지 1/2 Canon Vixia HF R70 Side Panel Replacement: 11 단계, 이미지 2/2
    • Gently remove the side panel by pushing it up from the bottom.

결론

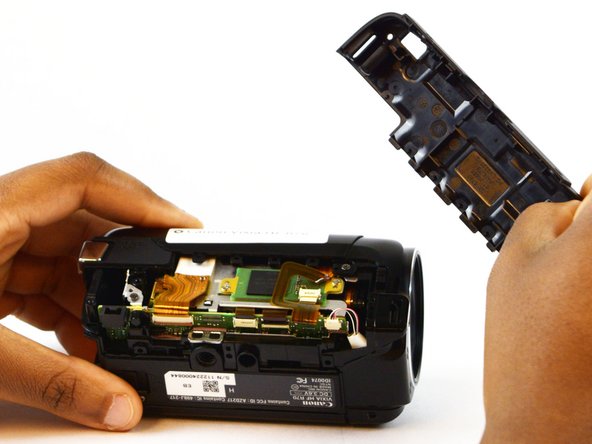
To reassemble your device, follow these instructions in reverse order.

Thomas Rogienski

회원 가입일: 02/28/17

501 평판

안내서 5개 작성하였습니다

USF Tampa, Team S2-G2, Nance Spring 2017 USF Tampa, Team S2-G2, Nance Spring 2017 회원

USFT-NANCE-S17S2G2

4 회원들

안내서 14개 작성하였습니다

댓글 0개

댓글 쓰기

조회 통계:

24 시간 전: 0

7일 전: 0

30일 전: 2

전체 시간: 401