소개
If your power button is jammed or isn't working properly, this guide will simply demonstrate on how to replace the power button in a Canon Vixia HF S10. For additional information about the Canon Vixia HF S10 take a look at the official Canon site.
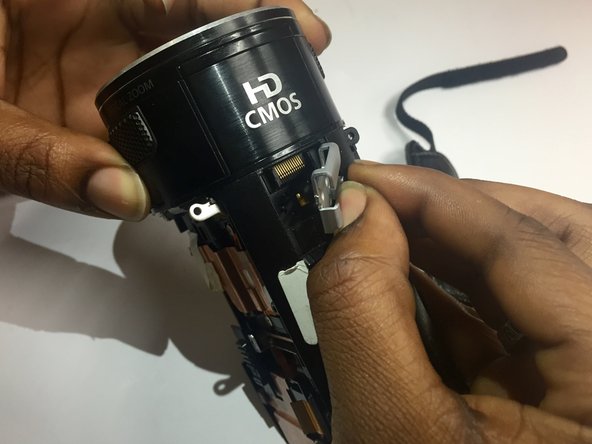
Before beginning this repair, be sure to power off the camera and remove the battery.
필요한 것
-
-
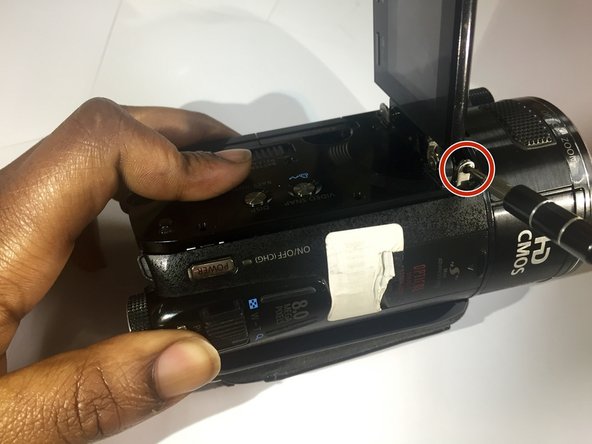
Turn the camcorder upside down.
-
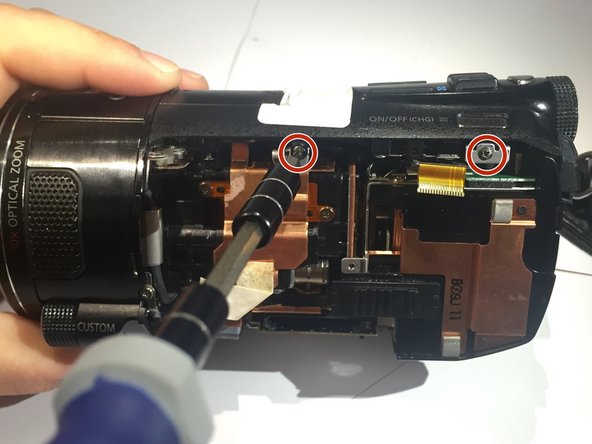
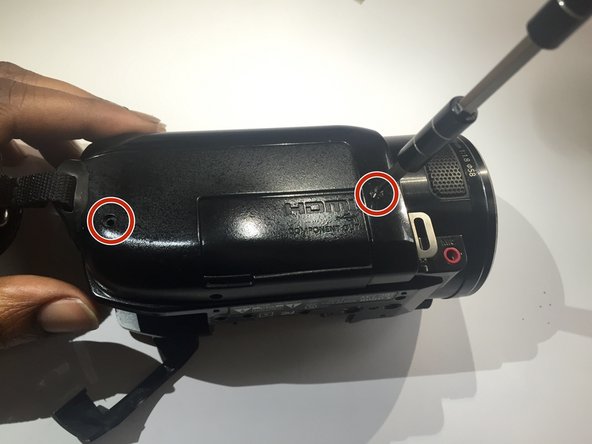
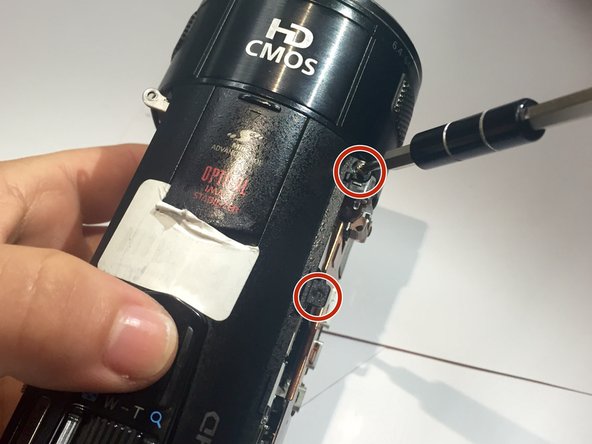
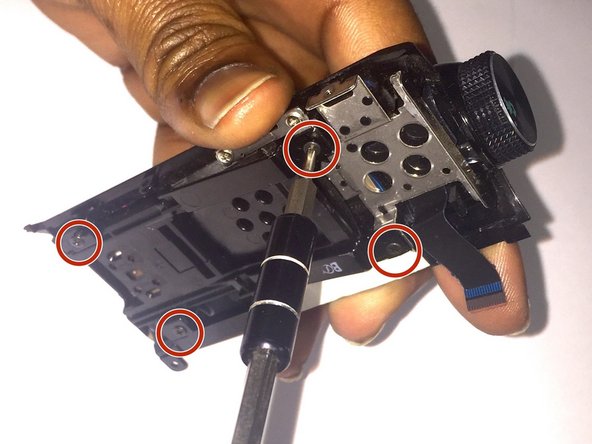
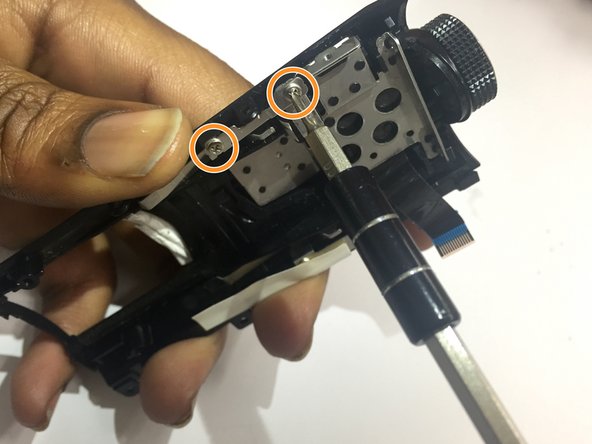
Remove the three 3x4 mm Phillips screws securing from the black plastic case.
-
-


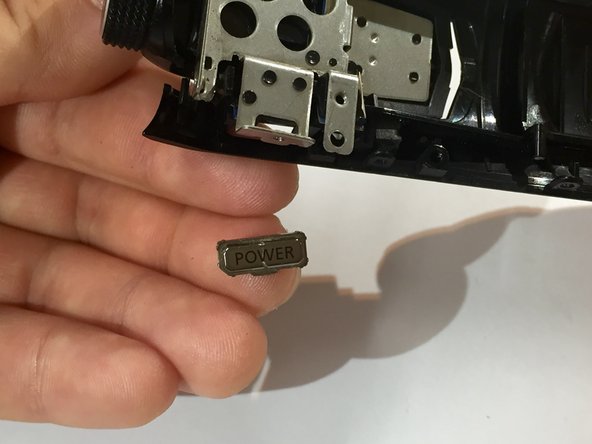
To reassemble your device, follow these instructions in reverse order.
To reassemble your device, follow these instructions in reverse order.
다른 2명이 해당 안내서를 완성하였습니다.
팀

Sam Houston State, Team 13-1, Blackburne Winter 2015 Sam Houston State, Team 13-1, Blackburne Winter 2015 회원
SHSU-BLACKBURNE-W15S13G1
4 회원들
안내서 9개 작성하였습니다