이 버전에는 잘못된 편집 사항이 있을 수 있습니다. 최신 확인된 스냅샷으로 전환하십시오.
필요한 것
-
이 단계는 번역되지 않았습니다. 번역을 도와주십시오
-
Remove the strap from the camera by pulling the thin cord out, creating a small loop, then pushing the thicker cord back through this loop.
-
-
이 단계는 번역되지 않았습니다. 번역을 도와주십시오
-
Remove the two Phillips screws (2.83 mm) from the left side panel of the camera casing.
-
The left panel can now be removed. However, one piece of tape attaches it to the camera, so a spudger may be required to ease the panels off.
-
Repeat for the right side panel of the camera.
-
-
이 단계는 번역되지 않았습니다. 번역을 도와주십시오
-
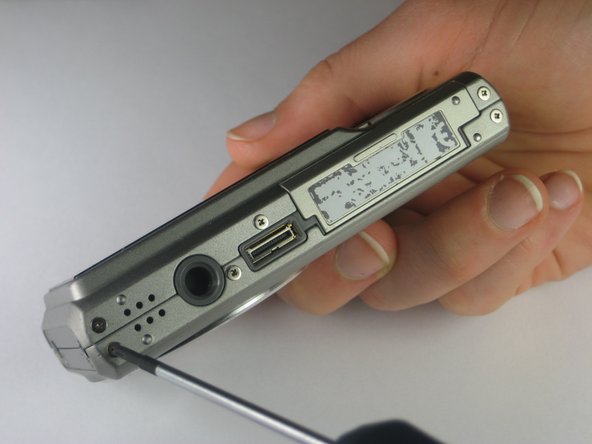
Remove the six Phillips screws (3.69 mm) from the bottom of the camera casing.
-
-
-
이 단계는 번역되지 않았습니다. 번역을 도와주십시오
-
Remove the two Phillips screws (2.79 mm) on the left side of the camera where the metal panel used to be.
-
Repeat for the two Phillips screws (2.79 mm) right side of the camera.
-
-
이 단계는 번역되지 않았습니다. 번역을 도와주십시오
-
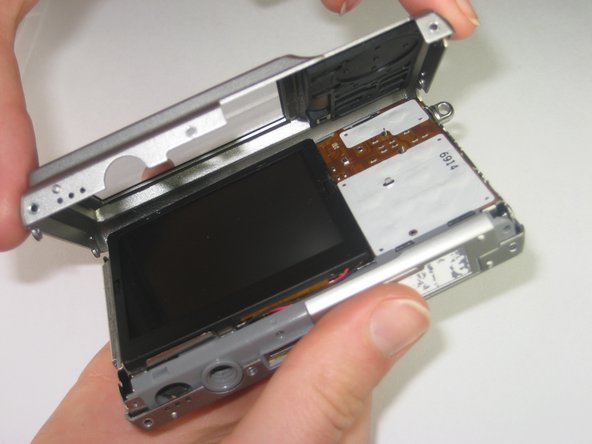
With the LCD screen facing up towards you, start at the bottom of the camera and gently pull off the back of the casing.
-
-
이 단계는 번역되지 않았습니다. 번역을 도와주십시오
-
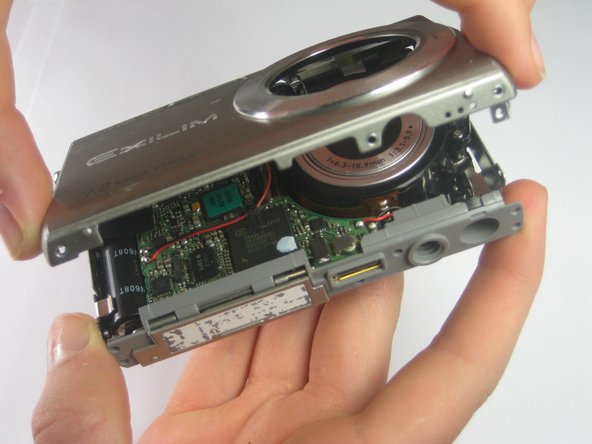
With the front side (with the lens) facing up towards you, start at the bottom of the camera and gently pull off the front of the casing.
-
-
이 단계는 번역되지 않았습니다. 번역을 도와주십시오
-
Slide the labeled piece toward the LCD screen and release.
-
The tab will spring open.
-
-
이 단계는 번역되지 않았습니다. 번역을 도와주십시오
-
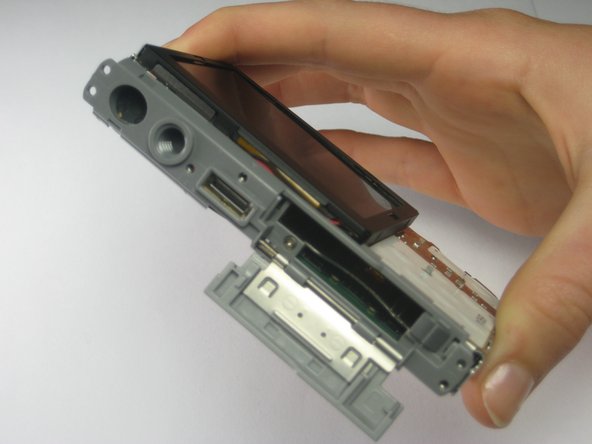
Look at the bottom of the camera. Take out the Phillips screw (1.77 mm) holding on the bottom plastic piece.
-
The bottom plastic piece is held on to the main frame of the camera only by two thin wires.
-


다른 2명이 해당 안내서를 완성하였습니다.
팀

Cal Poly, Team 17-28, Amido Spring 2012 Cal Poly, Team 17-28, Amido Spring 2012 회원
CPSU-AMIDO-S12S17G28
4 회원들
안내서 14개 작성하였습니다