주요 콘텐츠로 건너뛰기

Casio Exilim EX-Z850 Flash Assembly Replacement

필요한 것

  1. Casio Exilim EX-Z850 Flash Assembly Replacement, Flash Assembly: 1 단계, 이미지 1/1
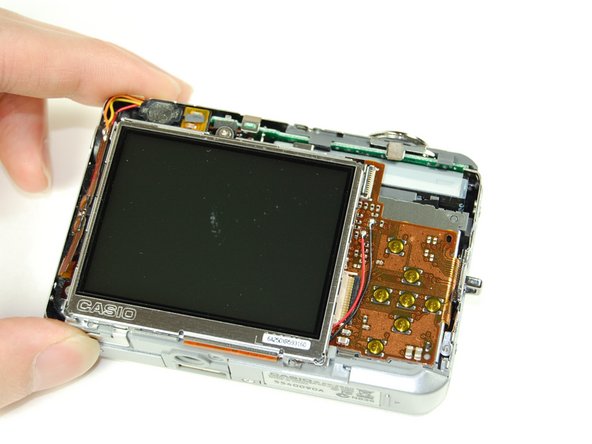
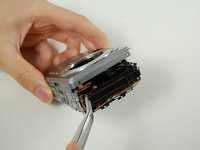
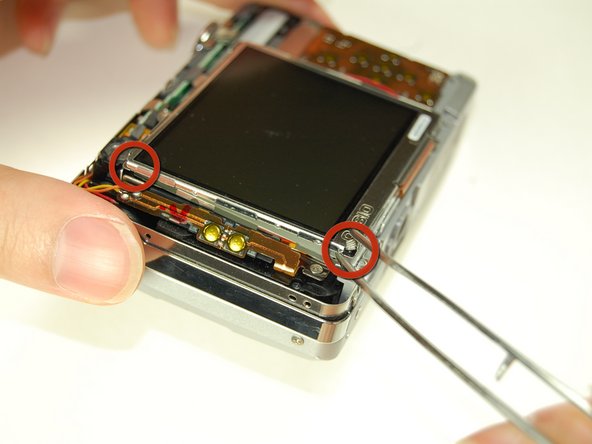
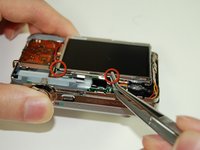
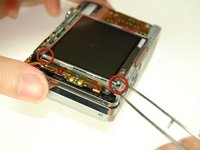
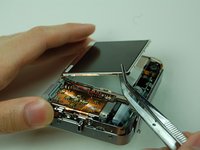
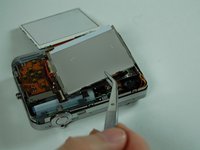
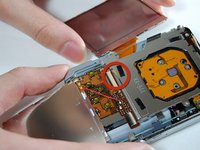
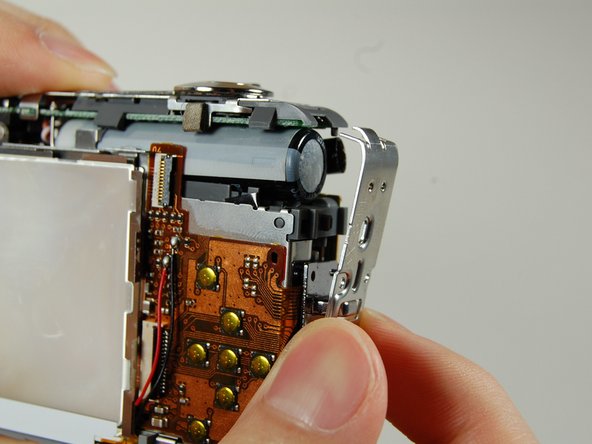
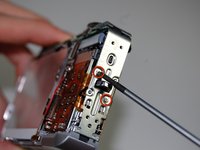
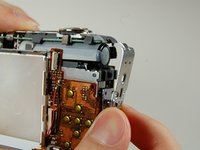
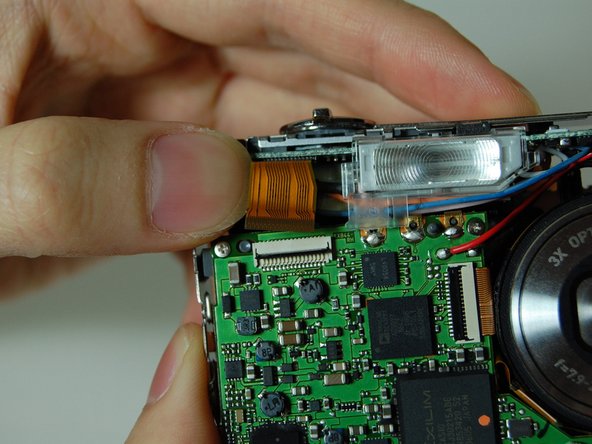
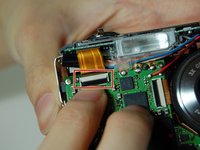
    • With your Phillips #00 screwdriver, remove the four screws on the side of the camera.

  2. Casio Exilim EX-Z850 Flash Assembly Replacement: 2 단계, 이미지 1/1
    • With a Phillips #00 screwdriver, remove the four screws located on the bottom of the camera.

    • The bottom screws are longer than the top screws, so label accordingly for easy reassembly.

  3. Casio Exilim EX-Z850 Flash Assembly Replacement: 3 단계, 이미지 1/1
    • With a Phillips #00 screwdriver, remove the four screws on the opposite side of the camera.

  4. Casio Exilim EX-Z850 Flash Assembly Replacement: 4 단계, 이미지 1/2 Casio Exilim EX-Z850 Flash Assembly Replacement: 4 단계, 이미지 2/2
    • Once all screws have been removed, gently pry open bottom casing.

    • With tweezers, carefully remove the ribbon from the LCD screen.

    • Set bottom casing aside.

    • Prying open the camera from the casing could potentially damage the device, so open the casing slowly.

  5. Casio Exilim EX-Z850 Flash Assembly Replacement: 5 단계, 이미지 1/3 Casio Exilim EX-Z850 Flash Assembly Replacement: 5 단계, 이미지 2/3 Casio Exilim EX-Z850 Flash Assembly Replacement: 5 단계, 이미지 3/3
    • Using tweezers, gently pry apart the top casing from the camera.

    • Set the top casing aside.

  6. Casio Exilim EX-Z850 Flash Assembly Replacement: 6 단계, 이미지 1/2 Casio Exilim EX-Z850 Flash Assembly Replacement: 6 단계, 이미지 2/2
    • Use tweezers to pry the LCD screen off from the opening.

    • The bottom of the LCD screen is attached to the frame by a few pieces of black tape.

  7. Casio Exilim EX-Z850 Flash Assembly Replacement: 7 단계, 이미지 1/2 Casio Exilim EX-Z850 Flash Assembly Replacement: 7 단계, 이미지 2/2
    • Use tweezers to lift up the LCD screen away from the camera.

    • Moving the screen could potentially damage the wire connecting it to the camera, so move the LCD screen slowly.

  8. Casio Exilim EX-Z850 Flash Assembly Replacement: 8 단계, 이미지 1/2 Casio Exilim EX-Z850 Flash Assembly Replacement: 8 단계, 이미지 2/2
    • Use tweezers to slowly pry off LCD casing by lifting and moving it off the camera.

  9. Casio Exilim EX-Z850 Flash Assembly Replacement: 9 단계, 이미지 1/3 Casio Exilim EX-Z850 Flash Assembly Replacement: 9 단계, 이미지 2/3 Casio Exilim EX-Z850 Flash Assembly Replacement: 9 단계, 이미지 3/3
    • Use tweezers to flip open the connector holding the ribbon.

    • Gently pull out the LCD screen with the ribbon from the camera.

  10. Casio Exilim EX-Z850 Flash Assembly Replacement: 10 단계, 이미지 1/2 Casio Exilim EX-Z850 Flash Assembly Replacement: 10 단계, 이미지 2/2
    • Using a Phillips #00 screwdriver, remove the two screws on the side where the battery is located.

    • Remove the lanyard loop after the screws come off.

    • Slowly pull the side casing so it becomes dislocated from the top of the camera frame.

  11. Casio Exilim EX-Z850 Flash Assembly Replacement: 11 단계, 이미지 1/2 Casio Exilim EX-Z850 Flash Assembly Replacement: 11 단계, 이미지 2/2
    • On the front of the camera, detach the ribbon from the connector.

  12. Casio Exilim EX-Z850 Flash Assembly Replacement: 12 단계, 이미지 1/3 Casio Exilim EX-Z850 Flash Assembly Replacement: 12 단계, 이미지 2/3 Casio Exilim EX-Z850 Flash Assembly Replacement: 12 단계, 이미지 3/3
    • Carefully remove the L shaped frame from the camera.

    • There is a yellow and orange wire connected to camera. Be careful not to pull them off.

    • At the bottom of the camera, the L-shaped frame is connected by two plastic bumps and a metal tab.

  13. Casio Exilim EX-Z850 Flash Assembly Replacement: 13 단계, 이미지 1/1
    • Using a Phillips #00 screwdriver, remove the two screws on the front of the flash assembly.

    • Remove flash assembly, and replace it with a new flash assembly.

결론

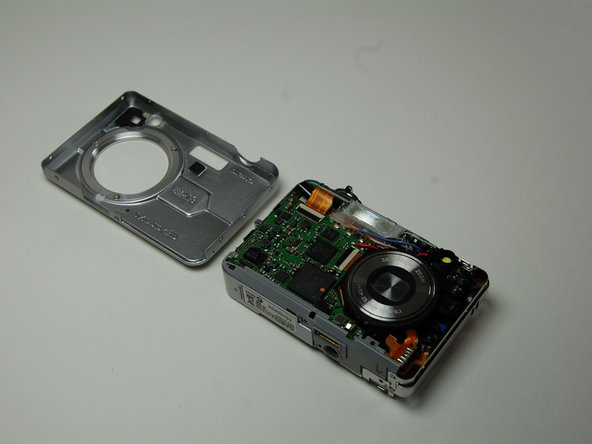
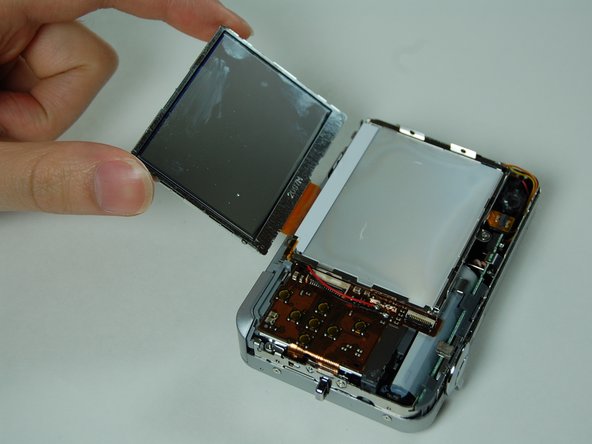
To reassemble your device, follow these instructions in reverse order.

다른 한 분이 해당 안내서를 완성하였습니다.

Christian

회원 가입일: 01/28/11

320 평판

안내서 3개 작성하였습니다

Cal Poly, Team 4-38, Regan Winter 2011 Cal Poly, Team 4-38, Regan Winter 2011 회원

CPSU-REGAN-W11S4G38

4 회원들

안내서 13개 작성하였습니다

댓글 0개

댓글 쓰기

조회 통계:

24 시간 전: 0

7일 전: 2

30일 전: 12

전체 시간: 2,777