소개
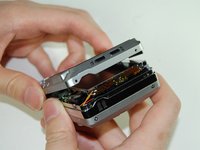
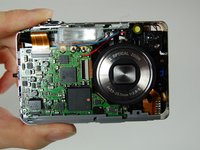
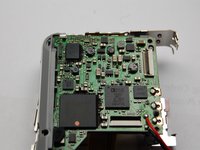
If your Casio Exilim EX-Z850 is no longer working correctly, you most likely need to replace the motherboard.
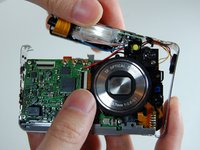
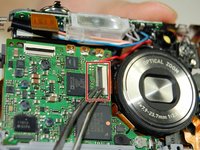
The motherboard is responsible for keeping your device functioning properly. It connects all of the principle components of the camera. If the motherboard is not working correctly, everything has the possibility of not working right. If your device continues to malfunction, you should replace the motherboard.
Make sure to power down your camera before you begin.
필요한 것
-
-
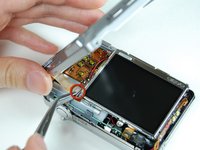
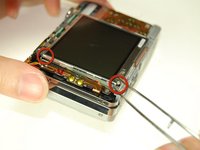
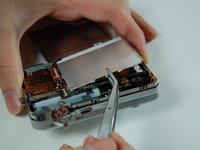
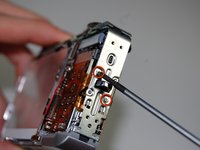
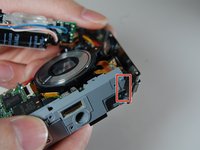
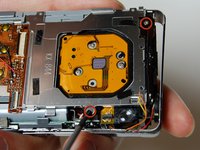
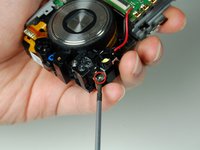
Using the Phillips #00 screwdriver, remove the four screws from the side of the speaker.
-
-
-
-
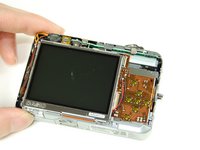
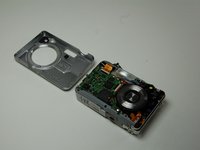
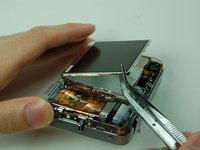
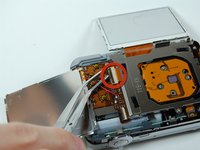
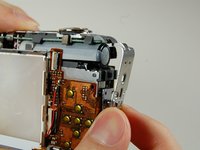
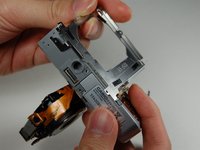
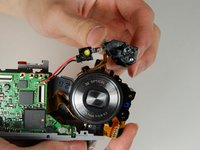
Remove the frame on the back side of the camera where the LCD screen was.
-
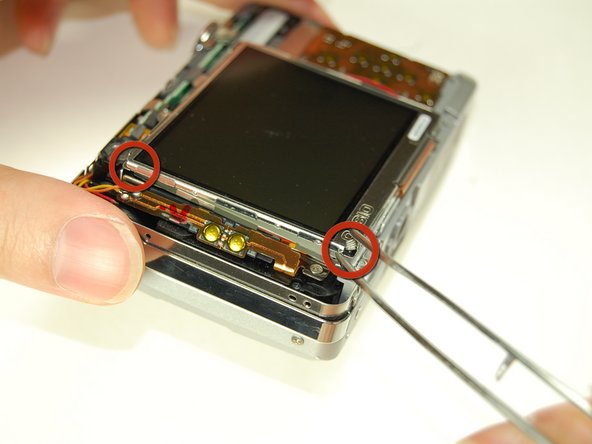
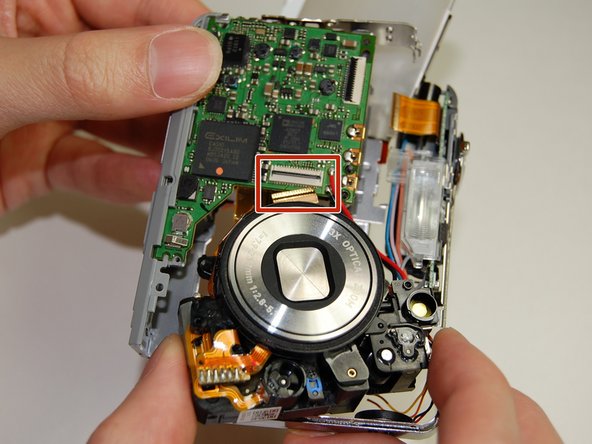
Use the Phillips #00 screwdriver to remove the two screws connecting the frame to the camera.
-
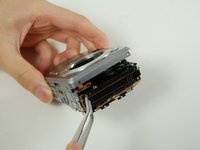
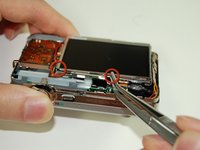
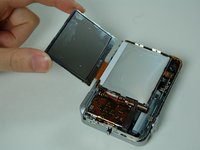
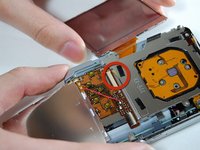
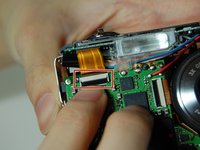
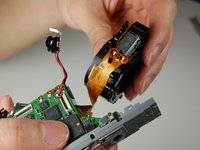
Slowly pry off the frame from the camera.
-
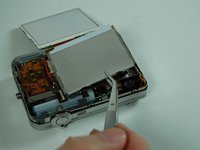
After removing the frame, a plastic piece with two yellow buttons should fall off.
-


To reassemble your device, follow these instructions in reverse order.
다른 한 분이 해당 안내서를 완성하였습니다.
팀

Cal Poly, Team 4-38, Regan Winter 2011 Cal Poly, Team 4-38, Regan Winter 2011 회원
CPSU-REGAN-W11S4G38
4 회원들
안내서 14개를 작성함