주요 콘텐츠로 건너뛰기

Casio FX-991CW Battery Replacement

  1. Casio FX-991CW Battery Replacement, Removing the Battery Cover: 1 단계, 이미지 3개 중 1개 Casio FX-991CW Battery Replacement, Removing the Battery Cover: 1 단계, 이미지 3개 중 2개 Casio FX-991CW Battery Replacement, Removing the Battery Cover: 1 단계, 이미지 3개 중 3개
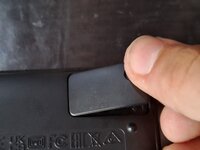
    • First, take the protective cover off the calculator.

    • Then, turn the calculator over.

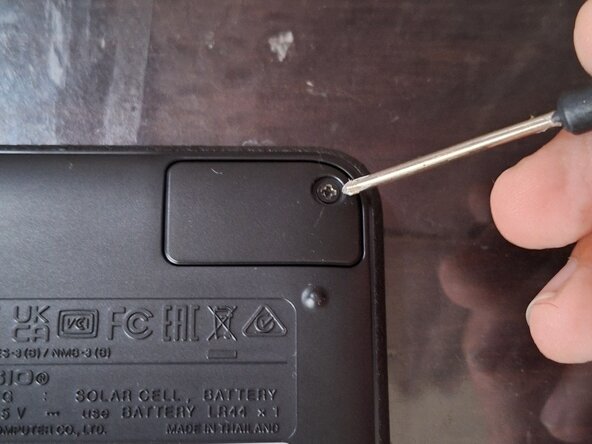
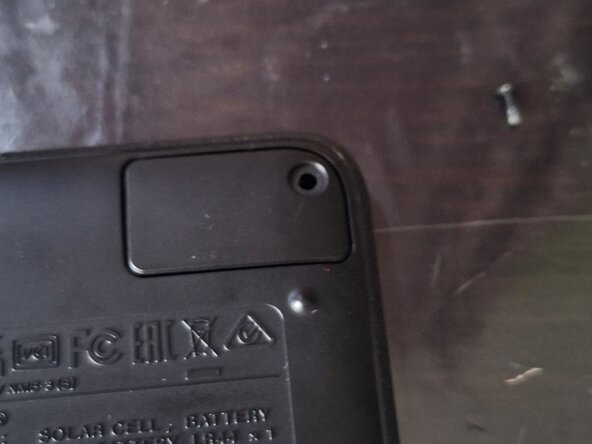
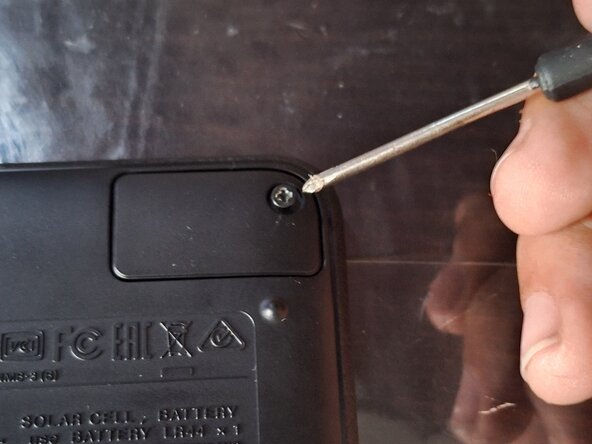
    • Remove the Philips screw that holds the battery cover in place in the top-right corner.

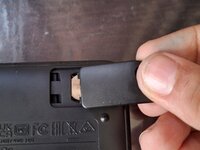
    • Then lift the cover off by lifting the right side of the cover up, and slide it out.

  2. Casio FX-991CW Battery Replacement, Removing the Battery: 2 단계, 이미지 2개 중 1개 Casio FX-991CW Battery Replacement, Removing the Battery: 2 단계, 이미지 2개 중 2개
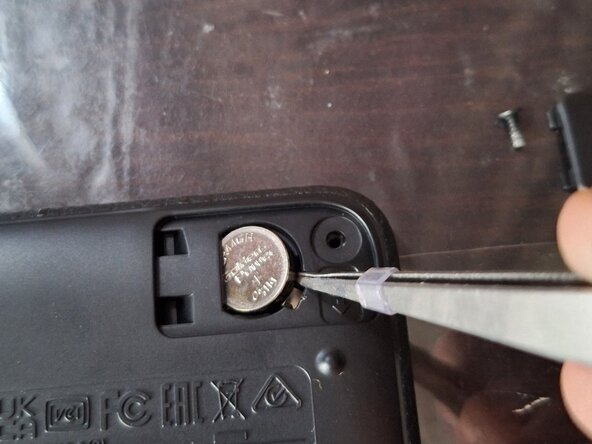
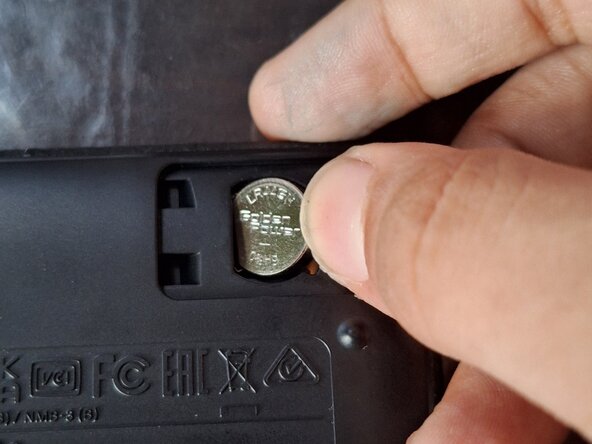
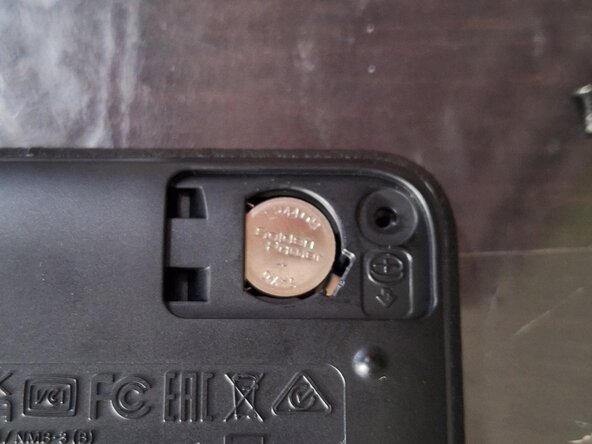
    • Take a pointy, flat tool, like a flathead screwdriver, to pry the battery out of the compartment.

  3. Casio FX-991CW Battery Replacement, Installing the Battery: 3 단계, 이미지 2개 중 1개 Casio FX-991CW Battery Replacement, Installing the Battery: 3 단계, 이미지 2개 중 2개
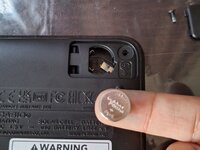
    • Insert the new battery into the calculator by sliding it into place, then pushing it down, to ensure a good connection.

  4. Casio FX-991CW Battery Replacement, Installing the Cover: 4 단계, 이미지 3개 중 1개 Casio FX-991CW Battery Replacement, Installing the Cover: 4 단계, 이미지 3개 중 2개 Casio FX-991CW Battery Replacement, Installing the Cover: 4 단계, 이미지 3개 중 3개
    • Slide the battery cover into place.

    • Then install the screw.

    • Tighten the screw.

    • NOTE: BELOW THIS GUIDE, THERE IS A NOTE THAT SAYS "TO REASSEMBLE THIS DEVICE, FOLLOW THESE DIRECTIONS IN REVERSE ORDER." DO NOT FOLLOW THAT STEP, AS THIS GUIDE IS COMPLETE!

결론

To reassemble your device, follow these instructions in reverse order.

다른 한 분이 해당 안내서를 완성하였습니다.

작성자

1다른 기여자 명과 함께

Musa Umar

회원 가입일: 08/26/25

109 평판

안내서 1개를 작성함

0가이드 댓글

댓글 쓰기

조회 통계:

지난 24시간: 1

지난 7일: 6

지난 30일: 50

전체 시간: 134