소개
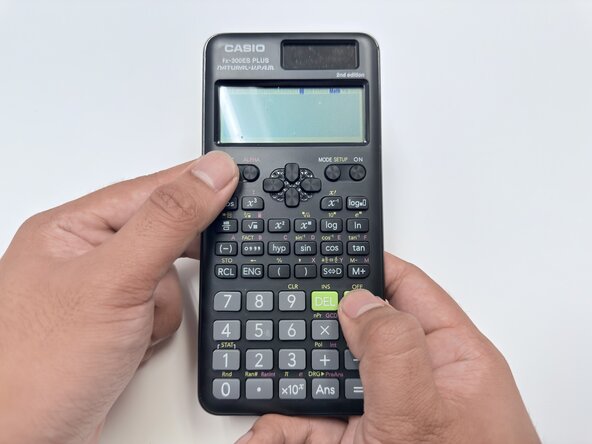
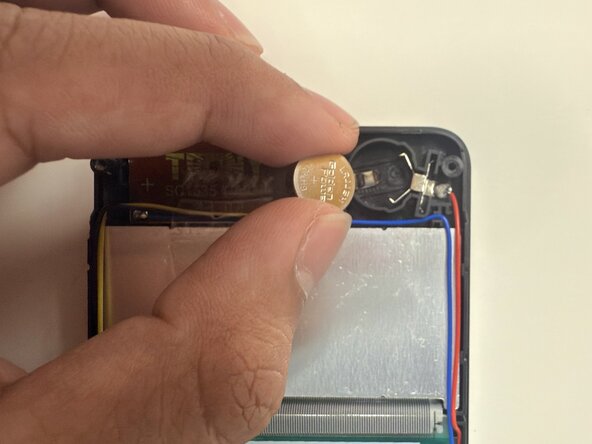
This guide shows you how to replace the LR44 battery in your Casio fx-300ES Plus 2nd edition calculator (model # FX-300ESPLS2).
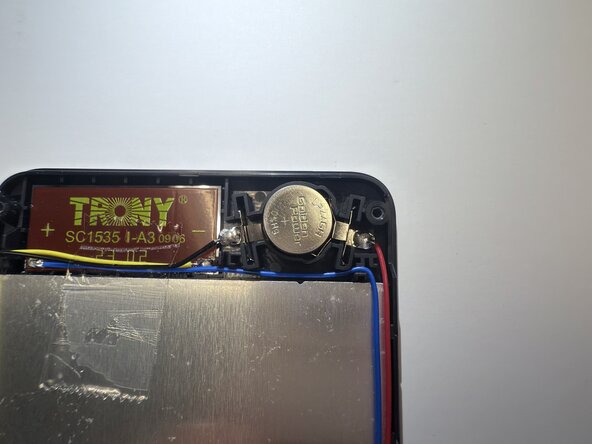
The battery is what powers your calculator and is subject to drain over time. If you notice your display is too dim, and adjusting contrast does not appear to fix this, or figures do not appear immediately after your calculator turns on, the battery requires replacing.
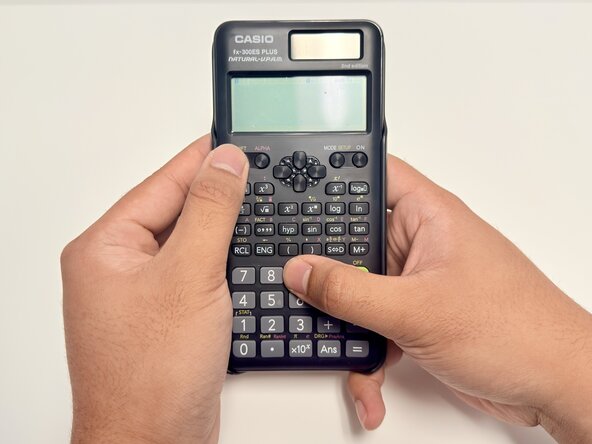
Before you begin the repair, make sure your calculator is powered off.
필요한 것
-
-
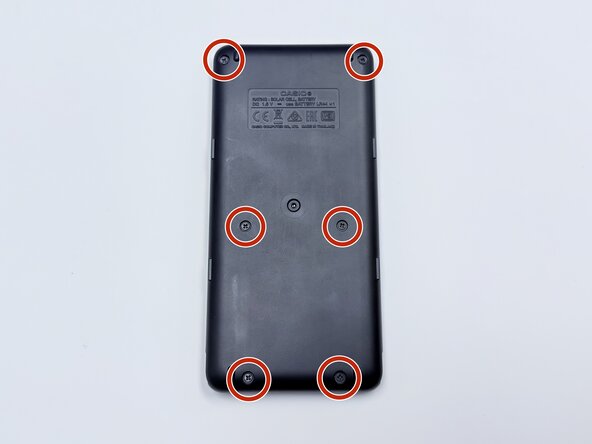
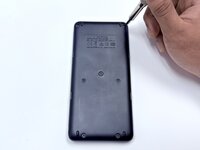
Use a Phillips #00 screwdriver to remove the six 7.5 mm screws from the back panel.
-
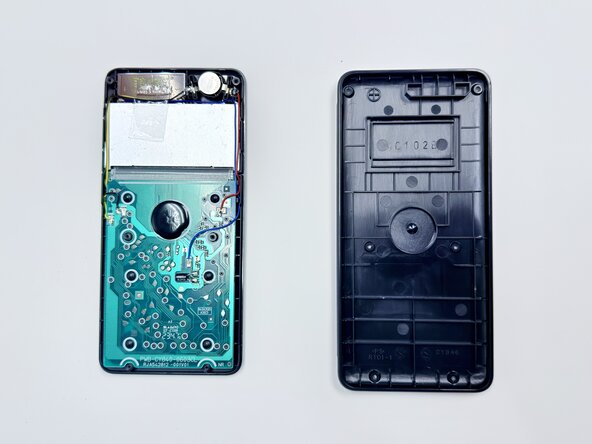
Insert an opening pick in the seam between the top and bottom casing.
-
Slide it around the perimeter of the calculator to release the clips that connect the front and back panels.
-
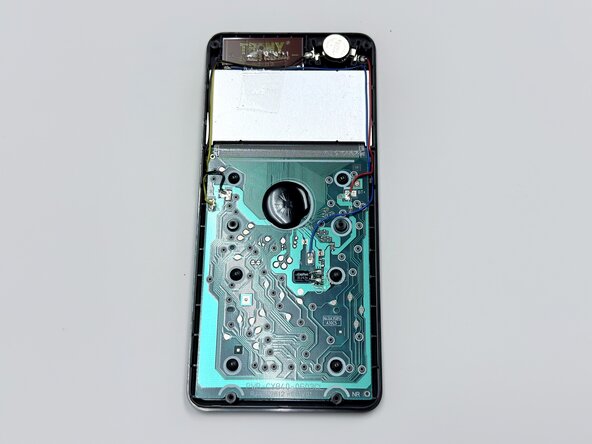
Carefully separate the front and back halves of the calculator casing.
-
-


You've done it! ;)
다른 한 분이 해당 안내서를 완성하였습니다.
팀

York University, Team 3-3, Woodhouse Winter 2025 York University, Team 3-3, Woodhouse Winter 2025 회원
YORK-WOODHOUSE-W25S3G3
2 회원들
안내서 1개 작성