This repair helps fix bad battery life which could cause the device to reboot at random
It is recommended to let the battery discharge before starting. It's a precaution to prevent the battery from lighting on fire if punctured.
Remove both T2 screws
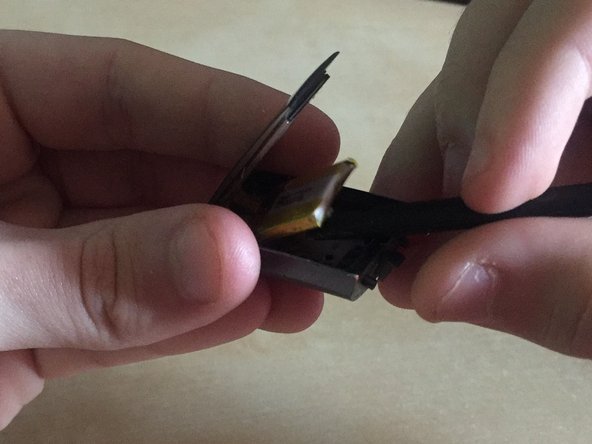
Slide off the plastic piece by lifting out and then up
Slide plastic and spring assembly off the rail
Watch out for the spring on in the band release
Heat the glass screen with a blowdryer to soften the adhesives
Start the next step on the opposite side of the Fitbit wording below the glass. This is due to the display cables being located there
Insert a razor blade between the glass and the body
Keep going around the rim of the display until loose
Connect new battery connector
Peel the plastic layer off the adhesive backing
Put the battery back in place
Flip down the screen and remove any extra glue that squeezes out
Take a rubber band and wrap it around the device, this will ensure the display stays in place until the glue cures
With the rubber bands on go to step 1 and reverse the steps to reinstall the band release
The glue will take between 24 and 72 hours to fully cure
When the glue is fully cured remove the rubber bands
After all is done you will need to calibrate the battery to do this charge it to 100% then leave it charging for an extra 2 hours use the device until it dies of low power and finally charge it to 100% and it should be good to go
And walla you now have a repaired Fitbit Charge 3
Thanks to ShellingRook27 's Original Dissasembly I Was Able to Make this Guide And Bring a new life to my old device.
Thanks to ShellingRook27 's Original Dissasembly I Was Able to Make this Guide And Bring a new life to my old device.
해당 안내서 넣기
해당 안내서를 사이트/포럼에 작은 위젯으로 포함하려면 크기를 선택하고 아래 코드를 복사하십시오.
단일 단계
전체 안내서
소형 - 600px
중형 - 800px
대형 - 1200px
미리보기