필요한 것
-
-
Remove both T3 screws
-
Slide off the plastic piece by lifting out and then up
-
Slide plastic and spring assembly off the rail
-
-
-
Heat the glass screen with a blowdryer to soften the adhesives
-
Insert a razor blade between the glass and the body
-
Keep going around the rim of the display until loose
-
-
-
-
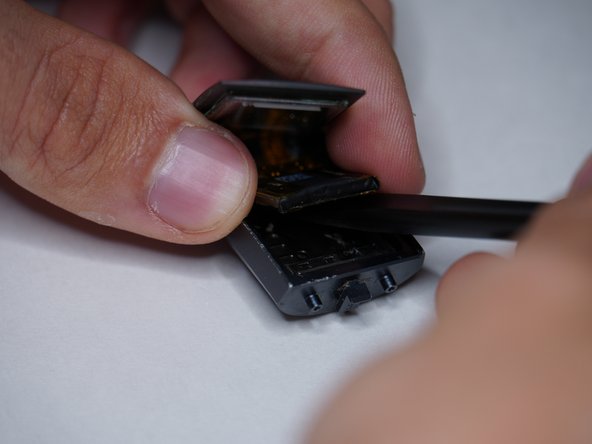
Disconnect vibrator motor
-
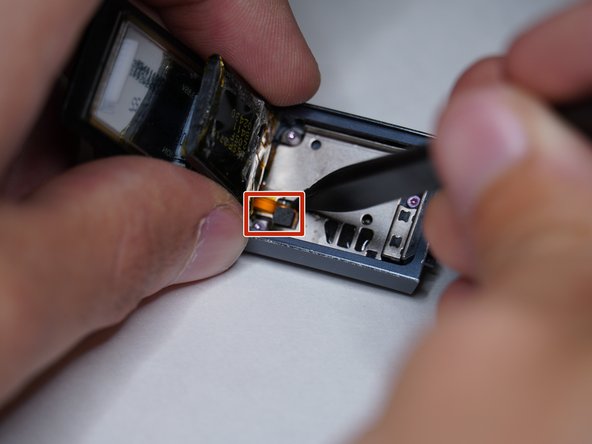
Disconnect heartrate and charging connector
-
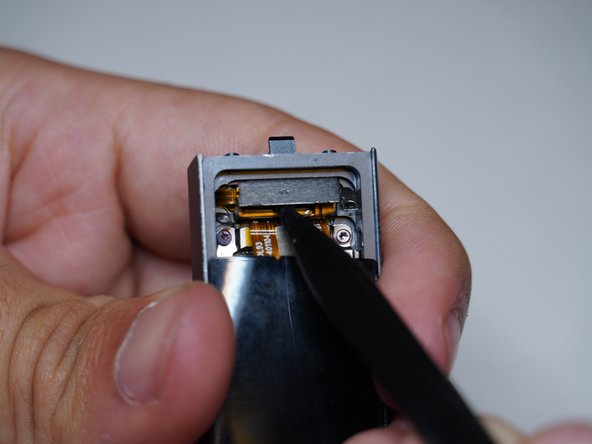
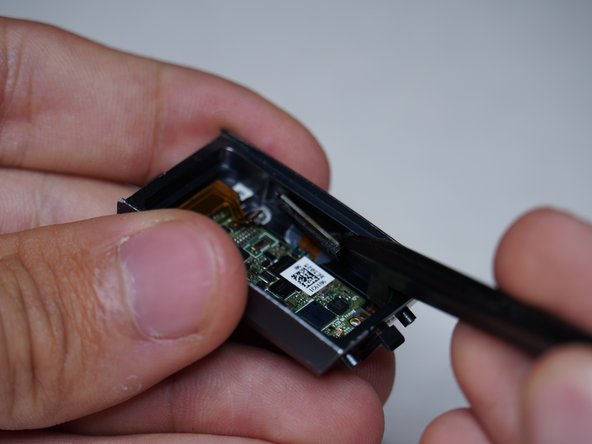
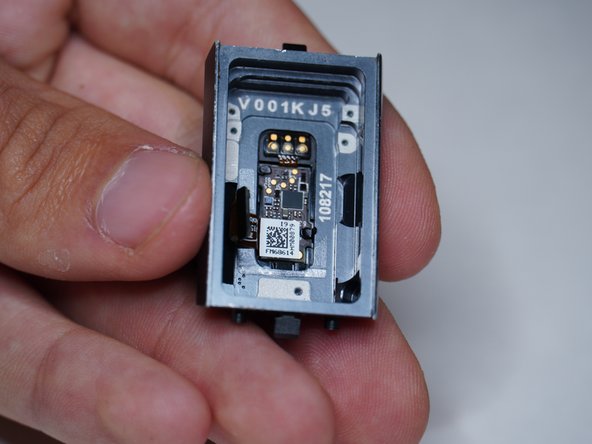
Remove altimeter
-
-
-
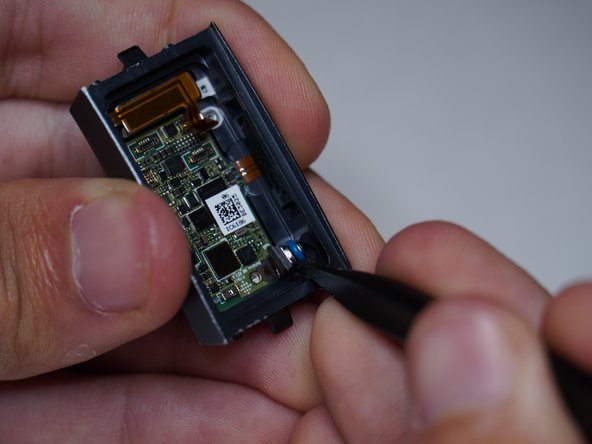
Remove motherboard
-
It seems as if the heart rate sensor and charging pins are molded into the case, and I was not able to remove them
-


다른 2명이 해당 안내서를 완성하였습니다.

팀

댓글 12개
The tear down pictures are great, but in my Charge 3 I needed a T-1 and a T-2 driver
Same, my ifixit pro kit only had a driver for the external screws and did not come with a small enough driver to remove the screws inside the charge 3 unit. I'll need to get the smaller bit from a different kit.
Which step in the teardown guide needed the T1 driver?
This tear down was very easy to follow. The heart rate monitor was also sealed in with some adhesive for me too but a little heat gun took it right off. I had suspected water leaked in and that in fact was the culprit after inspecting the connection. corrosion all around the HR monitor.