주요 콘텐츠로 건너뛰기

Chefman RJ38-V2-35 Repair Temperature Knob Replacement

필요한 것

  1. Chefman RJ38-V2-35 Repair Temperature Knob  Replacement, Temperature Knob: 1 단계, 이미지 1/1
    • Please be sure that the device is unplugged and remove the frying basket from the device.

    • Orient your device where the both the timer knob and temperature knob are facing you.

    • Slide the plastic opening tool under the temperature knob to lift it up.

    • You can slide your fingers in between the gap and take the temperature knob off.

  2. Chefman RJ38-V2-35 Repair Temperature Knob  Replacement: 2 단계, 이미지 1/1
    • Using the Phillips #1 screwdriver, remove the two 4mm screws found under the temperature knob.

    • Place you fingers under the silver top and firmly lift it up.

  3. Chefman RJ38-V2-35 Repair Temperature Knob  Replacement: 3 단계, 이미지 1/3 Chefman RJ38-V2-35 Repair Temperature Knob  Replacement: 3 단계, 이미지 2/3 Chefman RJ38-V2-35 Repair Temperature Knob  Replacement: 3 단계, 이미지 3/3
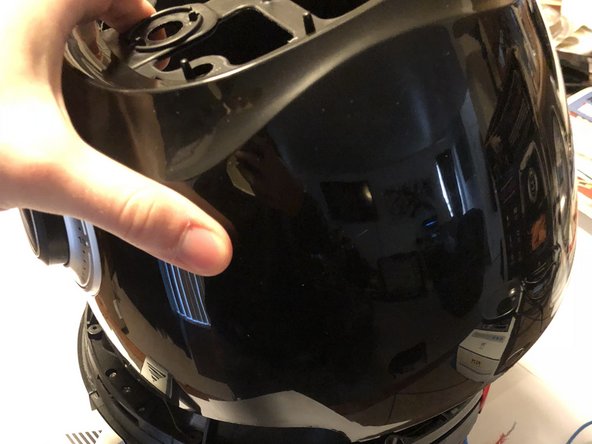
    • Using the Phillips #1 screwdriver, remove the two 3 mm screws found at the top of the black panel.

    • Pop off the top panel of the device with your fingers.

  4. Chefman RJ38-V2-35 Repair Temperature Knob  Replacement: 4 단계, 이미지 1/1
    • Using a pair of scissors, cut off the cable cord that is securing the wire cords.

  5. Chefman RJ38-V2-35 Repair Temperature Knob  Replacement: 5 단계, 이미지 1/3 Chefman RJ38-V2-35 Repair Temperature Knob  Replacement: 5 단계, 이미지 2/3 Chefman RJ38-V2-35 Repair Temperature Knob  Replacement: 5 단계, 이미지 3/3
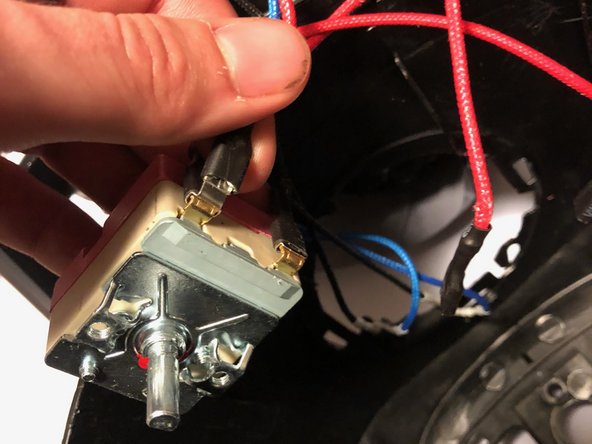
    • Detach the device’s wires from the potentiometer.

  6. Chefman RJ38-V2-35 Repair Temperature Knob  Replacement: 6 단계, 이미지 1/1
    • Replace a new potentiometer to the device.

    • Attach the wires back to the new potentiometer.

결론

To reassemble your device, follow these instructions in reverse order.

다른 한 분이 해당 안내서를 완성하였습니다.

Lucas Yi

회원 가입일: 10/29/18

156 평판

안내서 1개 작성함

댓글 0개

댓글 쓰기

조회 통계:

24 시간 전: 1

7일 전: 8

30일 전: 37

전체 시간: 2,291