주요 콘텐츠로 건너뛰기

Cleaning the Controller Buttons

필요한 것

  1. Cleaning the Controller Buttons, Cleaning the Controller Buttons: 1 단계, 이미지 1/2 Cleaning the Controller Buttons, Cleaning the Controller Buttons: 1 단계, 이미지 2/2
    • Remove the 9 external screws (4.8 mm Phillips head) on the back of the controller.

    • Remove the back panel from the controller.

  2. Cleaning the Controller Buttons: 2 단계, 이미지 1/3 Cleaning the Controller Buttons: 2 단계, 이미지 2/3 Cleaning the Controller Buttons: 2 단계, 이미지 3/3
    • Remove the 3 screws (4.8 mm Phillips head) from the back of the white box.

    • Remove the back panel of the joystick box.

    • There are many small plastic components loose in this box; be careful not to lose these.

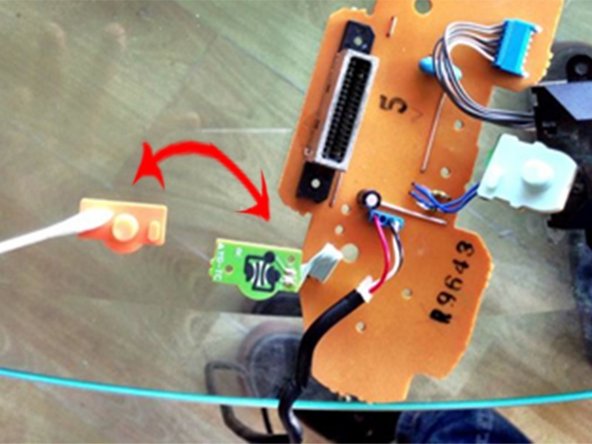
    • Separate the rubber pads and plastic buttons from the controller.

  3. Cleaning the Controller Buttons: 3 단계, 이미지 1/2 Cleaning the Controller Buttons: 3 단계, 이미지 2/2
    • Using a soft cleaning material, clean the plastic buttons.

    • Using a toothpick, clean the pole slot, shown at the right of the Q-Tip.

  4. Cleaning the Controller Buttons: 4 단계, 이미지 1/2 Cleaning the Controller Buttons: 4 단계, 이미지 2/2
    • Using a damp, soft cleaning material, clean the rubber button pads.

    • To ensure that no electrical damage occurs, ensure that you dry the pieces completely after cleaning them.

  5. Cleaning the Controller Buttons, Put it back together: 5 단계, 이미지 1/1
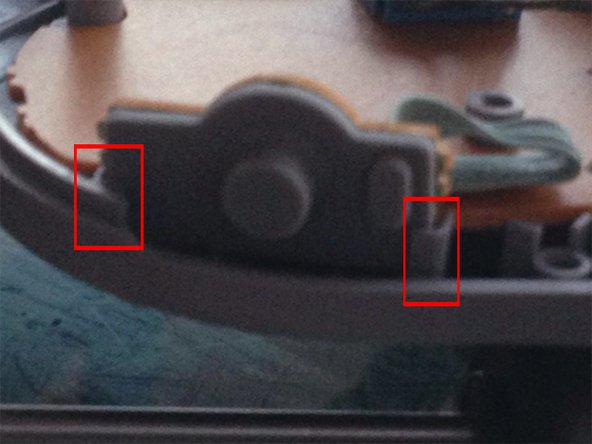
    • Reinsert the buttons, ensuring that the rubber, cylindrical pieces protruding from the buttons are lined up with their corresponding circuits.

결론

Follow these steps in reverse order to reassemble your device.

다른 7명이 해당 안내서를 완성하였습니다.

Jason Gittler

회원 가입일: 07/22/13

132 평판

안내서 1개 작성함

UC Santa Barbara, Team 1-3, Bradley Spring 2013 UC Santa Barbara, Team 1-3, Bradley Spring 2013 회원

UCSB-BRADLEY-S13S1G3

2 회원들

안내서 1개 작성하였습니다

댓글 0개

댓글 쓰기

조회 통계:

24 시간 전: 1

7일 전: 8

30일 전: 25

전체 시간: 5,478