주요 콘텐츠로 건너뛰기

Coby DVD209 Circuit Board for Buttons Replacement

필요한 것

  1. Coby DVD209 Circuit Board for Buttons Replacement, The bottom portion of the DVD player: 1 단계, 이미지 1/3 Coby DVD209 Circuit Board for Buttons Replacement, The bottom portion of the DVD player: 1 단계, 이미지 2/3 Coby DVD209 Circuit Board for Buttons Replacement, The bottom portion of the DVD player: 1 단계, 이미지 3/3
    • Press the eject button to view the laser inside.

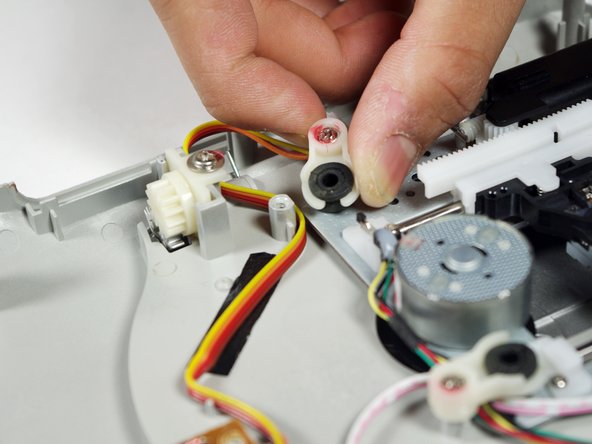
    • Using the blue plastic tool and the tweezers, remove the ribbon cable.

  2. Coby DVD209 Circuit Board for Buttons Replacement: 2 단계, 이미지 1/3 Coby DVD209 Circuit Board for Buttons Replacement: 2 단계, 이미지 2/3 Coby DVD209 Circuit Board for Buttons Replacement: 2 단계, 이미지 3/3
    • Remove the six 1cm screws on the bottom of the device with the Phillips #1 screwdriver.

    • Do not lift the top of the DVD player too quickly because there are wires attached on the inside.

    • Pry the top of the device open from the right side where the buttons are located.

  3. Coby DVD209 Circuit Board for Buttons Replacement: 3 단계, 이미지 1/3 Coby DVD209 Circuit Board for Buttons Replacement: 3 단계, 이미지 2/3 Coby DVD209 Circuit Board for Buttons Replacement: 3 단계, 이미지 3/3
    • When pulling the ribbon cables out, make sure not to pull by the wires, as this can cause damage to them.

    • Pinch the plastic adapter with two fingers to remove the wires circled in red from the circuit board.

  4. Coby DVD209 Circuit Board for Buttons Replacement, Circuit Board for Buttons: 4 단계, 이미지 1/2 Coby DVD209 Circuit Board for Buttons Replacement, Circuit Board for Buttons: 4 단계, 이미지 2/2
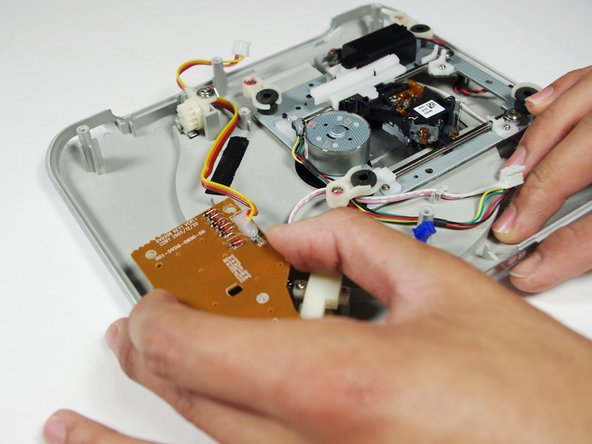
    • Take the top portion of the DVD player and orient the device as shown in the first picture.

    • Remove the four 0.2" screws circled in red.

  5. Coby DVD209 Circuit Board for Buttons Replacement: 5 단계, 이미지 1/3 Coby DVD209 Circuit Board for Buttons Replacement: 5 단계, 이미지 2/3 Coby DVD209 Circuit Board for Buttons Replacement: 5 단계, 이미지 3/3
    • Losen the screw circled in red.

    • The screw will not come out of the plastic knob.

    • Turn the plastic knob 90 degrees to the right so that the cable comes out freely.

결론

To reassemble your device, follow these instructions in reverse order.

Yufay Chow

회원 가입일: 01/23/12

92 평판

안내서 4개 작성하였습니다

Cal Poly, Team 10-36, Amido Winter 2012 Cal Poly, Team 10-36, Amido Winter 2012 회원

CPSU-AMIDO-W12S10G36

4 회원들

안내서 7개 작성하였습니다

댓글 0개

댓글 쓰기

조회 통계:

24 시간 전: 0

7일 전: 0

30일 전: 0

전체 시간: 424