소개
If your Compaq Armada 1585DMT Laptop is functioning slowly, or if you have witnessed the nefarious “blue screen of death,” it is likely time to replace your random-access memory (RAM). RAM functions to store temporary data and is a crucial part of any computer. Replacing your RAM using this guide will improve the speed and performance of your laptop.
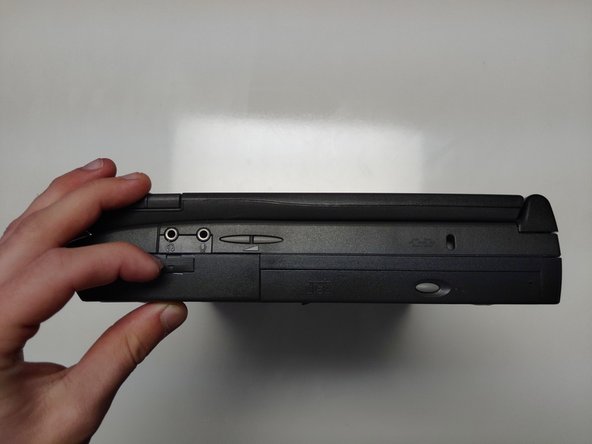
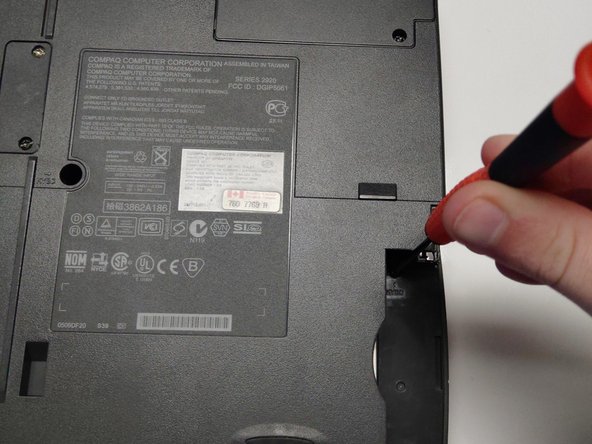
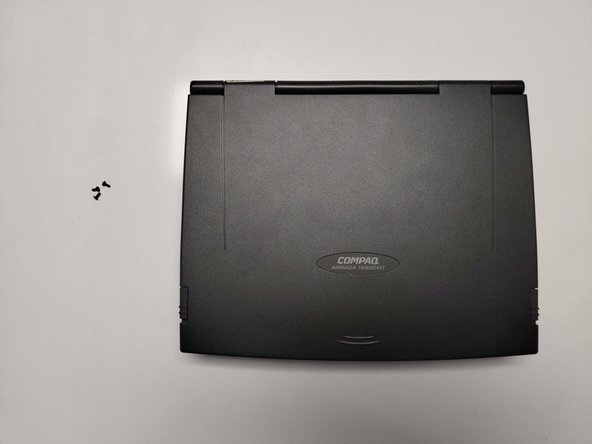
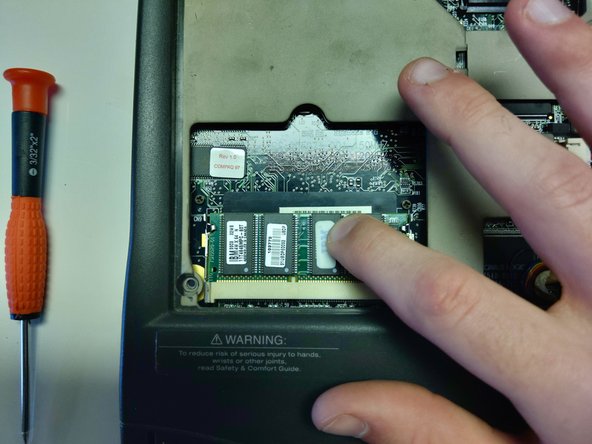
Before beginning, be sure to power off your laptop and disconnect it from any power sources or external cables/devices.
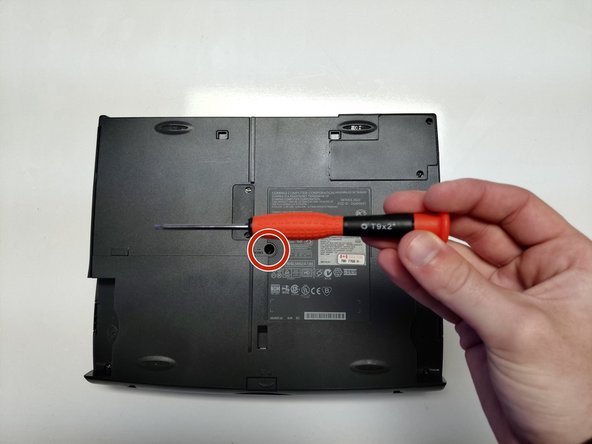
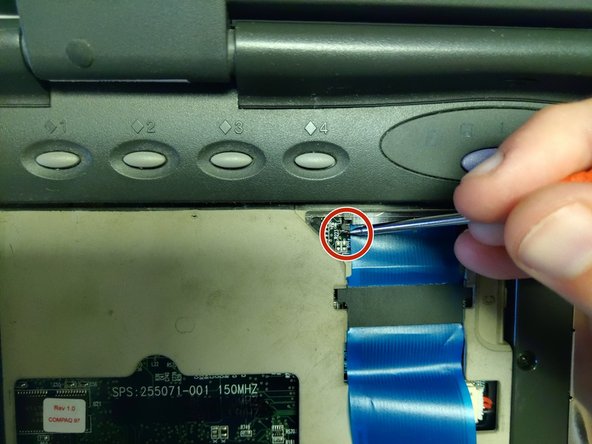
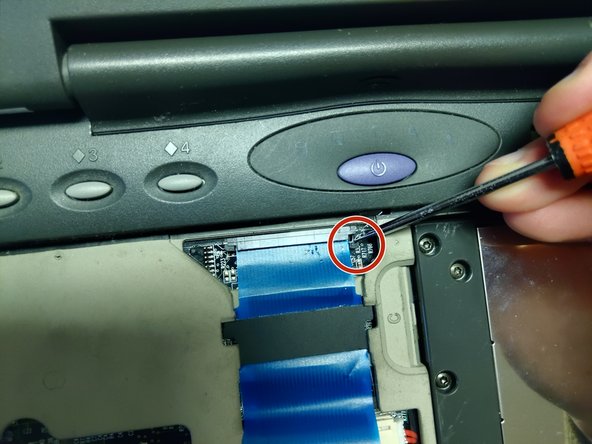
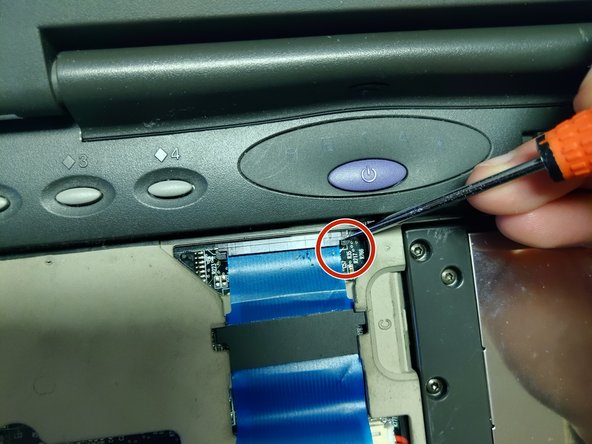
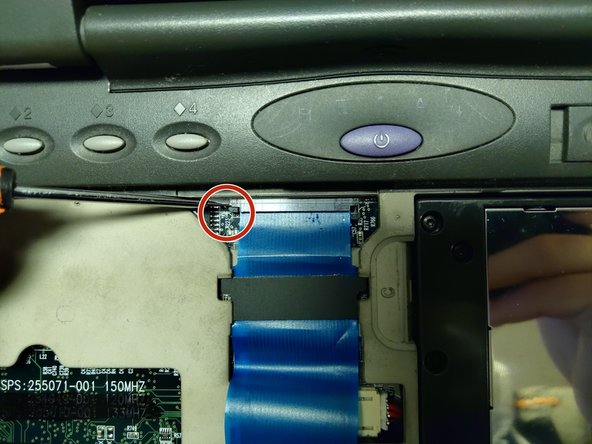
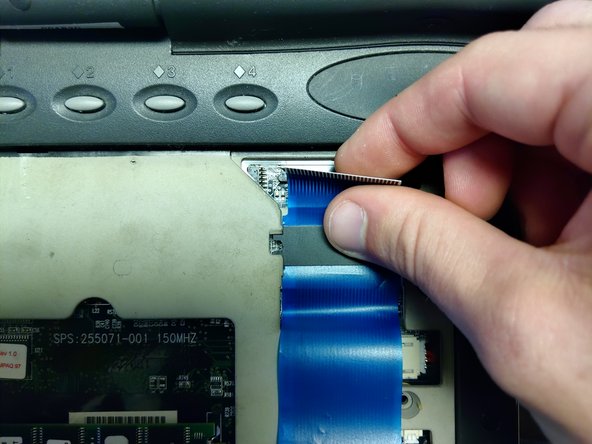
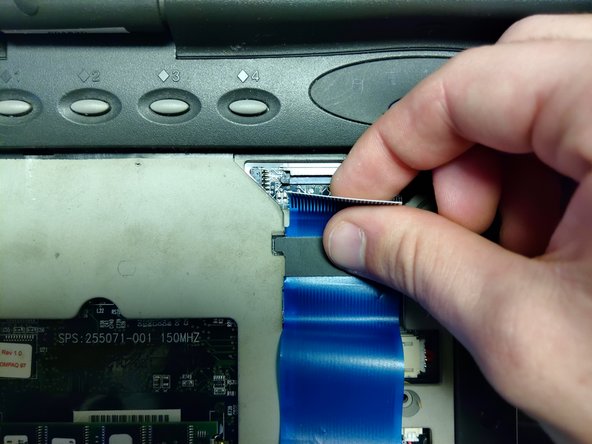
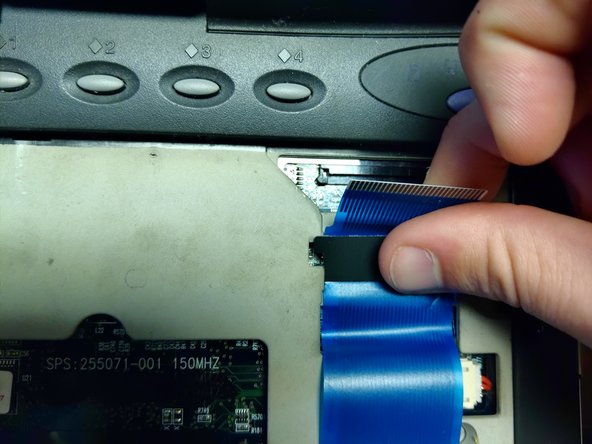
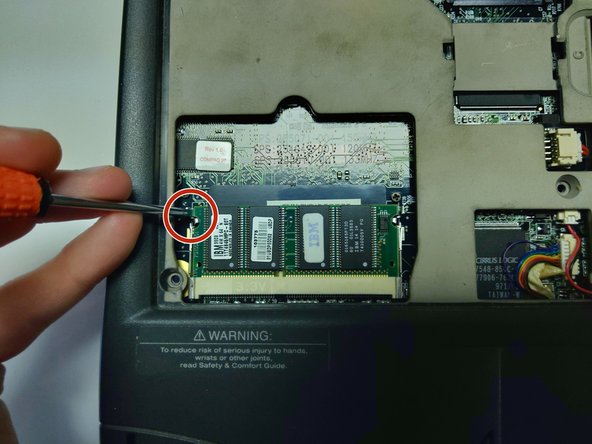
Remember: Always take care when disconnecting and reconnecting cable pins and RAM sticks, as any damage to the pins and/or connectors can cause the device to not work properly.
필요한 것


To reassemble your device, follow these instructions in reverse order.
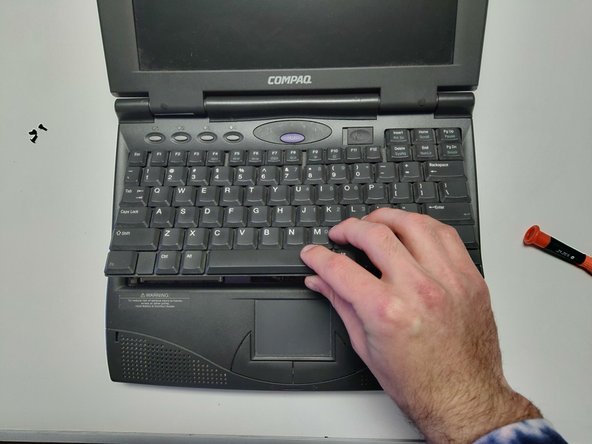
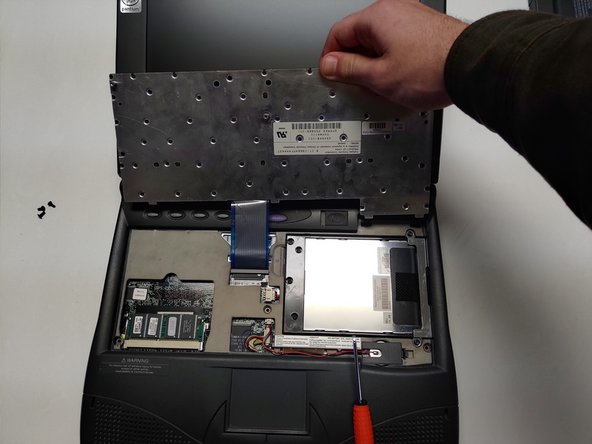
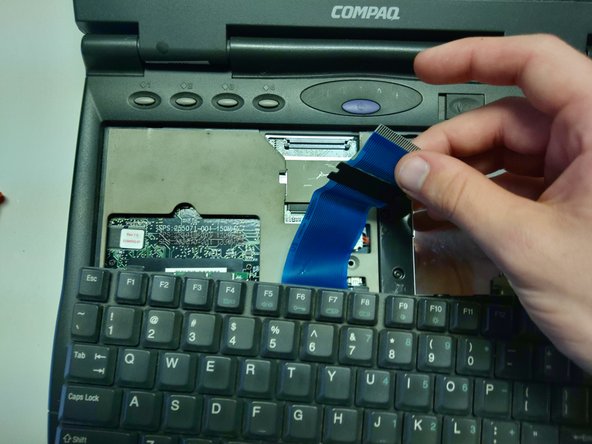
When reattaching the keyboard, slide the board in topside first, then lay the bottom down to secure.
To reassemble your device, follow these instructions in reverse order.
When reattaching the keyboard, slide the board in topside first, then lay the bottom down to secure.
다른 한 분이 해당 안내서를 완성하였습니다.

팀

University of North Texas, Team S1-G7, Raign Spring 2020 University of North Texas, Team S1-G7, Raign Spring 2020 회원
UNT-RAIGN-S20S1G7
2 회원들
안내서 1개 작성하였습니다