주요 콘텐츠로 건너뛰기

Compaq Presario V2414NR Optical Drive Replacement

필요한 것

  1. Compaq Presario V2414NR Optical Drive Replacement, Battery: 1 단계, 이미지 1/1
    • Shutdown the computer.

    • Remove all external devices.

    • Unplug the power, and any other cords, from the laptop.

    • Turn the laptop upside down, with the front towards you.

  2. Compaq Presario V2414NR Optical Drive Replacement: 2 단계, 이미지 1/2 Compaq Presario V2414NR Optical Drive Replacement: 2 단계, 이미지 2/2
    • Slide the battery release latch to the left until the battery pops up.

    • Lift the front edge of the battery pack and swing it back to remove it.

    • When reassembling, first align the back of the battery with the chassis, then press the front downwards until it latches.

  3. Compaq Presario V2414NR Optical Drive Replacement, Optical Drive: 3 단계, 이미지 1/2 Compaq Presario V2414NR Optical Drive Replacement, Optical Drive: 3 단계, 이미지 2/2
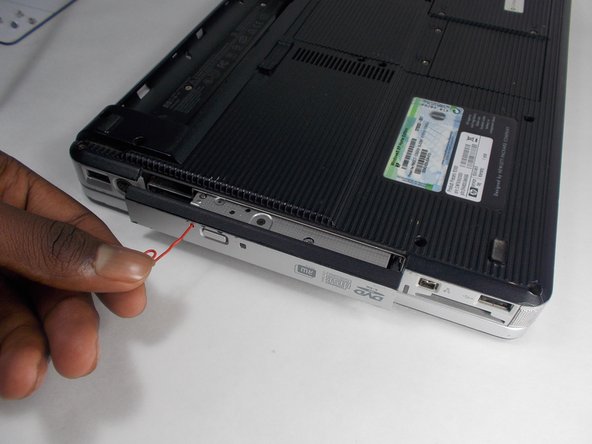
    • On the optical drive there is small pin hole. Insert a paperclip or similarly sized object in the hole.

    • The Drive will pop a short way out of the computer.

  4. Compaq Presario V2414NR Optical Drive Replacement: 4 단계, 이미지 1/3 Compaq Presario V2414NR Optical Drive Replacement: 4 단계, 이미지 2/3 Compaq Presario V2414NR Optical Drive Replacement: 4 단계, 이미지 3/3
    • Remove the 7mm Phillips #1 screw that secures the optical drive to the computer.

    • Grip the sides of the Optical Drive and slide it out until it is completely removed from the computer.

    • When reassembling, slide the optical drive straight in until it clicks.

결론

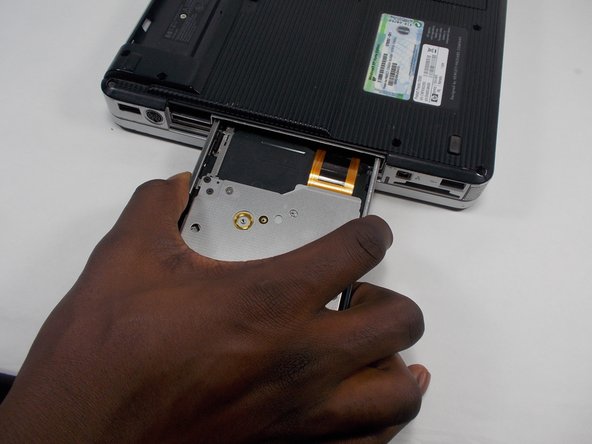
To reassemble your device, follow these instructions in reverse order.

Rylie Schmidt

회원 가입일: 04/19/15

765 평판

안내서 7개 작성하였습니다

UMass Dartmouth, Team 2-1, Isaacson Fall 2016 UMass Dartmouth, Team 2-1, Isaacson Fall 2016 회원

UMASSD-ISAACSON-F16S2G1

3 회원들

안내서 9개 작성하였습니다

댓글 0개

댓글 쓰기

조회 통계:

24 시간 전: 0

7일 전: 2

30일 전: 2

전체 시간: 176