주요 콘텐츠로 건너뛰기

Compaq Presario V2414NR WiFi Card Replacement

필요한 것

  1. Compaq Presario V2414NR WiFi Card Replacement, Battery: 1 단계, 이미지 1/1
    • Shutdown the computer.

    • Remove all external devices.

    • Unplug the power, and any other cords, from the laptop.

    • Turn the laptop upside down, with the front towards you.

  2. Compaq Presario V2414NR WiFi Card Replacement: 2 단계, 이미지 1/2 Compaq Presario V2414NR WiFi Card Replacement: 2 단계, 이미지 2/2
    • Slide the battery release latch to the left until the battery pops up.

    • Lift the front edge of the battery pack and swing it back to remove it.

    • When reassembling, first align the back of the battery with the chassis, then press the front downwards until it latches.

  3. Compaq Presario V2414NR WiFi Card Replacement, RAM Cover: 3 단계, 이미지 1/2 Compaq Presario V2414NR WiFi Card Replacement, RAM Cover: 3 단계, 이미지 2/2
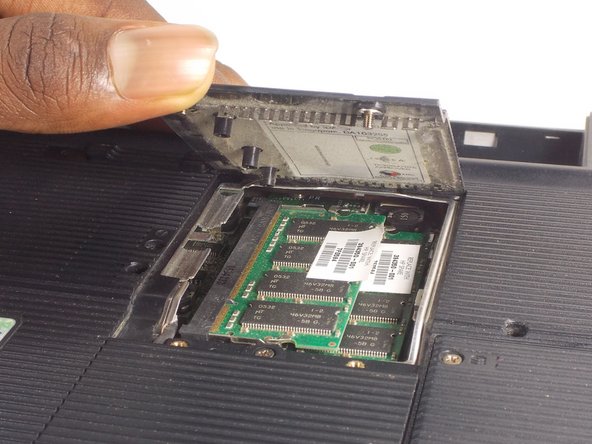
    • Loosen the two 5mm Phillips #1 screws that secure the memory module compartment cover to the computer.

    • These screws are captured to the cover panel.

    • Lift the front edge of the memory module compartment cover and swing it back to remove it.

  4. Compaq Presario V2414NR WiFi Card Replacement, WiFi Card: 4 단계, 이미지 1/2 Compaq Presario V2414NR WiFi Card Replacement, WiFi Card: 4 단계, 이미지 2/2
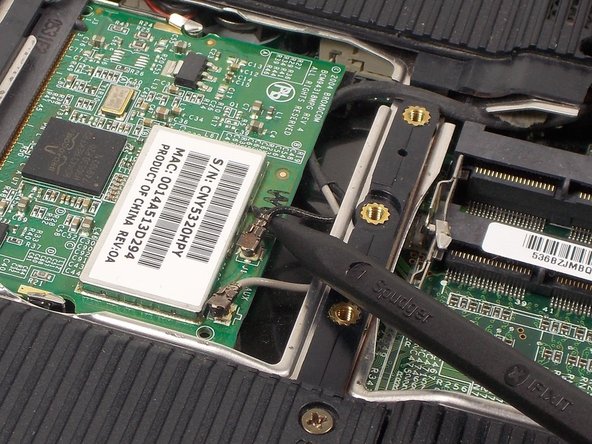
    • Loosen the 5mm Phillips #1 screw that secures the Mini PCI compartment cover to the computer.

    • This screw is captured to the cover panel.

    • Lift the rear edge of the Mini PCI compartment cover, and swing it forward to remove it.

  5. Compaq Presario V2414NR WiFi Card Replacement: 5 단계, 이미지 1/2 Compaq Presario V2414NR WiFi Card Replacement: 5 단계, 이미지 2/2
    • Make note of which cable is attached to which clip on the WiFi card before disconnecting the cables.

    • Disconnect the wireless antenna cables from the WiFi card by prying gently upwards on the metal part of the connector with a spudger or plastic opening tool.

  6. Compaq Presario V2414NR WiFi Card Replacement: 6 단계, 이미지 1/2 Compaq Presario V2414NR WiFi Card Replacement: 6 단계, 이미지 2/2
    • Use your fingernails, or plastic opening tools, to spread the metal retaining tabs on each side of the WiFi card outwards until the card pops up.

    • Pull the WiFi card out of the socket at the same angle it is now oriented.

    • When reassembling, align the offset notch on the WiFi card contacts with the tab on the socket and insert at a 30 degree angle.

결론

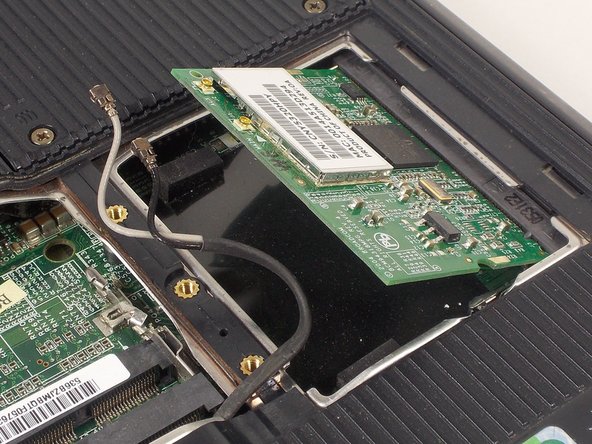
To reassemble your device, follow these instructions in reverse order.

Rylie Schmidt

회원 가입일: 04/19/15

765 평판

안내서 7개 작성하였습니다

UMass Dartmouth, Team 2-1, Isaacson Fall 2016 UMass Dartmouth, Team 2-1, Isaacson Fall 2016 회원

UMASSD-ISAACSON-F16S2G1

3 회원들

안내서 9개 작성하였습니다

댓글 0개

댓글 쓰기

조회 통계:

24 시간 전: 0

7일 전: 3

30일 전: 4

전체 시간: 315